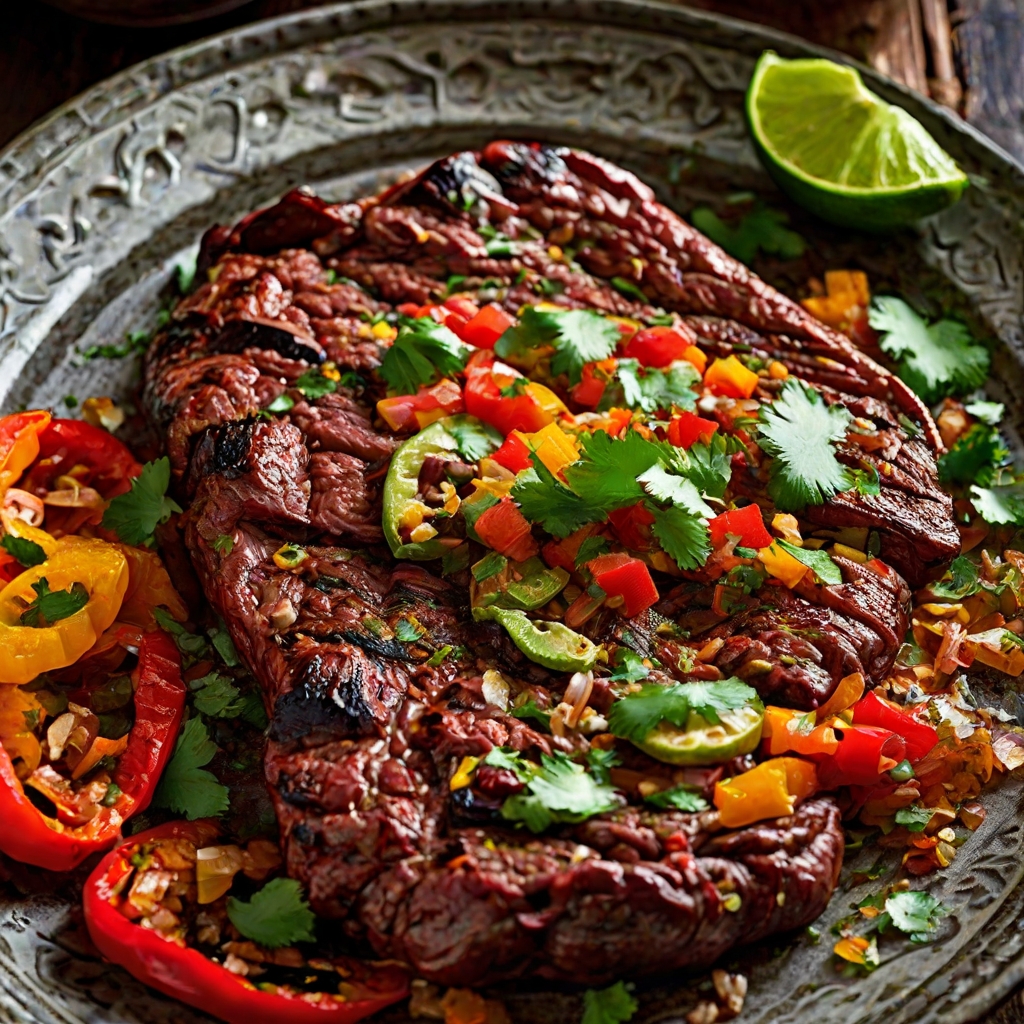
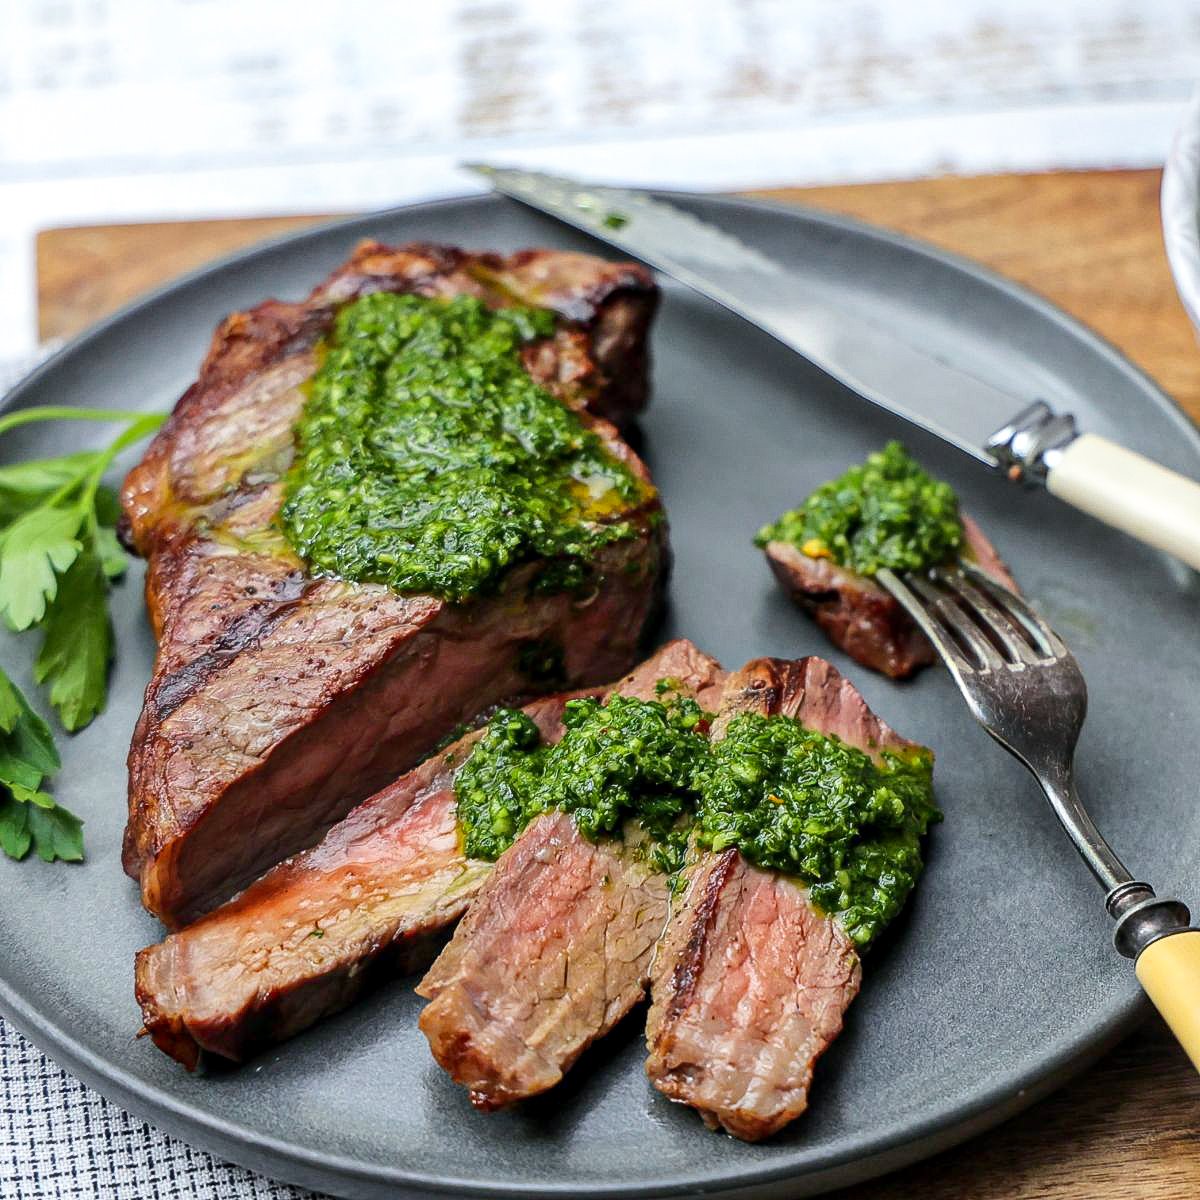
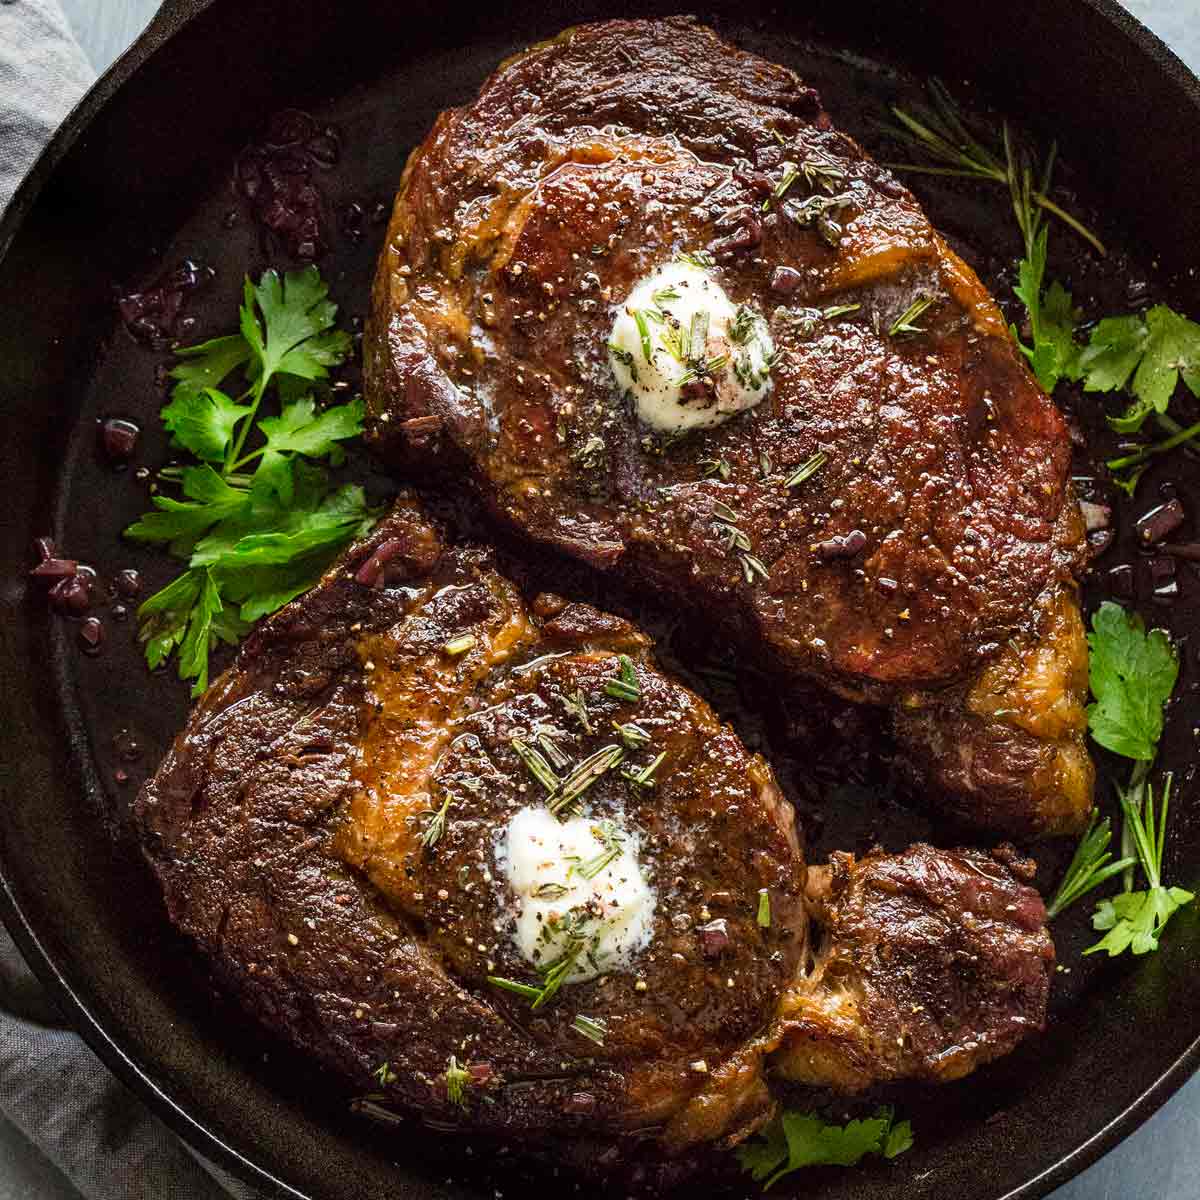
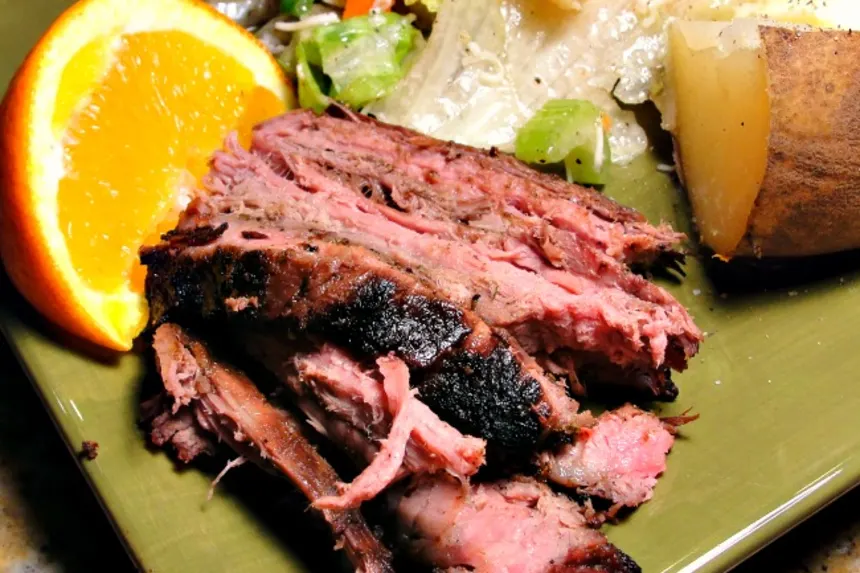
Grilled T-Bone Steak
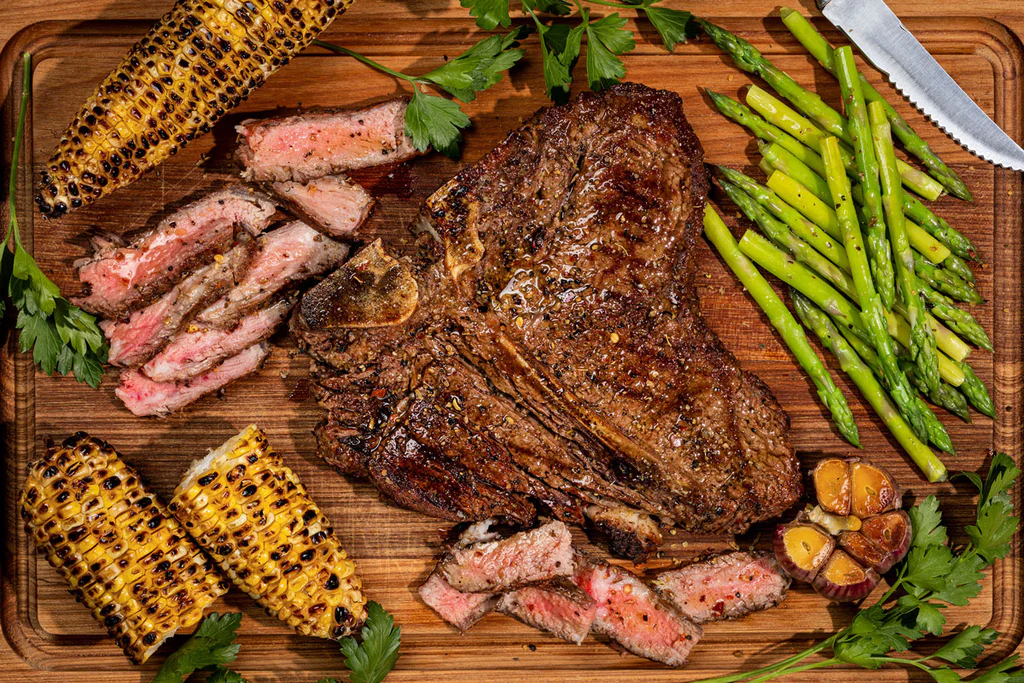
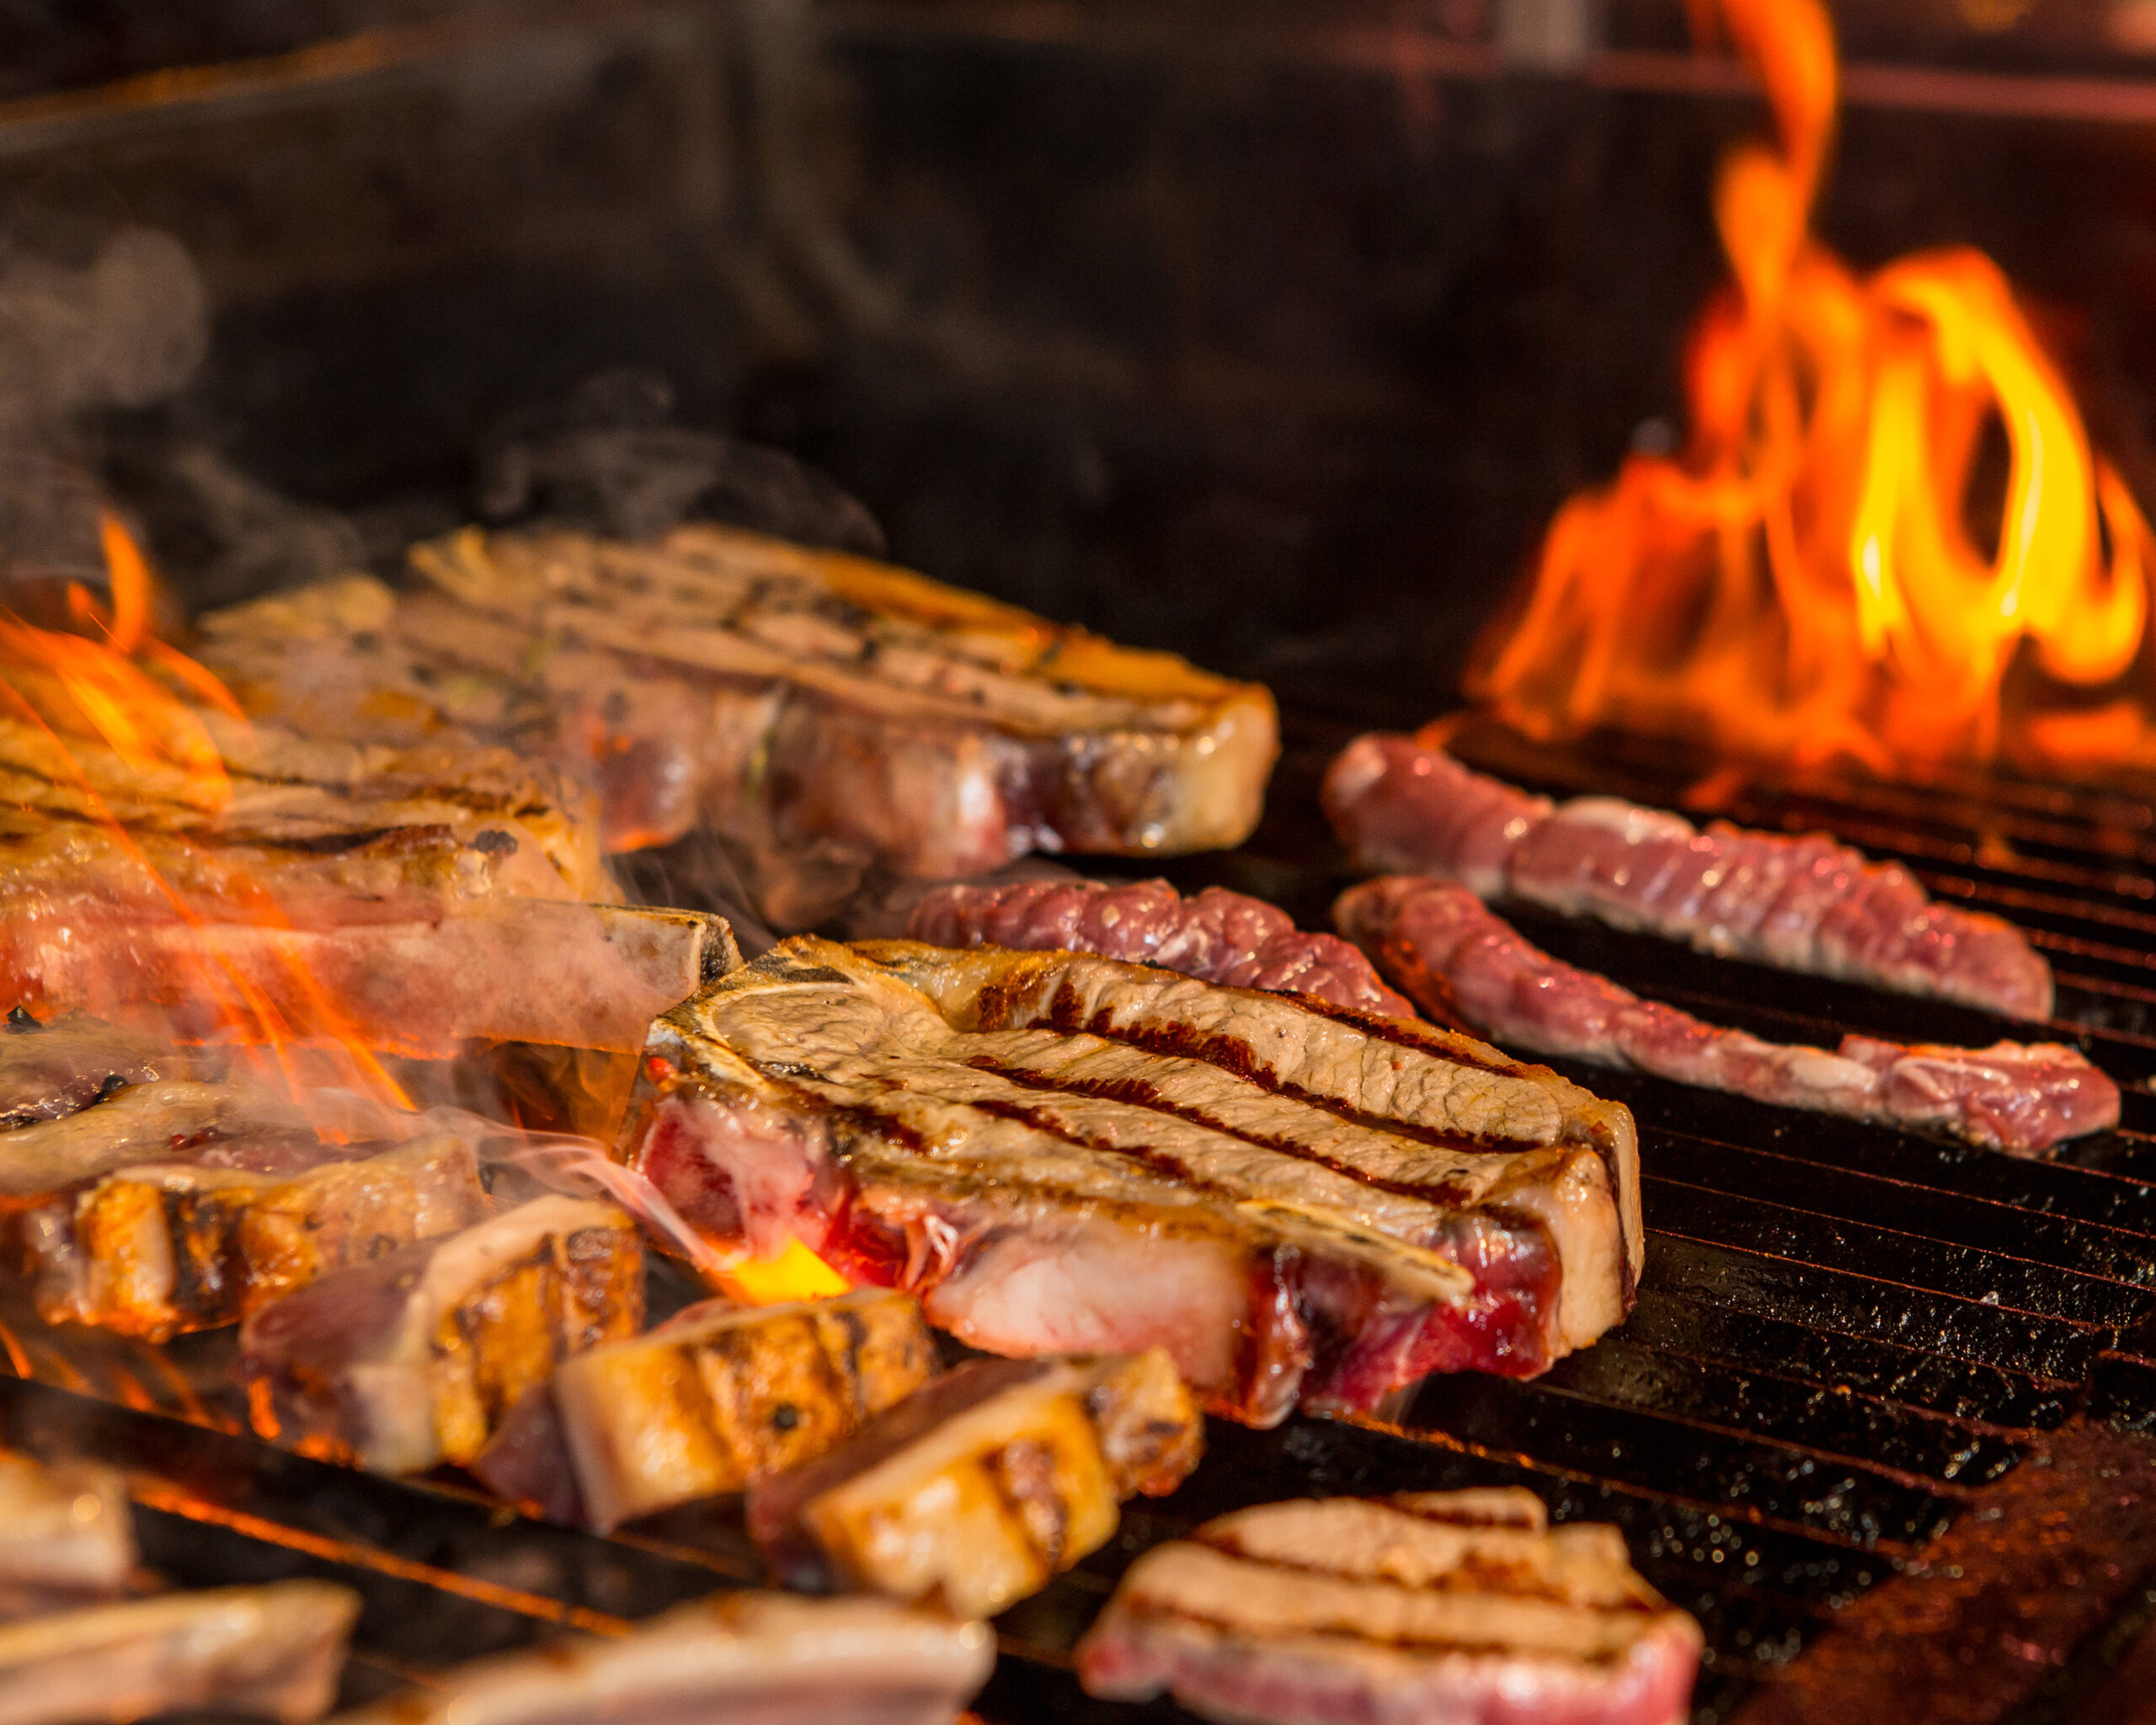
How to prepare grilled T-bone steak at home for a group of six Grilled T-Bone Steak is a classic favorite that offers a blend of tenderloin and strip steak on either side of its distinctive T-shaped bone, making it a perfect choice for a hearty meal. Ideal for serving to a group of six, this recipe will guide you through the steps to prepare succulent, perfectly grilled T-bone steaks right at home. With a few simple ingredients and a bit of grilling know-how, you can turn your backyard into the best steakhouse in town. Ingredients: 6 T-bone steaks (about 1 inch thick) 1/4 cup olive oil 6 cloves garlic, minced 2 tablespoons fresh rosemary, chopped 2 tablespoons fresh thyme, chopped Salt, to taste Freshly ground black pepper, to taste Lemon wedges, for serving Instructions: 1. Marinate the Steaks: Prepare the Marinade: In a small bowl, combine the olive oil, minced garlic, chopped rosemary, and thyme. This aromatic mixture will infuse the steaks with flavors that complement the natural richness of the meat. Season Steaks: First, pat the T-bone steaks dry with paper towels. This helps the seasonings stick better and ensures a perfect sear. Generously season each steak with salt and freshly ground black pepper on both sides to enhance the taste. Apply Marinade: Rub the olive oil and herb mixture all over the steaks. Ensure each steak is well-coated. For best results, cover the steaks and let them marinate at room temperature for at least 30 minutes, or if time allows, refrigerate them for up to 4 hours to deepen the flavors. 2. Preheat the Grill: Prepare Grill: Preheat your grill to high heat (450-500°F). Clean and oil the grates to prevent sticking. 3. Grill the Steaks: Grill Steaks: Place the steaks on the grill and cook for about 4-5 minutes on each side for medium-rare, or adjust the time based on your desired level of doneness. Use a meat thermometer to check the temperature: 130°F for medium-rare, 140°F for medium. Rotate Steaks: To get nice grill marks, rotate the steaks 90 degrees halfway through grilling each side. 4. Rest the Steaks: Transfer and Rest: Transfer the steaks to a plate and cover loosely with foil. Let them rest for about 5-10 minutes to allow the juices to redistribute. 5. Serve: Plate the Steaks: Serve the grilled T-bone steaks hot with lemon wedges on the side for squeezing over the top. Optional Sides: Pair with grilled vegetables, baked potatoes, or a fresh salad. Tips: Grill Marks: Ensure your grill is hot enough to create nice sear marks on the steaks. Resting: Resting the steaks after grilling helps keep them juicy and flavorful. Seasoning: For added flavor, you can add a pat of herb butter on top of each steak while they rest. Enjoy crafting this delicious Grilled T-Bone Steak meal, sure to impress your guests and satisfy even the heartiest of appetites!