Escargot

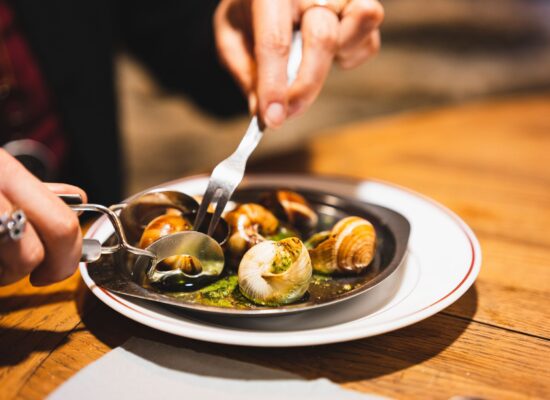
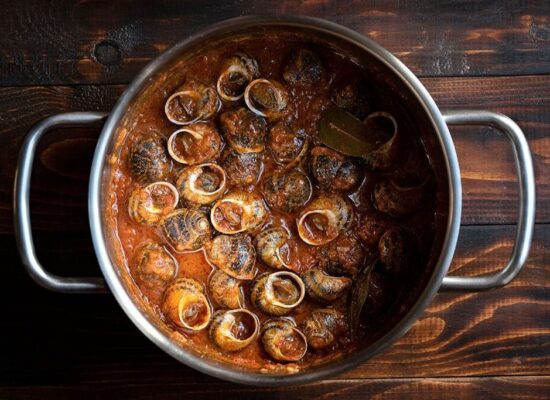
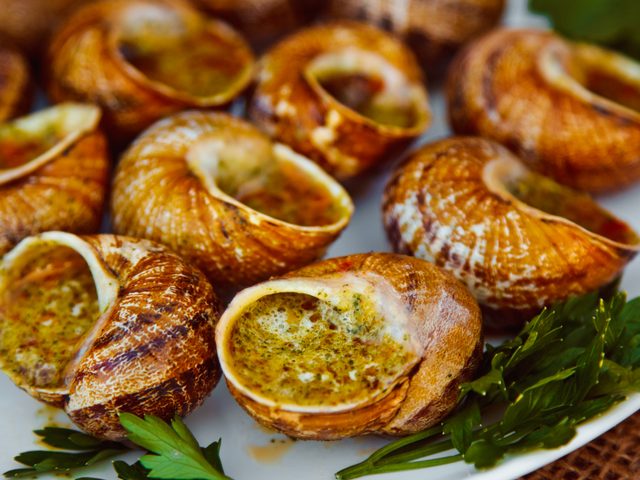
Escargot, or snails cooked in garlic butter, is a classic French delicacy often enjoyed as an appetizer. Here’s a detailed recipe to make Escargot at home:

Ingredients

  • For the Garlic Butter:

    • 1/2 cup (1 stick) unsalted butter, softened
    • 4 cloves garlic, minced
    • 2 tablespoons fresh parsley, finely chopped
    • 1 tablespoon fresh lemon juice
    • 1/4 teaspoon salt
    • 1/4 teaspoon ground black pepper
  • For the Escargot:

    • 24 canned or jarred snails, rinsed and drained
    • 24 snail shells (optional, can be found in specialty stores or online)
    • 1 baguette, sliced (for serving)

Instructions

1. Prepare the Garlic Butter:

  1. Mix Ingredients: In a medium bowl, combine the softened butter, minced garlic, chopped parsley, lemon juice, salt, and pepper. Mix well until all ingredients are fully incorporated.
  2. Refrigerate: Place the garlic butter in the refrigerator to firm up slightly while preparing the snails.

2. Preheat the Oven:

  1. Preheat: Preheat your oven to 375°F (190°C).

3. Prepare the Snails:

  1. Fill Shells: If using snail shells, place a small amount of garlic butter in the bottom of each shell. Insert a snail into each shell, then fill the rest of the shell with more garlic butter. Make sure the snail is fully encased in the butter.
  2. Alternative Method: If not using shells, you can place the snails in a snail dish or small oven-safe dish and cover each one with a generous amount of garlic butter.

4. Bake the Escargot:

  1. Bake: Place the filled snail shells or dish in the preheated oven and bake for 10-12 minutes, or until the garlic butter is bubbling and the snails are heated through.
  2. Broil (Optional): For a slightly crispy top, you can broil the snails for an additional 1-2 minutes, keeping a close eye to prevent burning.

5. Serve:

  1. Presentation: Serve the escargot immediately while still hot. Use snail dishes or small individual dishes for an authentic presentation.
  2. Accompaniments: Offer slices of fresh baguette to complement the escargot, perfect for sopping up the delectable garlic butter.

Tips:

  • Shells: Snail shells enhance the traditional experience but are not mandatory. The dish can be equally enjoyed by baking the snails directly in garlic butter.
  • Garlic Butter Flavoring: The seasoning of the garlic butter is crucial as it imparts most of the flavor to the snails. Ensure it is well-seasoned according to your taste preferences.
  • Immediate Serving: Escargot should be served hot to appreciate its full flavor, accompanied by crusty bread that pairs wonderfully with the creamy, flavorful butter.

Delight in the rich and exquisite taste of homemade Escargot, a dish that not only satiates the palate but also brings a touch of French elegance to your dining experience.
Escargot
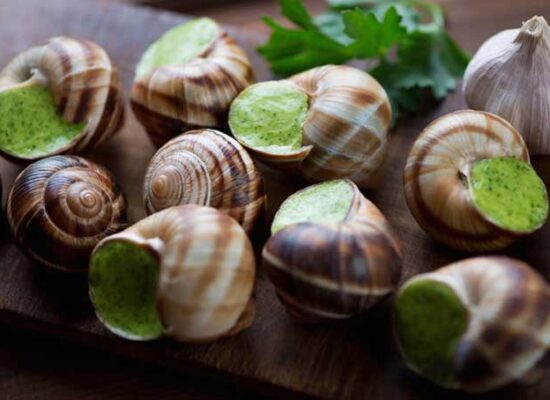
Escargots de Bourgogne - Snails with herbs butter, gourmet dish in French traditional  with parsley and bread on white platter
escargot-dijon-burgundy-france-royalty-free-image-1653675251
snails-recipe-e1618311634882

Quiche Lorraine

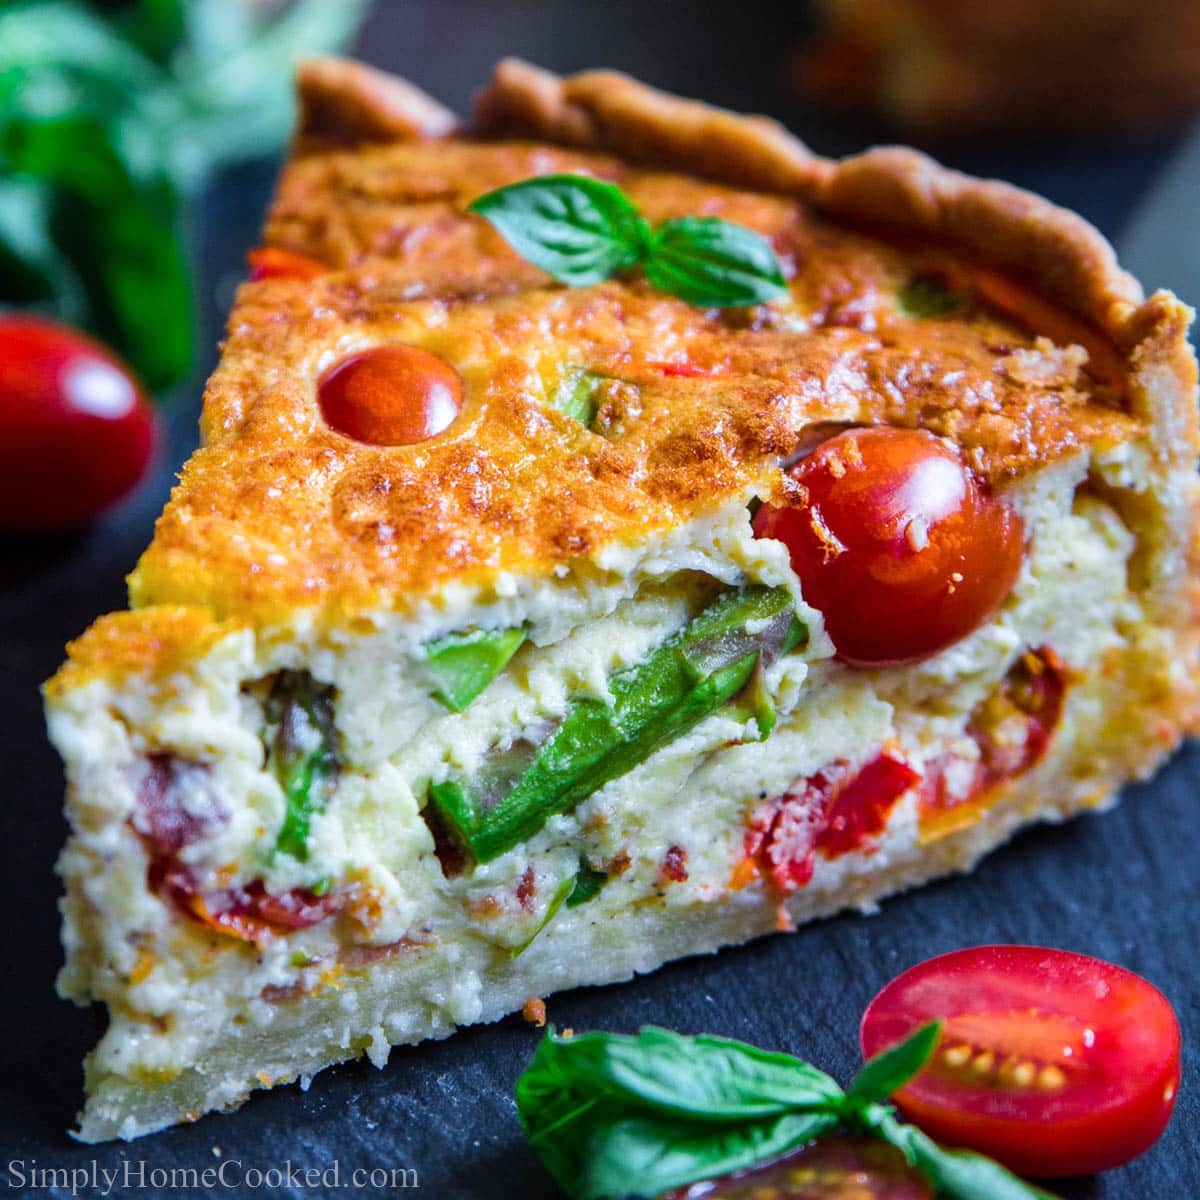
Quiche Lorraine is a classic French dish that features a rich, creamy custard filled with bacon and cheese in a flaky pastry crust. Here’s recipe to make it at home:

Ingredients

For the Pastry Crust:

  • 1 1/4 cups all-purpose flour
  • 1/2 teaspoon salt
  • 1/2 cup cold unsalted butter, cut into small pieces
  • 3-4 tablespoons ice water

For the Filling:

  • 6 slices bacon, chopped
  • 1 small onion, finely chopped
  • 1 1/2 cups shredded Gruyère cheese (or Swiss cheese)
  • 4 large eggs
  • 1 1/2 cups heavy cream (or half-and-half)
  • 1/4 teaspoon salt
  • 1/4 teaspoon ground black pepper
  • 1/4 teaspoon ground nutmeg

Instructions

1. Prepare the Pastry Crust:

  1. Mix Dry Ingredients: In a large bowl, combine the flour and salt.
  2. Cut in Butter: Add the cold butter pieces to the flour mixture. Use a pastry cutter or your fingers to work the butter into the flour until the mixture resembles coarse crumbs.
  3. Add Water: Gradually add ice water, one tablespoon at a time, mixing with a fork until the dough comes together. Be careful not to overwork the dough.
  4. Form Dough: Shape the dough into a disk, wrap it in plastic wrap, and refrigerate for at least 30 minutes.

2. Preheat the Oven:

  1. Preheat: Preheat your oven to 375°F (190°C).

3. Roll Out and Bake the Crust:

  1. Roll Out Dough: On a lightly floured surface, roll out the chilled dough to fit a 9-inch pie dish. Transfer the dough to the dish, pressing it gently into the bottom and sides.
  2. Trim and Crimp: Trim the excess dough, leaving about 1 inch overhang. Fold the overhang under and crimp the edges.
  3. Blind Bake: Line the crust with parchment paper or aluminum foil and fill it with pie weights or dried beans. Bake for 15 minutes, then remove the weights and parchment/foil. Bake for another 10 minutes, or until the crust is lightly golden. Remove from the oven and set aside.

4. Prepare the Filling:

  1. Cook Bacon: In a skillet over medium heat, cook the chopped bacon until crispy. Remove with a slotted spoon and drain on paper towels.
  2. Cook Onion: In the same skillet, cook the chopped onion until soft and translucent. Remove from heat.

5. Assemble the Quiche:

  1. Layer Cheese and Bacon: Sprinkle the shredded cheese evenly over the bottom of the pre-baked crust. Add the cooked bacon and onions on top of the cheese.
  2. Make Custard: In a medium bowl, whisk together the eggs, heavy cream, salt, pepper, and nutmeg until well combined.
  3. Pour Custard: Pour the custard mixture over the bacon, onions, and cheese in the crust.

6. Bake the Quiche:

  1. Bake: Place the quiche in the preheated oven and bake for 30-35 minutes, or until the filling is set and the top is golden brown. A knife inserted into the center should come out clean.
  2. Cool: Allow the quiche to cool for at least 10 minutes before slicing and serving.

Tips:

  • Make Ahead: You can prepare the dough and filling ingredients ahead of time. Assemble and bake the quiche just before serving.
  • Variations: Feel free to add other ingredients like sautéed spinach, mushrooms, or different cheeses to customize your quiche.
  • Serving: Quiche Lorraine can be served warm, at room temperature, or cold, making it a versatile dish for breakfast, brunch, or dinner.

Enjoy your homemade Quiche Lorraine!


Quiche Lorraine
a746682a974eadfdd142ca4d18537f6d2ad99bf3
classic-quiche-lorraine-121391-2
l-intro-1649351225

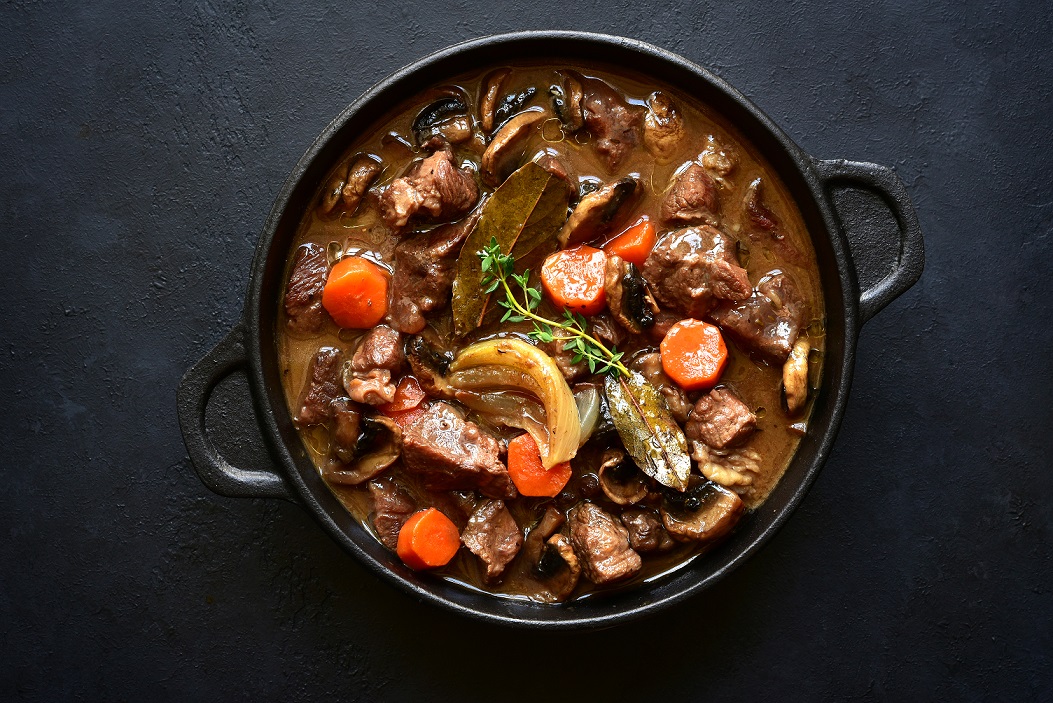
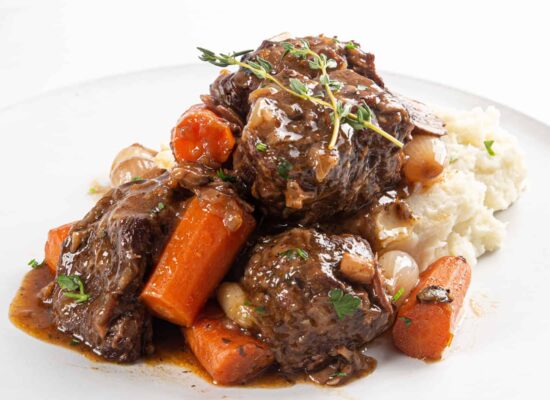
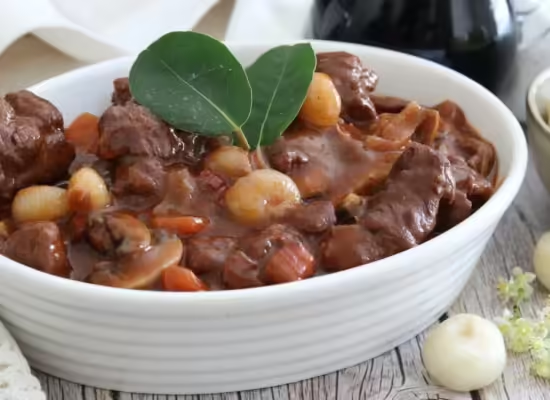
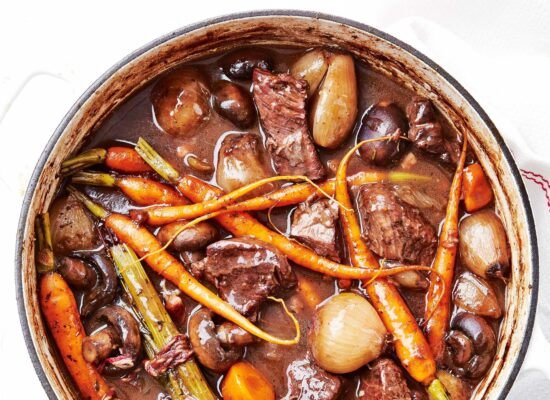
Boeuf Bourguignon

Mastering Boeuf Bourguignon: A Classic French Stew Recipe

Boeuf Bourguignon is a classic French beef stew braised in red wine, typically Burgundy, with carrots, onions, garlic, and mushrooms. It’s a rich, flavorful dish, perfect for a special dinner. Here’s the recipe:

Ingredients

  • For the Marinade:

    • 1 bottle red wine (preferably Burgundy)
    • 1 large onion, sliced
    • 2 carrots, sliced
    • 3 cloves garlic, minced
    • 2 bay leaves
    • 4 sprigs fresh thyme
    • 1 teaspoon black peppercorns
  • For the Stew:

    • 3 pounds (1.4 kg) beef chuck, cut into 2-inch cubes
    • Salt and pepper, to taste
    • 2 tablespoons olive oil
    • 6 ounces (170 grams) bacon, diced
    • 1 large onion, chopped
    • 2 carrots, chopped
    • 2 cloves garlic, minced
    • 2 tablespoons flour
    • 2 cups beef broth
    • 1 tablespoon tomato paste
    • 1 pound (450 grams) mushrooms, quartered
    • 24 small pearl onions, peeled
    • Fresh parsley, chopped (for garnish)

Instructions

1. Marinate the Beef:

  1. Combine Ingredients: In a large bowl, combine the red wine, sliced onion, carrots, garlic, bay leaves, thyme, and peppercorns.
  2. Marinate Beef: Add the beef cubes to the marinade, cover, and refrigerate for at least 4 hours, preferably overnight.

2. Prepare the Beef:

  1. Remove Beef: Remove the beef from the marinade and pat dry with paper towels. Strain the marinade, reserving the liquid and the vegetables separately.
  2. Season Beef: Season the beef cubes with salt and pepper.
  3. Brown Beef: In a large Dutch oven or heavy-bottomed pot, heat the olive oil over medium-high heat. Brown the beef in batches, ensuring all sides are seared. Remove and set aside.

3. Cook the Bacon and Vegetables:

  1. Cook Bacon: In the same pot, add the diced bacon and cook until crispy. Remove and set aside, leaving the fat in the pot.
  2. Cook Vegetables: Add the chopped onion and carrots to the pot and cook until they begin to soften, about 5 minutes. Add the minced garlic and cook for another minute.

4. Braise the Beef:

  1. Add Flour: Sprinkle the flour over the vegetables and stir well to combine. Cook for 2-3 minutes to eliminate the raw flour taste.
  2. Add Marinade: Slowly pour in the reserved marinade liquid, stirring constantly to avoid lumps.
  3. Add Beef and Broth: Return the browned beef to the pot. Add the beef broth and tomato paste. Stir to combine.
  4. Simmer: Bring to a simmer, then reduce the heat to low. Cover and cook for 2 to 2 1/2 hours, or until the beef is tender.

5. Cook the Mushrooms and Pearl Onions:

  1. Sauté Mushrooms: In a separate skillet, sauté the mushrooms in a bit of olive oil until they are browned and tender. Add them to the stew during the last 30 minutes of cooking.
  2. Cook Pearl Onions: Add the pearl onions to the pot during the last 30 minutes of cooking.

6. Finish and Serve:

  1. Check Seasoning: Taste and adjust seasoning with salt and pepper if needed.
  2. Garnish: Serve the Boeuf Bourguignon hot, garnished with the cooked bacon and chopped fresh parsley.

Tips:

  • Wine Selection: Use a good quality red wine for the marinade and cooking, preferably a Burgundy or Pinot Noir.
  • Slow Cooking: Allow the stew to cook slowly to develop deep, rich flavors.
  • Serve With: Boeuf Bourguignon is traditionally served with mashed potatoes, crusty bread, or buttered noodles to soak up the rich sauce.

Enjoy your homemade Boeuf Bourguignon!

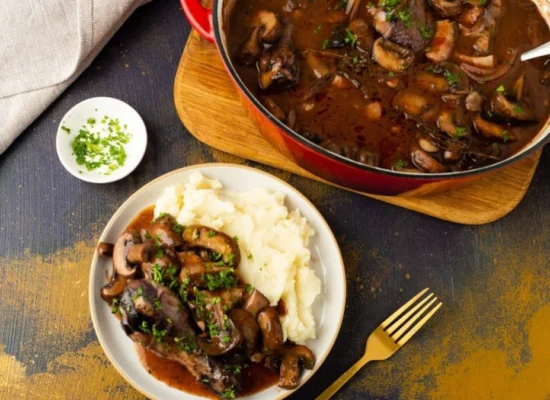
Boeuf Bourguignon
boeuf-bourghignon-vassoio-1-1200x675
d7e000a76bb99af9d5a82774c8ea3b97de2b0f76
slow-cooked-boeuf-bourguignon-93471-1

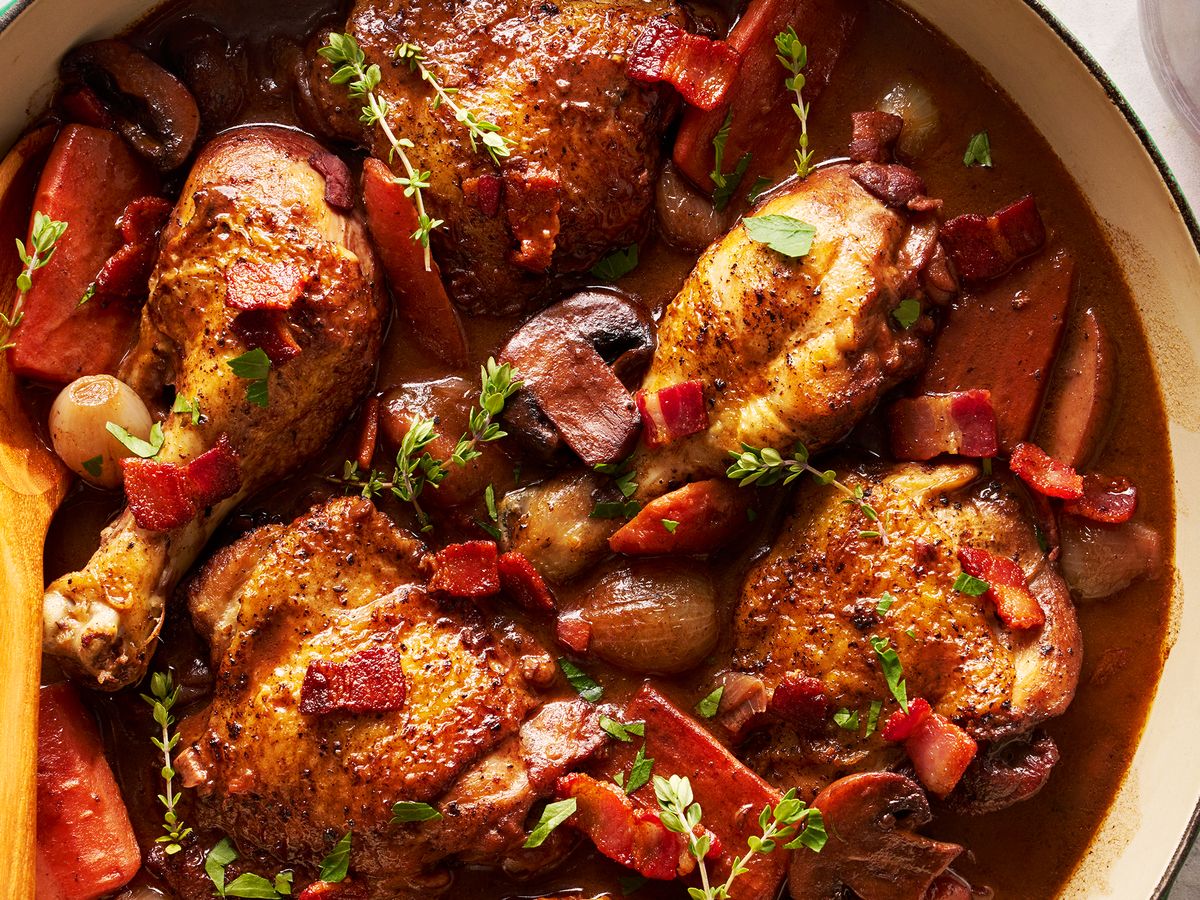
Coq au Vin

Classic Coq au Vin: French Chicken Braised in Wine

Experience the rich flavors of French cuisine with this classic Coq au Vin recipe. This dish features chicken braised in red wine, enhanced with mushrooms, onions, and bacon, creating a savory blend that’s perfect for a comforting home-cooked meal. Here’s how to make this traditional recipe at home:

Ingredients

  • Chicken:

    • 1 whole chicken, cut into 8 pieces (or use 4-6 chicken thighs and drumsticks)
    • Salt and pepper to taste
    • 2 tablespoons olive oil
  • Marinade:

    • 2 cups red wine (traditionally Burgundy)
    • 1 large onion, sliced
    • 2 carrots, sliced
    • 2 cloves garlic, minced
    • 1 bay leaf
    • 4 sprigs fresh thyme
  • For Cooking:

    • 4 ounces bacon, diced
    • 1 large onion, chopped
    • 2 carrots, chopped
    • 2 cloves garlic, minced
    • 2 tablespoons flour
    • 2 cups chicken broth
    • 1 tablespoon tomato paste
    • 1 pound mushrooms, sliced
    • Fresh parsley, chopped (for garnish)

Instructions

1. Marinate the Chicken:

  1. Combine Ingredients: In a large bowl, combine the red wine, sliced onion, carrots, garlic, bay leaf, and thyme.
  2. Marinate Chicken: Add the chicken pieces to the marinade, cover, and refrigerate for at least 4 hours, preferably overnight.

2. Prepare and Cook the Chicken:

  1. Remove Chicken: Remove the chicken from the marinade and pat dry with paper towels. Strain the marinade, reserving both the liquid and the vegetables separately.
  2. Season Chicken: Season the chicken pieces with salt and pepper.
  3. Brown Chicken: In a large Dutch oven or heavy-bottomed pot, heat the olive oil over medium-high heat. Brown the chicken pieces on all sides until golden brown. Remove and set aside.

3. Cook the Bacon and Vegetables:

  1. Cook Bacon: In the same pot, add the diced bacon and cook until crispy. Remove the bacon and set aside, leaving the fat in the pot.
  2. Cook Vegetables: Add the reserved marinated vegetables to the pot and cook until they begin to soften, about 5 minutes.
  3. Add Garlic: Add the minced garlic and cook for another minute.

4. Braise the Chicken:

  1. Add Flour: Sprinkle the flour over the vegetables and stir well to combine. Cook for 1-2 minutes to get rid of the raw flour taste.
  2. Deglaze: Slowly pour in the reserved marinade liquid, stirring constantly to avoid lumps.
  3. Add Chicken and Broth: Return the browned chicken pieces to the pot. Add the chicken broth and tomato paste. Stir to combine.
  4. Simmer: Bring to a simmer, then reduce the heat to low. Cover and cook for about 45 minutes to 1 hour, until the chicken is tender and cooked through.

5. Cook the Mushrooms:

  1. Sauté Mushrooms: In a separate skillet, sauté the mushrooms in a bit of olive oil until they are browned and tender. Add them to the pot during the last 15 minutes of cooking.

6. Finish and Serve:

  1. Check Seasoning: Taste and adjust seasoning with salt and pepper if needed.
  2. Garnish: Serve the Coq au Vin hot, garnished with the cooked bacon and chopped fresh parsley.

Tips:

  • Wine Selection: Use a good quality red wine for the marinade and cooking, preferably a Burgundy or Pinot Noir.
  • Time: Allow enough time for the chicken to marinate and the dish to cook slowly to develop deep flavors.
  • Serve With: Coq au Vin is traditionally served with mashed potatoes, crusty bread, or egg noodles to soak up the rich sauce.

Enjoy your homemade Coq au Vin!

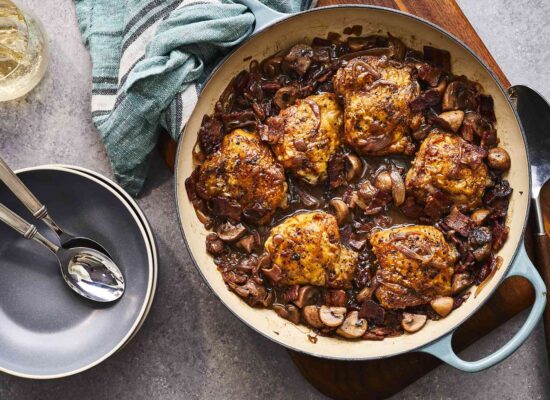
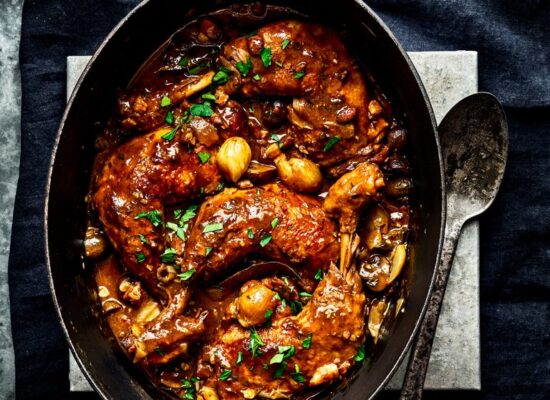
Coq au Vin
coq-au-vin-index-669023bcb811f
239230-chef-johns-coq-au-vin-MFS_358-3x2-1-997d63c3032a41b1be3559476fc0f3b0
Coq-au-vin-73b856b

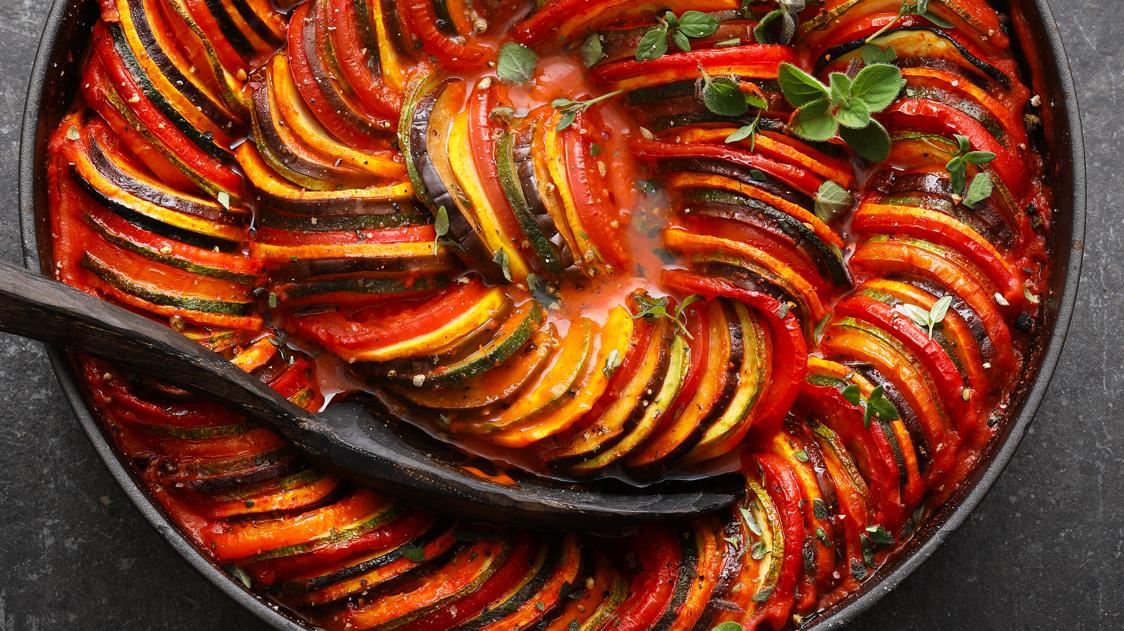
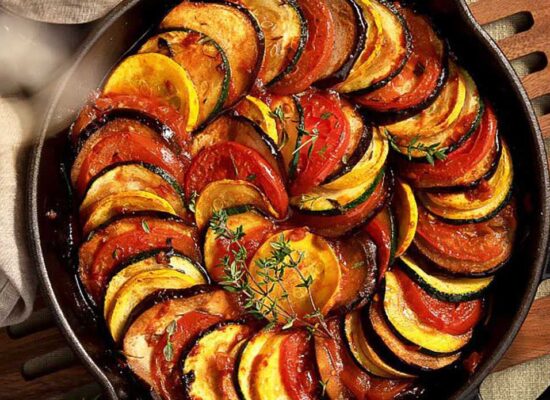
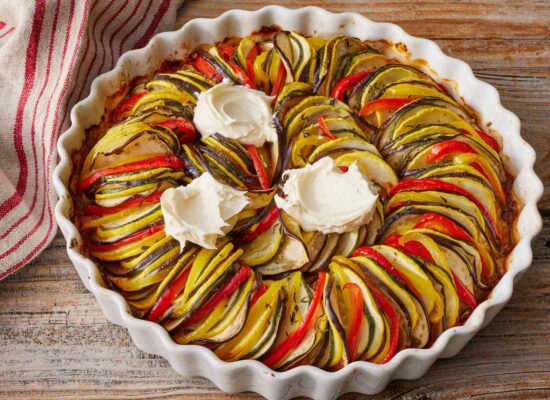
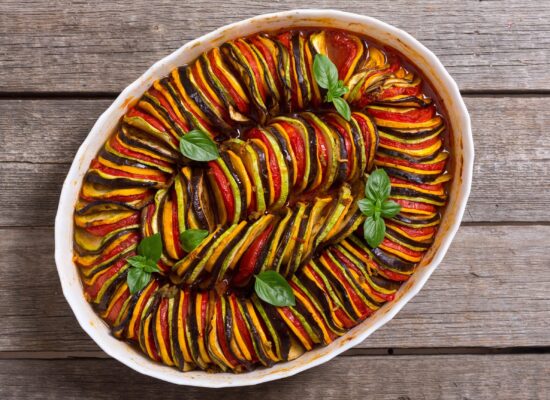
Ratatouille

Traditional Ratatouille Recipe: A Taste of Provence

Ratatouille is a quintessential French dish from the Provence region, featuring a medley of stewed vegetables. This traditional ratatouille recipe captures the essence of southern French cuisine, offering a hearty and aromatic experience perfect for any home cook looking to bring a taste of France to their table.

Ingredients

  • Vegetables:

    • 2 medium eggplants
    • 2 medium zucchinis
    • 2 bell peppers (any color)
    • 4 medium tomatoes
    • 1 large onion
    • 4 cloves garlic
  • Herbs and Seasoning:

    • 1/4 cup olive oil
    • Salt and pepper to taste
    • 1 teaspoon dried thyme
    • 1 teaspoon dried rosemary
    • 1 teaspoon dried basil (or fresh basil for garnish)
    • 1 bay leaf

Instructions

1. Prepare the Vegetables:

  1. Chop Eggplant: Cut the eggplants into 1/2-inch cubes, sprinkle with salt, and let them sit in a colander for about 20 minutes to draw out excess moisture and bitterness. Rinse and pat dry.
  2. Chop Other Vegetables: Cut the zucchinis into 1/2-inch slices, bell peppers into strips, tomatoes into quarters, and onion into thin slices. Mince the garlic.

2. Sauté the Vegetables:

  1. Sauté Eggplant: In a large pan, heat 2 tablespoons of olive oil over medium heat. Add the eggplant cubes and sauté until golden brown and tender. Remove from the pan and set aside.
  2. Sauté Zucchini: In the same pan, add another tablespoon of olive oil. Sauté the zucchini slices until they are just tender. Remove and set aside.
  3. Sauté Bell Peppers: Add another tablespoon of olive oil to the pan and sauté the bell peppers until slightly softened. Remove and set aside.
  4. Cook Onions and Garlic: Add the remaining olive oil to the pan and sauté the onions until they are soft and translucent. Add the minced garlic and cook for another minute until fragrant.

3. Combine and Simmer:

  1. Add Tomatoes: Add the tomatoes to the pan with the onions and garlic. Cook for a few minutes until they begin to break down.
  2. Combine Vegetables: Add the sautéed eggplant, zucchini, and bell peppers back into the pan with the tomatoes, onions, and garlic.
  3. Season and Simmer: Add the thyme, rosemary, basil, bay leaf, salt, and pepper. Stir to combine all the ingredients.
  4. Simmer: Reduce the heat to low, cover, and let the mixture simmer for about 30-40 minutes, stirring occasionally, until all the vegetables are tender and the flavors have melded together.

4. Serve:

  1. Remove Bay Leaf: Discard the bay leaf.
  2. Adjust Seasoning: Taste and adjust the seasoning with more salt and pepper if needed.
  3. Garnish: Serve hot, garnished with fresh basil leaves if desired.

Tips:

  • Layering Method: For a more visually appealing presentation, you can arrange the sliced vegetables in a circular pattern in a baking dish, drizzle with olive oil, and bake at 375°F (190°C) for about 45 minutes instead of the stovetop method.
  • Serve With: Ratatouille can be served as a main dish with crusty bread or as a side dish with grilled meats or fish.

Enjoy your homemade ratatouille!

Ratatouille
222006-disneys-ratatouille-DDMFS-4x3-36eb15843ab548a79e7aab761dac92e1
ratatouille-scaled
20231015095248-andy-20cooks-20-20ratatouille

Making croissants at home

Making croissants
ricotta-raspberry-croissant-french-toast-134839-1
croissants
shutterstock_574919893-scaled

Mastering Homemade Croissants: A Rewarding Recipe for 12 to 16 Flaky Pastries”

Making croissants at home is a rewarding but time-consuming process that involves creating a laminated dough, which gives croissants their signature flaky layers. Here’s a detailed recipe to guide you through the process:

Ingredients

For the Dough:

  • 4 cups (500 grams) all-purpose flour
  • 1/2 cup (100 grams) granulated sugar
  • 1 tablespoon (10 grams) salt
  • 1 tablespoon (10 grams) active dry yeast
  • 1 1/4 cups (300 ml) whole milk, warm (about 110°F/45°C)
  • 2 tablespoons (30 grams) unsalted butter, melted

For the Butter Layer:

  • 1 cup (225 grams) unsalted butter, cold

For the Egg Wash:

  • 1 large egg
  • 1 tablespoon water

Instructions

1. Prepare the Dough:

  1. Mix Dry Ingredients: In a large bowl, combine the flour, sugar, and salt.
  2. Activate Yeast: In a small bowl, dissolve the yeast in the warm milk. Let it sit for about 5 minutes until frothy.
  3. Combine Ingredients: Add the yeast mixture and melted butter to the dry ingredients. Mix until a dough forms.
  4. Knead: Knead the dough on a lightly floured surface for about 5-7 minutes until smooth and elastic.
  5. First Rise: Place the dough in a lightly oiled bowl, cover with plastic wrap, and let it rise in a warm place for about 1 hour, or until doubled in size.

2. Prepare the Butter Layer:

  1. Shape the Butter: Place the cold butter between two sheets of parchment paper or plastic wrap. Use a rolling pin to pound and roll the butter into a 7-inch square. Keep it chilled in the refrigerator until ready to use.

3. Laminate the Dough:

  1. Roll the Dough: On a lightly floured surface, roll the dough into a 10-inch square.
  2. Add Butter: Place the butter square in the center of the dough at a diagonal angle (like a diamond inside a square). Fold the corners of the dough over the butter to encase it completely.
  3. First Roll and Fold: Roll the dough into a 20×10 inch rectangle. Fold the dough into thirds like a letter (fold the bottom third up and the top third down over it). Wrap the dough in plastic wrap and refrigerate for 30 minutes.
  4. Second Roll and Fold: Rotate the dough 90 degrees, roll it out again into a 20×10 inch rectangle, and fold into thirds. Chill for another 30 minutes.
  5. Third Roll and Fold: Repeat the rolling and folding one more time. After the final fold, wrap the dough and refrigerate for at least 1 hour, or overnight.

4. Shape the Croissants:

  1. Roll the Dough: On a lightly floured surface, roll the dough into a 24×12 inch rectangle.
  2. Cut Triangles: Using a sharp knife or pizza cutter, cut the dough into triangles with a base of about 4 inches and a height of about 8 inches.
  3. Shape the Croissants: Starting from the base of each triangle, roll the dough towards the tip to form a crescent shape. Place the croissants on a baking sheet lined with parchment paper, with the tips tucked underneath.

5. Final Rise:

  1. Proof the Croissants: Cover the croissants loosely with plastic wrap and let them rise in a warm place for about 1-2 hours, or until doubled in size.

6. Bake the Croissants:

  1. Preheat Oven: Preheat your oven to 375°F (190°C).
  2. Egg Wash: In a small bowl, whisk together the egg and water. Brush the croissants with the egg wash.
  3. Bake: Bake for 15-20 minutes, or until the croissants are golden brown and crispy.

Tips:

  • Butter Temperature: The butter should be cold but pliable when you incorporate it into the dough. If it’s too hard, it will break through the dough; if it’s too soft, it will blend into the dough.
  • Laminating: Be patient with the rolling and folding process. Proper lamination is key to achieving flaky layers.
  • Chilling: Keep the dough well-chilled between folds to maintain the layers and prevent the butter from melting into the dough.

Enjoy your homemade croissants!

Making a traditional French baguette

Making a traditional French baguette at home requires time and patience, but the results are highly rewarding. Here’s a classic recipe for a crusty baguette:

Ingredients

  • 3 1/2 cups (450 grams) all-purpose flour or bread flour
  • 1 1/2 teaspoons (9 grams) salt
  • 1 teaspoon (5 grams) active dry yeast
  • 1 1/2 cups (350 ml) warm water (about 110°F/45°C)

Instructions

1. Prepare the Dough:

  1. Mix Dry Ingredients: In a large bowl, combine the flour, salt, and yeast.
  2. Add Water: Add the warm water to the dry ingredients and mix until a rough dough forms.
  3. Knead: Knead the dough by hand on a lightly floured surface or in a stand mixer with a dough hook attachment for about 10 minutes, until it becomes smooth and elastic.

2. First Rise:

  1. Rest the Dough: Place the dough in a lightly oiled bowl, cover with a damp cloth or plastic wrap, and let it rise in a warm, draft-free place for 1 to 2 hours, or until it has doubled in size.

3. Shape the Baguettes:

  1. Divide the Dough: Gently deflate the dough and divide it into 2 or 3 equal pieces, depending on the size of the baguettes you want to make.
  2. Shape the Dough: Shape each piece into a rough rectangle. Fold the long edges of the rectangle towards the center, pressing gently to seal, then roll the dough into a long cylinder. Pinch the seam closed and roll gently to form a baguette shape.
  3. Final Shaping: Place the shaped dough on a floured couche (linen cloth) or parchment-lined baking sheet. Cover with a damp cloth and let rise for about 45 minutes to 1 hour, until puffy.

4. Prepare for Baking:

  1. Preheat Oven: Preheat your oven to 475°F (245°C). Place a baking stone or an inverted baking sheet in the oven to heat up. Place a shallow pan of water on the bottom rack of the oven to create steam.
  2. Score the Dough: Using a sharp knife or a bread lame, make 3-4 diagonal slashes on the top of each baguette.

5. Bake the Baguettes:

  1. Transfer to Oven: Carefully transfer the baguettes onto the preheated baking stone or baking sheet. You can use a peel or the back of another baking sheet to help with the transfer.
  2. Bake: Bake for 20-25 minutes, until the baguettes are golden brown and sound hollow when tapped on the bottom.
  3. Cool: Remove from the oven and let the baguettes cool on a wire rack.

Tips:

  • Steam: The steam created by the pan of water helps to develop a crispy crust. You can also mist the inside of the oven with water just before closing the door if you don’t have a steam pan.
  • Shaping: Proper shaping and scoring help the baguettes expand properly in the oven.
  • Practice: Making baguettes can take some practice, so don’t be discouraged if your first batch isn’t perfect. Each attempt will improve your technique.

Enjoy your homemade baguettes!

traditional French baguette
KH_011924_MDWL0297_toasted-french-bread-dfdb8358055b4920b5e7723566709652
XmY3WaUkQxKvJXru6hk8_baguettes
short-guide-to-french-bread

popular foods in France

popular foods in France
SES-classic-beef-bourguignon-recipe-7498352-hero-A-f3d470b196ee4c97acb778bc068eec13
553fce4969bedd3a1a0ff12b
11062b_207e2cd998734a17be476e2afc60f665~mv2

Exploring Iconic French Cuisine: A Guide to the Top Ten Traditional Dishes

French cuisine is celebrated worldwide for its culinary finesse and decadent flavors, characterized by a rich history and regional diversity that brings a variety of dishes to the table. From crusty baguettes to sumptuous stews, French dishes offer a gastronomic journey that is both rustic and sophisticated. Here’s a closer look at ten of the most iconic and beloved foods from France, each embodying the essence of French culinary artistry.

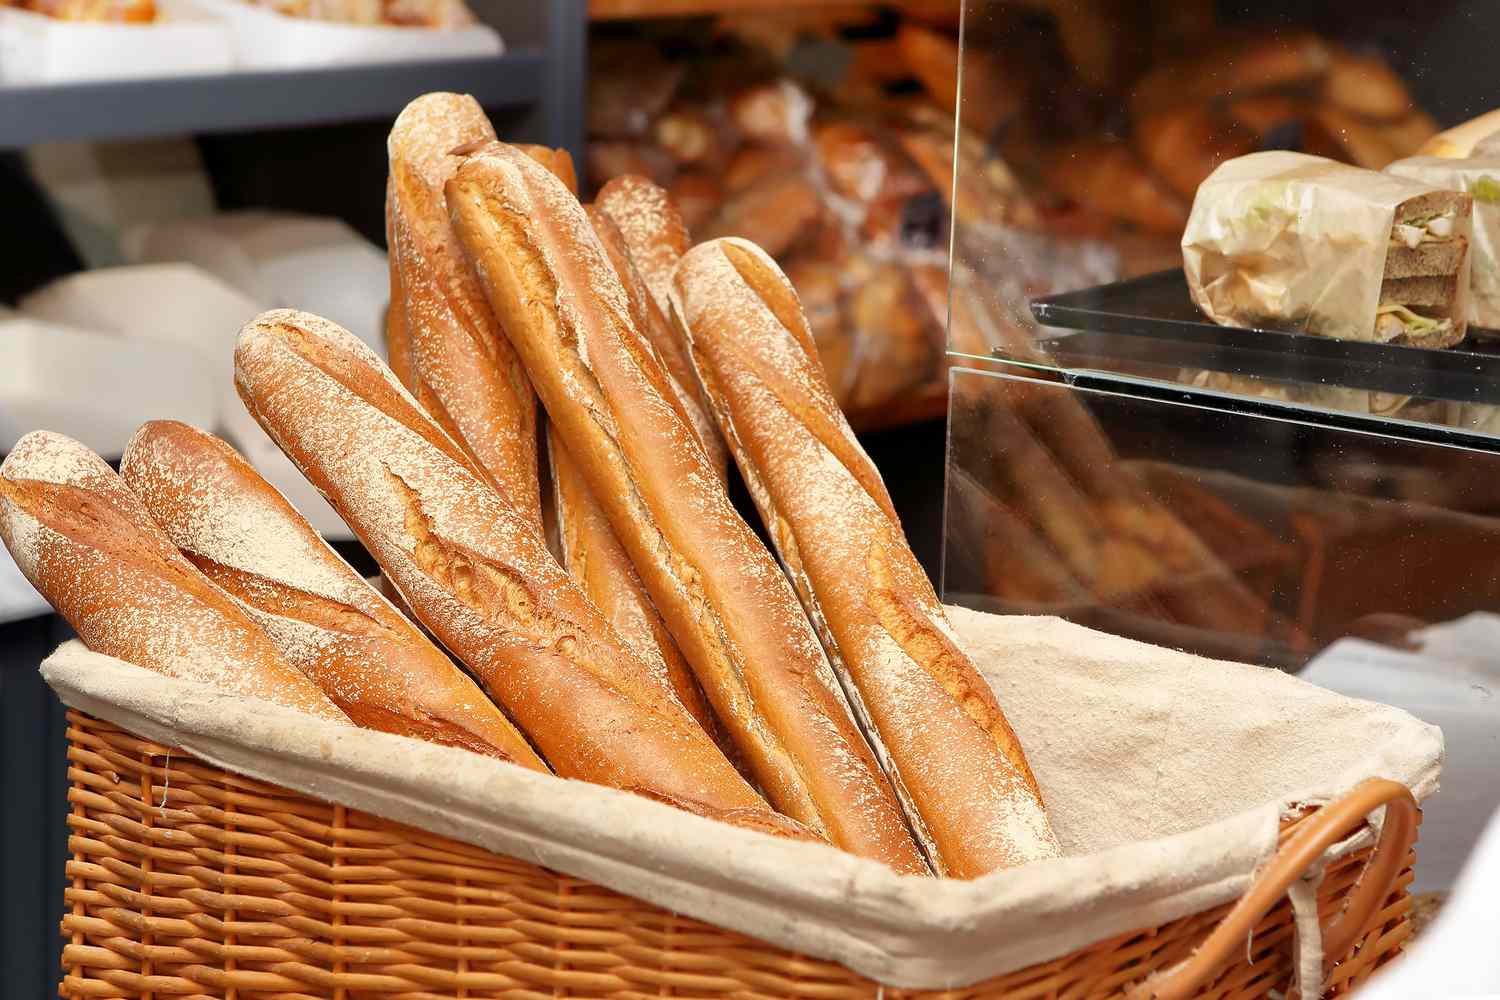
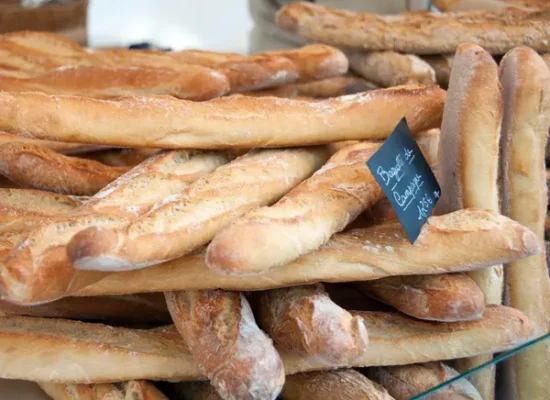
  1. Baguette: The quintessential French bread, a long, thin loaf with a crispy crust and soft interior. It’s a staple in French households and often enjoyed with butter or cheese.

  2. Croissant: A buttery, flaky pastry that is a breakfast favorite. The croissant is made with layers of dough and butter, creating its signature light and airy texture.

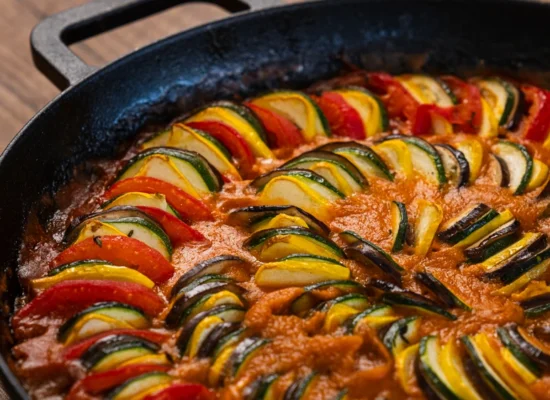
  3. Ratatouille: A classic Provençal vegetable stew made with tomatoes, zucchini, eggplant, bell peppers, onions, and a variety of herbs. It can be served as a main dish or a side.

  4. Coq au Vin: A hearty, slow-cooked dish featuring chicken braised in red wine, often with mushrooms, onions, and bacon. It’s a traditional dish from the Burgundy region.

  5. Boeuf Bourguignon: Another Burgundy classic, this is a beef stew slow-cooked in red wine, with garlic, onions, and mushrooms. It’s rich and flavorful, perfect for a comforting meal.

  6. Quiche Lorraine: A savory tart from the Lorraine region, made with a pastry crust filled with a mixture of eggs, cream, cheese, and bacon. It’s enjoyed both warm and cold.

  7. Escargot: Snails cooked in a garlic parsley butter. This dish is often served as an appetizer and is a delicacy in French cuisine.

  8. Bouillabaisse: A traditional Provençal fish stew originating from the port city of Marseille. It’s made with various types of fish and shellfish, simmered in a broth of tomatoes, onions, garlic, saffron, and herbs.

  9. Crepes: Thin pancakes that can be either sweet or savory. Sweet crepes are often filled with ingredients like Nutella, fruits, and whipped cream, while savory ones (galettes) are made with buckwheat flour and filled with cheese, ham, and eggs.

  10. Macarons: Delicate almond meringue cookies sandwiched together with a variety of fillings such as ganache, buttercream, or jam. They come in many flavors and colors and are a staple in French patisseries.

These dishes reflect the diversity and richness of French culinary tradition, each offering a unique taste of the country’s regional flavors and ingredients.

These ten dishes are pillars of French cuisine, each offering a distinct taste and experience. Whether you’re drawn to the simplicity of a fresh baguette or the complex layers of a Boeuf Bourguignon, French cooking offers a dish to satisfy every palate, making it one of the world’s most revered culinary traditions.

Italian gelato

Mastering Homemade Italian Gelato: An Easy Guide to Creamy Perfection

Italian gelato is not just ice cream; it’s a creamy delight that embodies the essence of Italian dessert culture. This delicious treat is denser and richer than its American counterpart, primarily due to a lower air content and a higher proportion of milk. Making Italian gelato at home can be a rewarding culinary adventure, and starting with a classic vanilla flavor provides a perfect base for experimentation with countless variations.

Ingredients

  • 2 cups whole milk
  • 1 cup heavy cream
  • 3/4 cup granulated sugar
  • 4 large egg yolks
  • 1 vanilla bean (or 1 teaspoon pure vanilla extract)

Instructions

1. Prepare the Base:

  1. Heat Milk and Cream: In a medium saucepan, combine the whole milk and heavy cream. If using a vanilla bean, split it lengthwise, scrape out the seeds, and add both the seeds and the pod to the milk mixture. Heat over medium heat until it just begins to simmer. Do not let it boil. Remove from heat and let it steep for 30 minutes.
  2. Whisk Egg Yolks and Sugar: In a separate bowl, whisk together the egg yolks and granulated sugar until the mixture is pale and thick.

2. Temper the Eggs:

  1. Add Hot Milk to Eggs: Gradually pour the warm milk mixture into the egg yolk mixture, whisking constantly to prevent the eggs from curdling.
  2. Cook the Mixture: Pour the combined mixture back into the saucepan. Cook over low heat, stirring constantly with a wooden spoon, until the mixture thickens and coats the back of the spoon (around 170-175°F or 77-80°C). Do not let it boil.

3. Strain and Cool:

  1. Strain the Mixture: Remove from heat and strain the mixture through a fine-mesh sieve into a clean bowl to remove any cooked egg bits and the vanilla bean pod (if used).
  2. Cool: Let the mixture cool to room temperature, then cover and refrigerate for at least 4 hours, preferably overnight. This allows the flavors to meld and the mixture to chill completely.

4. Churn the Gelato:

  1. Churn: Once the mixture is thoroughly chilled, pour it into your ice cream maker and churn according to the manufacturer’s instructions. Gelato typically takes longer to churn than regular ice cream and should have a dense, smooth consistency.
  2. Freeze: Transfer the churned gelato to an airtight container and freeze for at least 2 hours to firm up before serving.

Tips:

  • Flavor Variations: You can create various gelato flavors by adding different ingredients:
    • Chocolate: Add 1/2 cup of high-quality cocoa powder to the milk mixture.
    • Fruit: Puree fresh fruit and mix it into the base before churning.
    • Nutella: Swirl in Nutella during the last few minutes of churning.
  • Serving: Serve gelato slightly softened for the best texture. Allow it to sit at room temperature for a few minutes before scooping.

Enjoy your homemade Italian gelato!

Italian gelato
gelato-tradizionale-italiano
gelato-tradizionale-italiano_974629-961
Vanilla-15-scaled

Tiramisu is a classic Italian dessert

Deliciously Decadent: How to Make Classic Italian Dessert Tiramisu at Home

Tiramisu, a timeless Italian dessert, is renowned for its layered elegance and irresistible taste. This luxurious treat combines rich mascarpone, robust coffee, and delicate ladyfingers, topped with a dusting of cocoa, for a dessert that’s as beautiful as it is delicious. Here’s how you can recreate this beloved Classic Italian Dessert Tiramisu at home, perfect for impressing guests or indulging in a little self-pampering.

Ingredients

  • 6 large egg yolks
  • 3/4 cup granulated sugar
  • 1 cup mascarpone cheese, room temperature
  • 1 1/2 cups heavy cream
  • 2 cups brewed espresso or strong coffee, cooled
  • 1/2 cup coffee liqueur (optional)
  • 2 packages (about 14 ounces) ladyfingers (savoiardi)
  • Unsweetened cocoa powder, for dusting
  • Dark chocolate shavings, for garnish (optional)

Instructions

1. Prepare the Cream Mixture:

  1. Whisk Egg Yolks and Sugar: In a large heatproof bowl, whisk together the egg yolks and sugar until well combined and pale in color.
  2. Heat Mixture: Place the bowl over a pot of simmering water (double boiler method) and cook, whisking constantly, until the mixture is thick and has doubled in volume, about 5-8 minutes. Remove from heat and let it cool slightly.
  3. Add Mascarpone: Once the egg mixture has cooled, gently fold in the mascarpone cheese until smooth and well incorporated.

2. Whip the Cream:

  1. Whip Cream: In a separate bowl, whip the heavy cream until stiff peaks form.
  2. Fold Together: Gently fold the whipped cream into the mascarpone mixture until well combined and smooth.

3. Prepare the Coffee Mixture:

  1. Combine Coffee and Liqueur: In a shallow dish, combine the cooled espresso or coffee with the coffee liqueur (if using).

4. Assemble the Tiramisu:

  1. Dip Ladyfingers: Quickly dip each ladyfinger into the coffee mixture, making sure not to soak them. They should be moist but not soggy.
  2. Layer: Arrange a layer of dipped ladyfingers in the bottom of a 9×13-inch baking dish.
  3. Add Cream: Spread half of the mascarpone mixture over the layer of ladyfingers.
  4. Repeat Layers: Repeat with another layer of dipped ladyfingers and the remaining mascarpone mixture.

5. Chill:

  1. Refrigerate: Cover the dish with plastic wrap and refrigerate for at least 4 hours, preferably overnight, to allow the flavors to meld and the dessert to set.

6. Serve:

  1. Dust with Cocoa: Before serving, dust the top of the tiramisu with unsweetened cocoa powder using a fine-mesh sieve.
  2. Garnish: Optionally, garnish with dark chocolate shavings.

Tips:

  • Egg Safety: If you’re concerned about using raw eggs, you can use pasteurized eggs or find a recipe that cooks the eggs to a safe temperature.
  • Mascarpone: Make sure the mascarpone cheese is at room temperature to avoid lumps.
  • Soaking Ladyfingers: Don’t over-soak the ladyfingers, as they can become too mushy.

Enjoy your homemade Classic Italian Dessert Tiramisu!

Classic Italian Dessert Tiramisu
tiramisu-cremoso-finale
tiramisu
torta-tiramisu