Food

Food: The Ultimate Guide to Understanding and Choosing the Best for Your Health

Food is the cornerstone of our daily lives, providing the necessary nutrients to fuel our bodies and minds. However, not all foods are created equal, and understanding the different types of food available can help you make healthier choices. This guide will delve into various food categories, their benefits, and tips on how to choose the best options for a well-balanced diet.

The Basics of Whole Foods: Why They Should Be Your Go-To

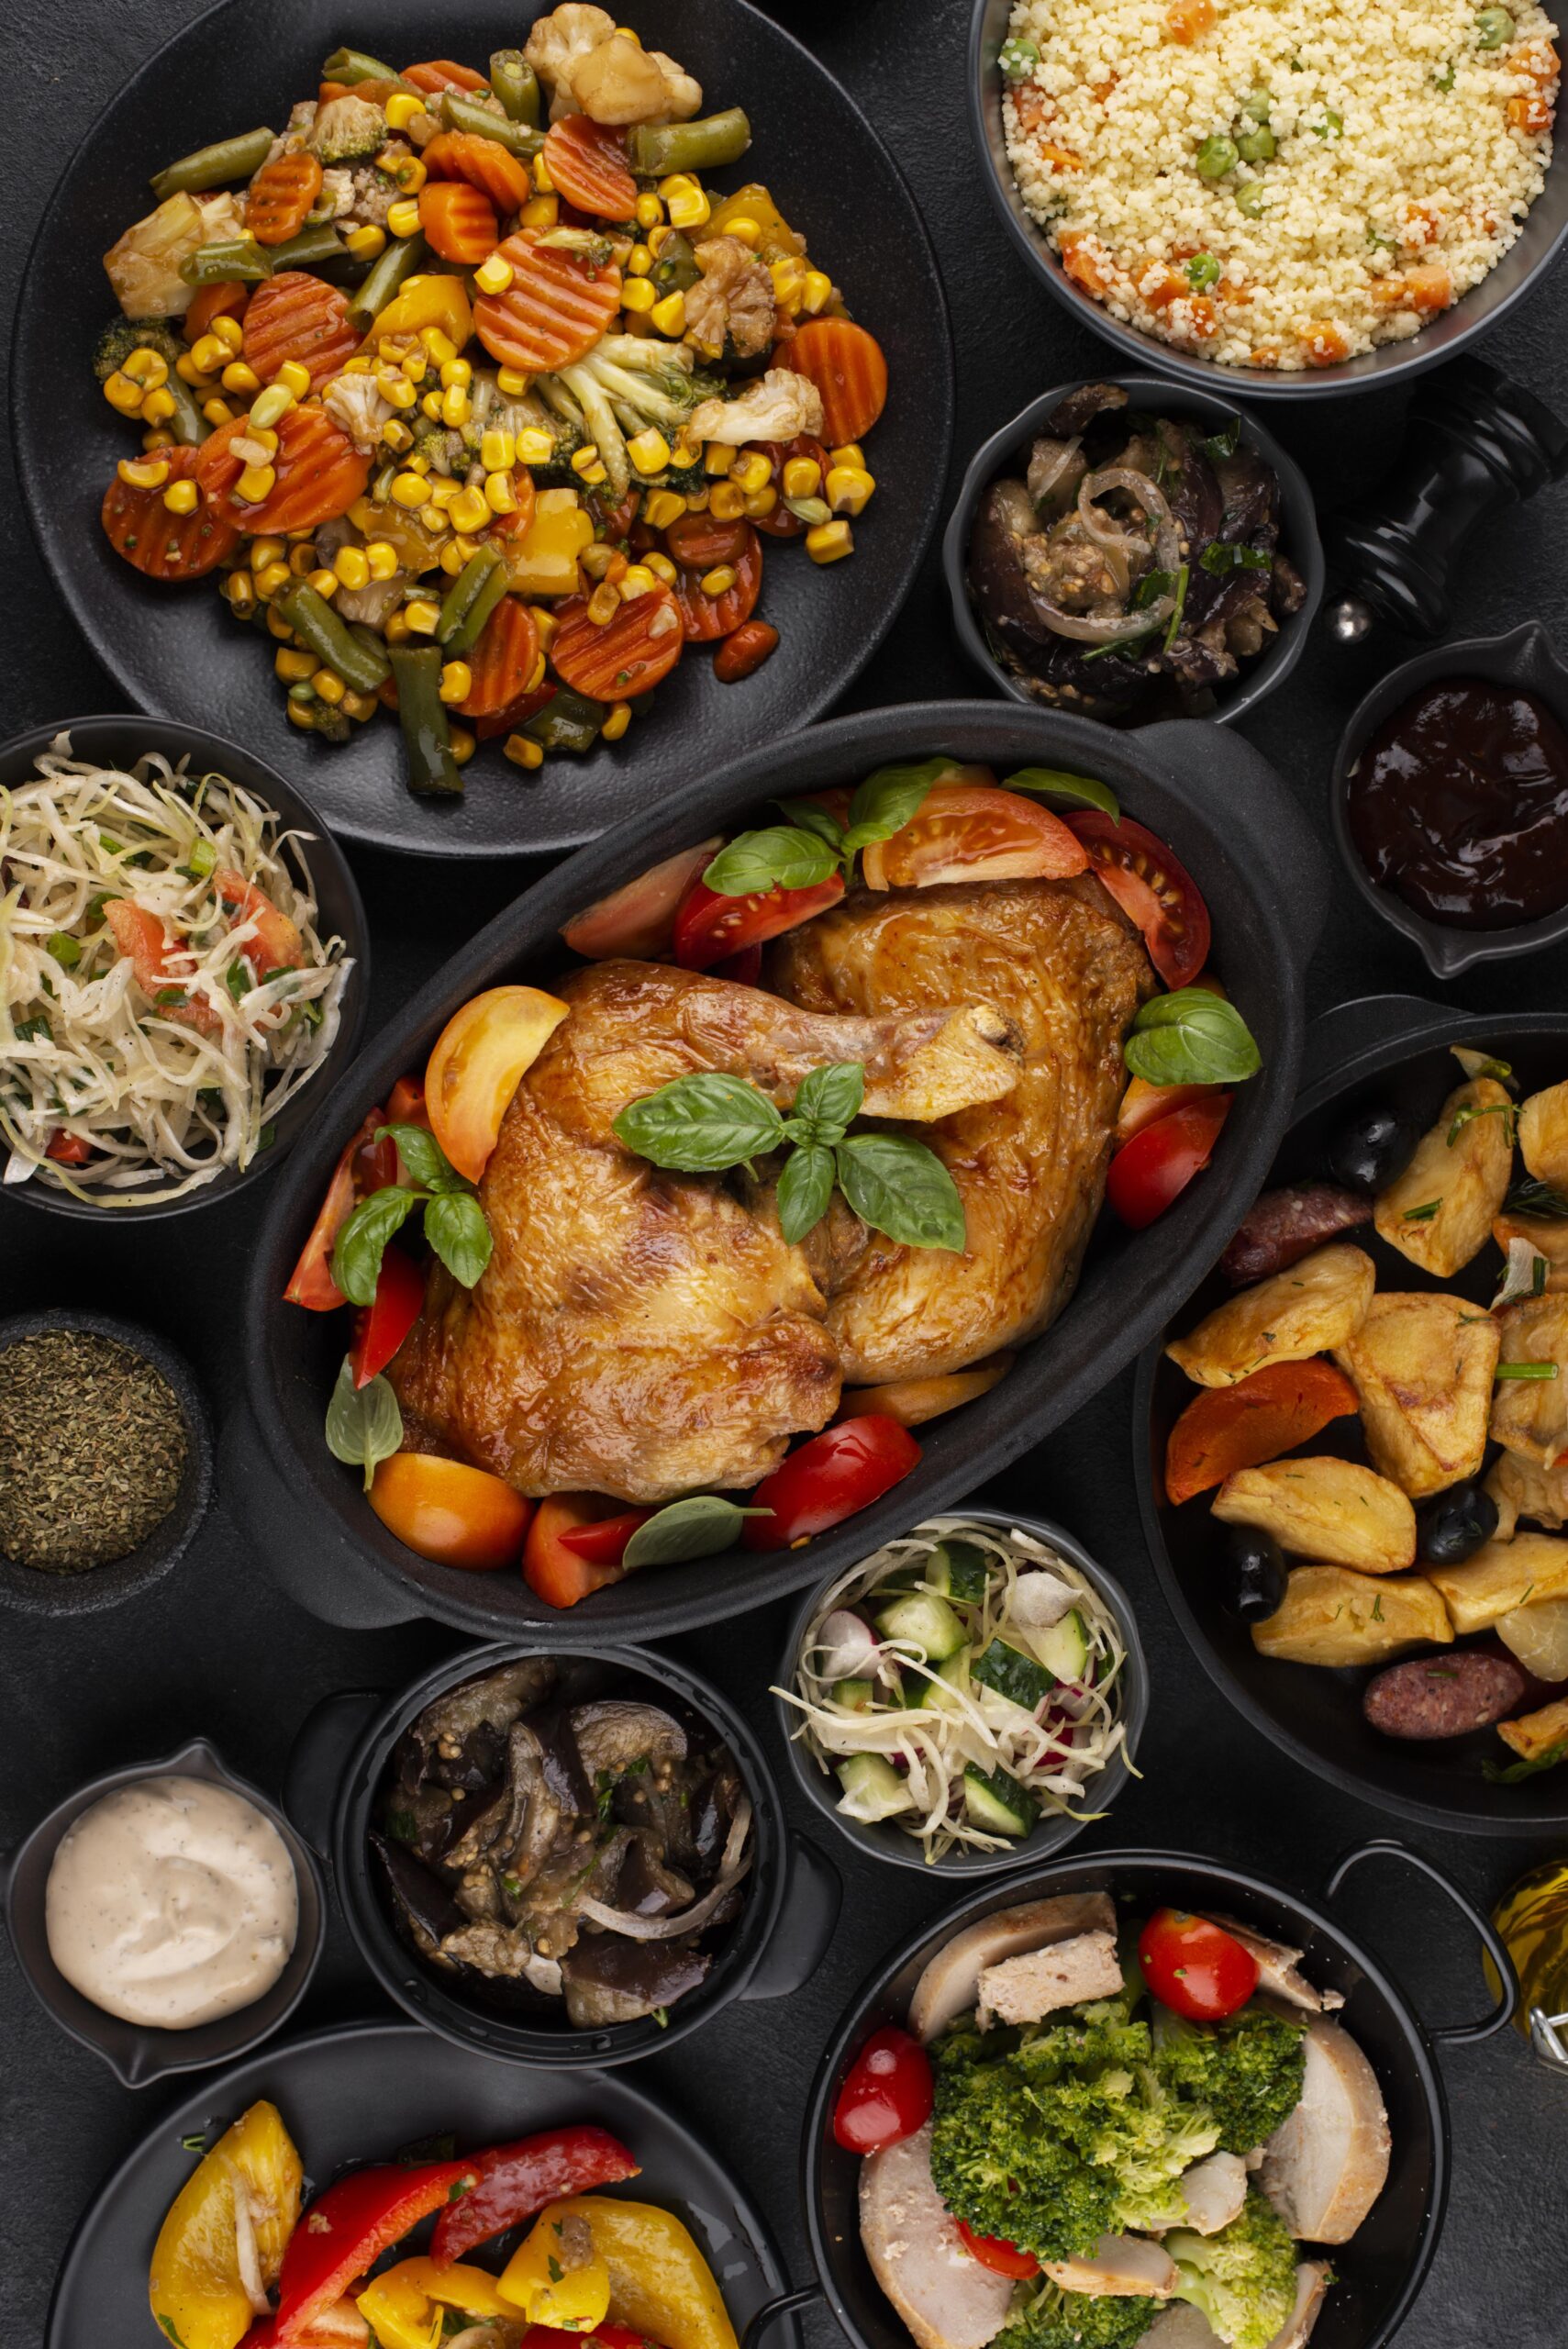
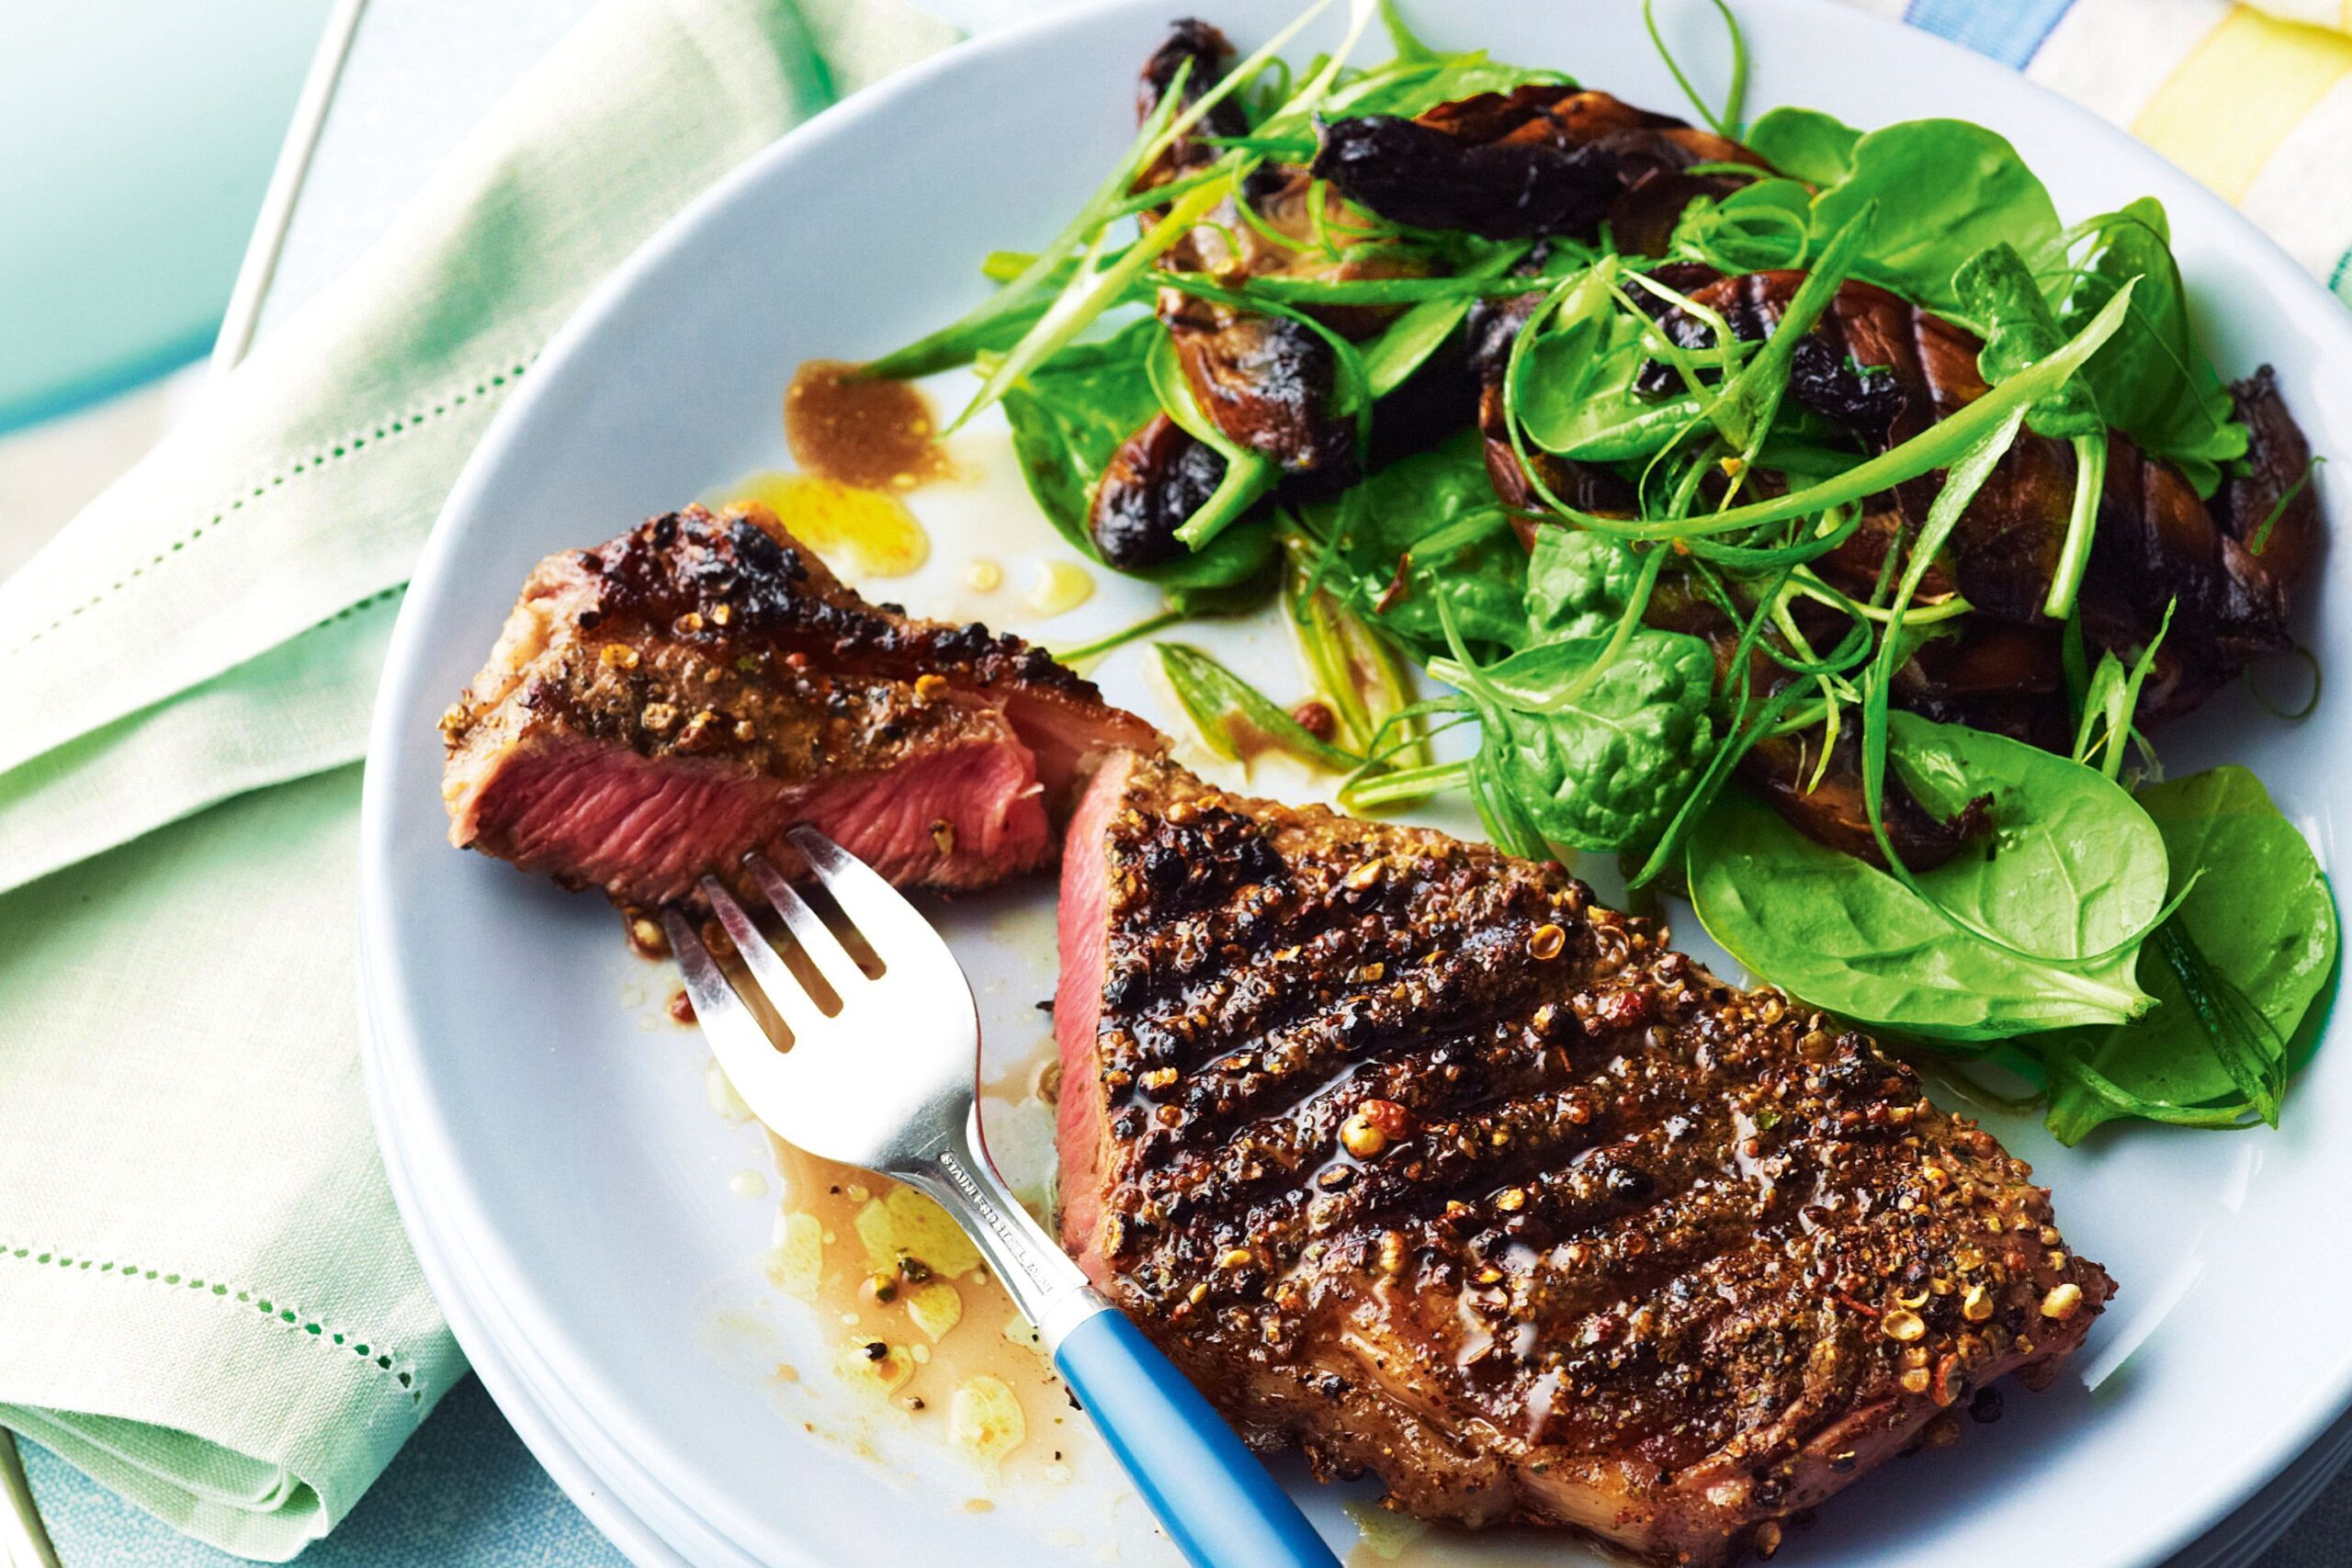
Whole foods are the most natural and unprocessed form of food, offering the highest nutritional value. These foods include fresh fruits, vegetables, whole grains, nuts, seeds, and lean proteins. They are rich in essential nutrients like vitamins, minerals, fiber, and antioxidants, all of which contribute to better health and well-being.

Choosing whole foods as the foundation of your diet can lead to numerous health benefits, including improved digestion, better energy levels, and a lower risk of chronic diseases such as heart disease, diabetes, and cancer.

Processed Foods: What You Need to Know

Processed foods are those that have undergone some level of alteration during preparation. This category includes foods that have been canned, frozen, or packaged, as well as those that have had salt, sugar, or fat added to them. While not all processed foods are unhealthy, it’s essential to read labels carefully and choose options with minimal additives.

For example, canned vegetables can be a convenient and healthy option if they are packed in water without added salt or sugar. Similarly, whole grain bread is a processed food that can still be part of a healthy diet if it contains minimal ingredients and no artificial preservatives.

Ultra-Processed Foods: The Risks and How to Avoid Them

Ultra-processed foods are products that have been heavily modified and often contain artificial ingredients like flavorings, preservatives, emulsifiers, and colorings. These foods are typically high in calories, sugar, unhealthy fats, and sodium, but low in essential nutrients.

Examples of ultra-processed foods include sugary cereals, soft drinks, packaged snacks, and ready-to-eat meals. Regular consumption of these foods has been linked to various health issues, such as obesity, heart disease, and certain types of cancer.

To reduce your intake of ultra-processed foods, focus on cooking at home using whole ingredients. This way, you can control what goes into your meals and ensure you’re nourishing your body with the best possible foods.

Tips for Incorporating Healthier Foods into Your Diet

  • Plan Your Meals: Planning meals in advance can help you make healthier choices and avoid the temptation of ultra-processed foods. Include a variety of whole foods in your meal plans, such as fruits, vegetables, whole grains, and lean proteins.
  • Read Labels: When purchasing packaged foods, take the time to read the labels. Look for products with minimal ingredients and avoid those with artificial additives or excessive amounts of sugar, salt, and unhealthy fats.
  • Cook at Home: Cooking at home allows you to have full control over the ingredients in your meals. Experiment with new recipes that incorporate whole foods and try to make cooking a fun and enjoyable part of your routine.
  • Stay Hydrated: Drink plenty of water throughout the day, and try to limit your intake of sugary drinks. Herbal teas and infused water are excellent alternatives that can keep you hydrated without added sugars or calories.

Food is more than just sustenance—it’s a critical component of your health and well-being. By making informed choices and focusing on whole, minimally processed foods, you can enjoy a healthier and more vibrant life.

Food
Top view table full delicious food composition (1)

Cherry cake

Classic Cherry Cake Recipe for Any Occasion

Cherry cake is a timeless classic that combines the sweetness of cherries with the richness of a perfectly baked cake. Whether you’re baking for a special occasion or just treating yourself, this ultimate guide will walk you through the best recipes and tips for creating a cherry cake that will wow your taste buds. From traditional cherry loaf cakes to modern twists like cherry almond cake, we’ve got you covered.

This classic cherry cake is versatile, perfect for birthdays, holidays, or just a weekend baking project. Here’s a classic recipe that you can easily customize.

Ingredients:

  • 200g unsalted butter, softened
  • 200g caster sugar
  • 3 large eggs
  • 200g self-raising flour
  • 1 tsp vanilla extract
  • 200g glace cherries, halved and rinsed
  • 50g ground almonds (optional)
  • 2 tbsp milk

Step-by-Step Instructions for the Perfect Cherry Cake

Step 1: Prepare the Cherries

Start by preheating your oven to 180°C (350°F). Grease and line a loaf tin with parchment paper. Rinse the glace cherries under cold water, then dry them thoroughly with kitchen paper. Toss the cherries in a little flour to prevent them from sinking to the bottom of the cake during baking.

Step 2: Cream the Butter and Sugar

In a large mixing bowl, beat the softened butter and caster sugar together until light and fluffy. This should take about 3-4 minutes using an electric hand mixer.

Step 3: Add the Eggs and Vanilla

Beat in the eggs one at a time, ensuring each egg is fully incorporated before adding the next. Stir in the vanilla extract for extra flavor.

Step 4: Fold in the Flour and Almonds

Gently fold in the self-raising flour and ground almonds (if using) until just combined. Be careful not to overmix, as this can make the cake dense. If the batter seems too thick, add the milk to loosen it up.

Step 5: Add the Cherries

Carefully fold the floured cherries into the batter. Make sure the cherries are evenly distributed throughout the mixture.

Step 6: Bake the Cake

Pour the batter into the prepared loaf tin and smooth the top with a spatula. Bake in the preheated oven for 45-50 minutes, or until a skewer inserted into the center of the cake comes out clean.

Step 7: Cool and Serve

Allow the cherry cake to cool in the tin for 10 minutes before transferring it to a wire rack to cool completely. Once cooled, slice and enjoy your delicious cherry cake!

Tips and Tricks for a Moist and Flavorful Cherry Cake

  • Use Fresh Cherries When Possible: Fresh cherries add a burst of natural flavor that can elevate your cake. If using fresh cherries, pit and halve them before adding to the batter.
  • Rinse and Dry Glace Cherries: Always rinse and dry glace cherries to remove excess syrup, which can cause them to sink in the cake.
  • Don’t Overmix the Batter: Overmixing can lead to a tough cake. Gently fold in the ingredients to keep the cake light and airy.
  • Experiment with Add-ins: Almonds, chocolate chips, or even a dash of almond extract can add a unique twist to your cherry cake.

Cherry cake is more than just a dessert—it’s a slice of joy that can brighten any day. Whether you’re a seasoned baker or a novice, this guide will help you create the perfect cherry cake every time.

Cherry cake
Homemade Pie with cherries and cream
Cherry cake

Cherry Jam

Cherry Jam: The Ultimate Homemade Treat for a Sweet Life

Cherry jam is a beloved homemade delight that brings the vibrant, sweet flavor of cherries to your table. Perfect for spreading on toast, filling in cakes, or gifting to loved ones, this jam is easy to make and incredibly rewarding. Follow this simple guide to create your own delicious cherry jam and enjoy a taste of summer all year round.

Ingredients for the Perfect Cherry Jam

To make a batch of this delightful cherry jam, you will need:

  • 2kg cherries, pitted (half roughly chopped, half halved)
  • 1.2kg jam sugar (with added pectin)
  • 2 lemons, juiced

These ingredients will yield around 4 x 450g jars of jam, perfect for sharing or storing.

Step-by-Step Instructions for Making Cherry Jam

Step 1: Prepare Your Equipment

Before you start, place two saucers in the freezer. These will be used later to test if your cherry jam has reached the right consistency.

Step 2: Combine the Ingredients

In a large, heavy-based saucepan, combine the pitted cherries, jam sugar, and lemon juice. Stir the mixture well to ensure all the sugar dissolves.

Step 3: Cook the Jam

Place the saucepan over medium-high heat and let the mixture simmer uncovered for 35-50 minutes. Stir frequently to prevent the cherry jam from sticking to the bottom of the pan. The mixture will gradually thicken and become glossy.

Step 4: Test for Doneness

After 35 minutes, take one of the chilled saucers from the freezer and spoon a little of the jam onto it. Let it sit for a minute, then gently press your fingertip into the jam. If it wrinkles, the jam is ready. If it slides or is too runny, continue boiling the jam for another 10 minutes and test again with the second saucer.

Step 5: Jar the Jam

Once your cherry jam has reached the desired consistency, spoon it into sterilized jars while still hot. Seal the jars tightly and allow them to cool. Store unopened jars in a dark, cool place for up to six months. Opened jars should be kept in the fridge and consumed within three months.

Tips for the Best Cherry Jam

  • Use fresh, ripe cherries for the best flavor. Avoid overripe or bruised cherries as they can affect the taste and texture of the jam.
  • Sterilize your jars properly before filling them with jam to prevent spoilage.
  • Experiment with flavors by adding a touch of vanilla extract or a splash of your favorite liqueur to the cherry mixture during cooking.

Cherry jam is not only a delicious way to preserve the essence of cherries but also a versatile ingredient in many recipes. Whether you’re new to jam-making or a seasoned pro, this recipe will guide you to creating the perfect batch every time.

Cherry Jam
high-angle-stewed-cherries-jar
dessert-arrangement-with-jam-high-angle

Cherry

Cherry: A Versatile Fruit for Every Occasion

Cherries are a delightful fruit that perfectly captures the essence of summer. Whether sweet or sour, these juicy gems offer a burst of flavor that can enhance both savory and sweet dishes. In this blog post, we will explore the various types of cherries, how to choose the best ones, and tips for storing and cooking them to perfection. Cherry is not just a treat for your taste buds but also a nutritious addition to your diet.

Types of Cherries

Cherries come in several varieties, each with its own unique flavor profile and culinary uses. They are generally categorized into three main types: sweet cherries, sour cherries, and hybrids.

  • Sweet Cherries: These are the most common type found in grocery stores and are perfect for eating fresh. Varieties include Bing, Rainier, and Lambert, each offering a different level of sweetness.
  • Sour Cherries: Also known as tart cherries, these are often used in baking and cooking. Montmorency and Morello are popular varieties, known for their bright acidity that balances well with sugar in desserts.
  • Hybrids: These cherries are a mix of sweet and sour, offering a balanced flavor that works well in both sweet and savory dishes.

How to Choose the Best Cherries

Selecting the best cherries is essential for enjoying their full flavor. When shopping, look for the following characteristics:

  • Color: The color can vary from bright red to deep maroon. Darker cherries are generally sweeter, while lighter ones may have a tartness to them.
  • Firmness: Choose cherries that are firm to the touch but not hard. Avoid cherries that are soft or have blemishes, as they may be overripe.
  • Stems: Cherries with their stems attached tend to stay fresher longer. Look for green, flexible stems as a sign of freshness.

Tips for Storing Cherries

Proper storage is key to maintaining the quality and taste of your cherries.

  • Refrigeration: Keep unwashed cherries in a breathable bag in the fridge. They should stay fresh for up to a week.
  • Freezing: Cherries freeze well, making it easy to enjoy them out of season. Pit the cherries first, then spread them on a baking sheet to freeze individually before transferring to a freezer bag.

Cooking with Cherries: Sweet and Savory Ideas

Cherries are incredibly versatile in the kitchen. Here are some ideas for incorporating cherry into your meals:

  • Sweet Dishes: Use sweet cherries in pies, tarts, or clafoutis. Their natural sweetness also pairs well with dark chocolate in desserts.
  • Savory Dishes: Sour cherries can add a tangy punch to sauces for meats, especially duck or pork. Try a cherry glaze or chutney to elevate your dishes.
  • Beverages: Blend cherries into smoothies, or use them to infuse spirits like vodka for a fruity twist on cocktails.

Health Benefits of Cherries

Cherries are not only delicious but also packed with nutrients that benefit your health.

  • Rich in Antioxidants: Cherries, especially the dark varieties, are high in antioxidants like anthocyanins, which help combat inflammation and oxidative stress.
  • Supports Sleep: Tart cherries are a natural source of melatonin, a hormone that regulates sleep cycles. Consuming tart cherry juice may help improve sleep quality.
  • Promotes Heart Health: The potassium in cherries helps regulate blood pressure, while the fruit’s fiber content supports overall heart health.
  •  

Incorporating cherry into your diet is a delicious way to boost your health while enjoying the flavors of summer. Whether eaten fresh, baked into a pie, or used to create a savory sauce, cherries are a fruit that should be on everyone’s menu.

Cherries with flower pot in a wooden plate on pink and grungy background, side view.
Cherry
dessert-arrangement-with-jam-high-angle

Grilled Carne Asada

Grilled Carne Asada : How to Prepare This Flavorful Dish at home for six people

Grilled Carne Asada is a flavorful, marinated beef dish that’s perfect for grilling. Here’s how to prepare a delicious Carne Asada for six people at home.

Ingredients:

  • 2 ½ to 3 pounds flank steak or skirt steak
  • 3/4 cup fresh lime juice (about 6-8 limes)
  • 1/4 cup fresh orange juice (about 1 orange)
  • 1/4 cup olive oil
  • 4 cloves garlic, minced
  • 1 jalapeño, minced (optional for heat)
  • 1/2 cup fresh cilantro, chopped
  • 1 teaspoon ground cumin
  • 1 teaspoon smoked paprika
  • 1 teaspoon chili powder
  • 1 teaspoon ground black pepper
  • 1 teaspoon salt
  • 1 tablespoon soy sauce (optional for extra umami flavor)

Equipment:

  • Large resealable plastic bag or shallow dish
  • Grill (gas or charcoal)
  • Tongs
  • Cutting board and knife
  • Meat thermometer

Preparation:

  1. Prepare the Marinade:

    • In a large bowl, whisk together the lime juice, orange juice, olive oil, minced garlic, minced jalapeño (if using), cilantro, cumin, smoked paprika, chili powder, ground black pepper, salt, and soy sauce (if using).
  2. Marinate the Steak:

    • Place the flank or skirt steak in a large resealable plastic bag or shallow dish.
    • Pour the marinade over the steak, making sure it’s well-coated. Seal the bag or cover the dish, and refrigerate for at least 2 hours, preferably overnight for maximum flavor.
  3. Prepare the Grill:

    • Preheat your grill to high heat (about 450°F to 500°F). If using charcoal, prepare a two-zone fire with hot coals on one side and a cooler side for indirect cooking.
  4. Grill the Steak:

    • Remove the steak from the marinade and let any excess drip off. Discard the remaining marinade.
    • Place the steak on the hot grill. Grill for about 3-5 minutes per side, depending on the thickness, until it reaches your desired level of doneness (135°F / 57°C for medium-rare).
    • Use tongs to flip the steak halfway through cooking.
  5. Rest the Steak:

    • Remove the steak from the grill and transfer it to a cutting board.
    • Tent the steak with aluminum foil and let it rest for about 10 minutes. This allows the juices to redistribute throughout the meat.
  6. Slice and Serve:

    • Slice the steak thinly against the grain to ensure tenderness.
    • Serve the Carne Asada with warm tortillas, guacamole, salsa, and your favorite toppings such as grilled onions, fresh cilantro, and lime wedges.

Tips:

  • Marinating Time: The longer the steak marinates, the more flavorful it will be. Overnight marination is ideal.
  • Grill Temperature: Ensure your grill is hot before placing the steak on it to achieve a good sear.

Enjoy your grilled Carne Asada with family and friends for a perfect outdoor meal!

Grilled Carne Asada
DSC_0702-scaled
Carne-Asada-8
Carne-Asada-main

Pepper Steak

Homemade Pepper Steak: A Delightful Family Meal for Six People

Pepper steak is a delightful dish that brings the rich and savory flavors of a restaurant-quality meal straight to your dinner table. This recipe will help you prepare pepper steak for six people, blending the robust tastes of steak, bell peppers, and onions. Ideal for family gatherings or casual dinners, pepper steak is not only bursting with flavor but also boasts visual appeal, making every meal a complete sensory delight. Whether you’re a seasoned chef or a home cook, this pepper steak recipe ensures a memorable dining experience with every bite.

Ingredients:

  • 1.5 to 2 pounds of flank steak or sirloin, thinly sliced
  • 2 tablespoons of vegetable oil (for cooking)
  • 1 medium onion, sliced
  • 2 bell peppers (red and green), sliced
  • 2-3 cloves of garlic, minced
  • 1 tablespoon of fresh ginger, minced (optional)
  • 3 tablespoons of soy sauce
  • 1 tablespoon of cornstarch dissolved in 2 tablespoons of water (for thickening)
  • 1 teaspoon of black pepper (adjust to taste)
  • Salt to taste
  • Cooked rice (for serving)

Instructions:

  1. Marinate the Steak:

    • Combine the sliced steak, soy sauce, black pepper, and a bit of salt in a bowl. Let it marinate for at least 30 minutes to an hour. This not only infuses the steak with flavor but also tenderizes it, ensuring that each bite is juicy and delicious.
  2. Prepare the Vegetables:

    • While the steak marinates, prepare your veggies. Slice the onion and bell peppers into thin strips, and mince the garlic and ginger. This prep work ensures everything cooks evenly and quickly, keeping the vegetables crisp and vibrant.
  3. Cook the Steak:

    • Heat 1 tablespoon of vegetable oil in a large skillet or wok over high heat.
    • Add the marinated steak in a single layer (you may need to do this in batches) and cook for about 2-3 minutes until browned. Remove the cooked steak from the skillet and set aside.
  4. Stir-Fry the Vegetables:

    • In the same skillet, add the remaining tablespoon of oil, then add the sliced onion and stir-fry for about 2 minutes.
    • Add the bell peppers, garlic, and ginger (if using) and stir-fry for another 2-3 minutes until the vegetables are tender but still crisp.
  5. Combine and Thicken:

    • Return the cooked steak to the skillet with the vegetables.
    • Stir in the cornstarch mixture and cook for another minute until the sauce thickens slightly and everything is well combined. Adjust seasoning with salt and pepper if needed.
  6. Serve:

    • Serve the pepper steak over cooked rice, and enjoy your meal!

Tips:

  • You can also add other vegetables like broccoli or carrots to the mix.
  • For a bit of sweetness, consider adding a tablespoon of sugar to the marinade.
  • Adjust the level of spiciness by adding chili flakes if desired.

Enjoy your homemade pepper steak

Pepper Steak
Steak-au-poivre-pepper-steak
29841_sfs-steak-au-poivre-with-brandied-cream-sauce-037
Steak-Au-Poivre-S1

Peppercorn-Crusted Sirloin Steak

Peppercorn-Crusted Sirloin Steak: How to Prepare at Home for Six People

Elevate your dinner with this delicious recipe for peppercorn-crusted sirloin steak. Follow these steps to create a mouth-watering meal for six people.

Ingredients:

  • 3 large sirloin steaks (each about 12-16 ounces, 1.5 inches thick)
  • 3 tablespoons whole black peppercorns, coarsely crushed
  • 2 teaspoons sea salt
  • 6 tablespoons olive oil or vegetable oil
  • 6 tablespoons unsalted butter
  • 4 cloves garlic, crushed
  • Fresh thyme or rosemary sprigs (optional)
  • 1 cup heavy cream
  • 1/2 cup beef broth
  • 2 tablespoons brandy or cognac (optional)

Equipment:

  • Cast-iron skillet or heavy-bottomed frying pan
  • Tongs
  • Meat thermometer
  • Aluminum foil
  • Rolling pin or mortar and pestle (to crush peppercorns)

Preparation:

  1. Prepare the Steaks:

    • Pat the steaks dry with paper towels.
    • Season both sides with sea salt.
    • Press the crushed peppercorns onto both sides of the steaks to form a crust. Let them sit at room temperature for 30 minutes.
  2. Heat the Skillet:

    • Preheat your oven to 400°F (200°C).
    • Heat a cast-iron skillet over medium-high heat. Add 3 tablespoons of olive oil and heat until it shimmers.
  3. Sear the Steaks:

    • Sear the steaks in batches to avoid overcrowding. Place the steaks in the skillet and sear each side for about 3-4 minutes, until a brown crust forms.
    • Remove the steaks from the skillet and transfer them to a baking sheet. Set aside.
  4. Make the Sauce:

    • Reduce the heat to medium. Add the remaining olive oil and butter to the skillet.
    • Add the crushed garlic and fresh herbs, if using. Sauté for about 1 minute.
    • If using brandy or cognac, add it now and carefully ignite with a long lighter for a flambé effect. Let the alcohol burn off.
    • Add the beef broth and heavy cream, scraping up any browned bits from the bottom of the skillet. Let the sauce simmer and reduce for about 5 minutes.
  5. Finish in the Oven:

    • Transfer the seared steaks to the oven. Roast for about 5-7 minutes for medium-rare, or until the internal temperature reaches 130°F (54°C). Adjust the cooking time based on your desired level of doneness.
    • Remove the steaks from the oven and let them rest on a cutting board, tented with aluminum foil, for about 10 minutes.
  6. Serve:

    • Slice the steaks against the grain.
    • Drizzle the peppercorn sauce over the sliced steaks and serve.

Tips:

  • Crushing Peppercorns: Use a rolling pin or a mortar and pestle to crush the peppercorns. They should be coarse, not finely ground.
  • Resting: Letting the steak rest is crucial for retaining juices and flavor.

Enjoy your peppercorn-crusted sirloin steak with your favorite side dishes and a glass of red wine

Peppercorn-Crusted Sirloin Steak
homechef_Peppercorn_Crusted_Sirloin_Steak__6_of_8_
__opt__aboutcom__coeus__resources__content_migration__simply_recipes__uploads__2010__04__peppercorn-steak-horiz-a-1600-6a35dfb9efda4341968818b848b78317
PC_MIGNON

Steak Diane

Steak Diane: How to Prepare at Home for Six People

Steak Diane is a classic dish featuring tender steak with a rich, flavorful sauce. Here’s a step-by-step guide to prepare Steak Diane for six people at home.

Ingredients:

  • 6 beef tenderloin steaks (about 6-8 ounces each, 1-inch thick)
  • Salt and freshly ground black pepper
  • 6 tablespoons unsalted butter
  • 3 tablespoons olive oil
  • 1 small shallot, finely chopped
  • 3 cloves garlic, minced
  • 1/2 cup brandy or cognac
  • 1 cup beef stock
  • 1 cup heavy cream
  • 2 tablespoons Dijon mustard
  • 2 tablespoons Worcestershire sauce
  • 2 teaspoons lemon juice
  • 1 tablespoon chopped fresh parsley

Equipment:

  • Heavy-bottomed frying pan or skillet
  • Tongs
  • Measuring cups and spoons
  • Wooden spoon or spatula

Preparation:

  1. Season the Steaks:

  2. Heat the Pan:

    • Heat 3 tablespoons of butter and the olive oil in a large skillet over medium-high heat until the butter melts and begins to foam.
  3. Cook the Steaks:

    • Add the steaks to the skillet in batches to avoid overcrowding. Sear each side for about 3-4 minutes, or until a brown crust forms.
    • Transfer the seared steaks to a plate and cover with foil to keep warm.
  4. Prepare the Sauce:

    • Reduce the heat to medium and add the shallots and garlic to the skillet. Sauté for about 1-2 minutes, until softened.
    • Carefully add the brandy or cognac to deglaze the pan, scraping up any browned bits with a wooden spoon. If you want a dramatic flair, you can flambé the alcohol by igniting it with a long lighter (be cautious!).
    • Once the alcohol has mostly evaporated, add the beef stock, Dijon mustard, Worcestershire sauce, and lemon juice. Stir to combine.
  5. Finish the Sauce:

    • Stir in the heavy cream and bring the sauce to a simmer. Let it cook for about 2-3 minutes, until it thickens slightly.
    • Add the remaining 3 tablespoons of butter and stir until melted and the sauce is smooth.
  6. Return the Steaks to the Pan:

    • Return the steaks to the skillet, along with any accumulated juices. Spoon the sauce over the steaks and let them cook for an additional 2-3 minutes, or until they reach your desired level of doneness (medium-rare is 130°F / 54°C).
  7. Serve:

    • Transfer the steaks to serving plates, spooning the sauce over each steak.
    • Garnish with chopped fresh parsley.

Tips:

  • Doneness: Use a meat thermometer to check the doneness of your steaks to ensure they are cooked to your preference.
  • Flambé: If you choose to flambé the brandy or cognac, ensure there are no flammable items nearby and exercise caution.

Enjoy your delicious Steak Diane with your favorite sides, such as mashed potatoes, steamed vegetables, or a fresh green salad

Steak Diane
diane_sauce_57749_16x9
SES-classic-steak-diane-recipe-7503150-step-08-0e99326323064b1db49f45dc81aefa3c
FAW-recipes-steak-diane-step-07-52a922c222d14dd7ab2a686f2a22710c

New York Strip Steak with Chimichurri

New York Strip Steak with Chimichurri is a flavorful and easy-to-make dish that will impress your guests. Here’s how to prepare it at home for six people

Ingredients:

For the Steaks:

  • 6 New York strip steaks (about 1 inch thick)
  • Salt, to taste
  • Freshly ground black pepper, to taste
  • 3 tablespoons olive oil

For the Chimichurri Sauce:

  • 1 cup fresh parsley, finely chopped
  • 1/2 cup fresh cilantro, finely chopped
  • 1/4 cup fresh oregano, finely chopped (or 1 tablespoon dried oregano)
  • 4 cloves garlic, minced
  • 1/2 cup olive oil
  • 1/4 cup red wine vinegar
  • 1 tablespoon fresh lemon juice
  • 1 teaspoon red pepper flakes (optional, adjust to taste)
  • Salt, to taste
  • Freshly ground black pepper, to taste

Instructions:

1. Prepare the Chimichurri Sauce:

  1. Mix Ingredients: In a medium bowl, combine the parsley, cilantro, oregano, garlic, olive oil, red wine vinegar, lemon juice, red pepper flakes, salt, and black pepper. Mix well.
  2. Rest Sauce: Let the chimichurri sauce sit at room temperature for at least 30 minutes to allow the flavors to meld. You can also prepare it a few hours in advance and refrigerate it.

2. Prepare the Steaks:

  1. Season the Steaks: Pat the New York strip steaks dry with paper towels. Season generously with salt and freshly ground black pepper on both sides.
  2. Preheat Grill or Skillet: Preheat your grill to high heat (450-500°F). Alternatively, you can use a cast-iron skillet and preheat it over high heat until it’s very hot.
  3. Add Oil: Brush the steaks with olive oil to prevent sticking.

3. Cook the Steaks:

  1. Grill the Steaks: Place the steaks on the grill and cook for about 4-5 minutes on each side for medium-rare, or adjust the time based on your desired level of doneness. Use a meat thermometer to check the temperature: 130°F for medium-rare, 140°F for medium.
  2. Rotate Steaks: To get nice grill marks, rotate the steaks 90 degrees halfway through grilling each side.

4. Rest the Steaks:

  1. Transfer and Rest: Transfer the steaks to a plate and cover loosely with foil. Let them rest for about 5-10 minutes to allow the juices to redistribute.

5. Serve:

  1. Plate the Steaks: Place the grilled New York strip steaks on plates.
  2. Top with Chimichurri: Spoon the chimichurri sauce over the top of each steak.
  3. Garnish and Serve: Serve with your favorite side dishes, such as grilled vegetables, roasted potatoes, or a fresh salad.

Tips:

  • Marinade: For extra flavor, you can marinate the steaks in olive oil, garlic, and herbs for a few hours before grilling.
  • Resting: Resting the steaks after grilling helps keep them juicy and flavorful.
  • Chimichurri: Adjust the red pepper flakes in the chimichurri sauce to your preferred spice level.

Enjoy your delicious and perfectly cooked New York Strip Steak with Chimichurri

Strip Steak with Chimichurri
2acf4e58-9419-4a69-a850-9ac27ea4b2f9
1200hero_chimchurri-1
new_york_strip_steak

Filet Mignon with Red Wine Sauce

Filet Mignon with Red Wine Sauce is an elegant and flavorful dish perfect for a special meal. Here’s how to prepare it at home for six people

Ingredients:

For the Steaks:

  • 6 filet mignon steaks (6-8 oz each)
  • Salt, to taste
  • Freshly ground black pepper, to taste
  • 3 tablespoons olive oil
  • 3 tablespoons unsalted butter
  • 6 cloves garlic, smashed
  • 6 sprigs fresh thyme or rosemary

For the Red Wine Sauce:

  • 1 tablespoon olive oil
  • 1 small onion, finely chopped
  • 2 cloves garlic, minced
  • 2 cups red wine (choose a good quality wine you would drink)
  • 1 cup beef broth
  • 2 tablespoons balsamic vinegar
  • 2 tablespoons unsalted butter, cold
  • Salt and freshly ground black pepper, to taste

Instructions:

1. Prepare the Steaks:

  1. Season the Steaks: Pat the filet mignon steaks dry with paper towels. Season generously with salt and freshly ground black pepper on both sides.
  2. Heat the Skillet: Preheat your oven to 400°F (200°C). Heat a large ovenproof skillet over medium-high heat. Add the olive oil and swirl to coat the skillet.
  3. Sear the Steaks: Add the steaks to the skillet and sear for about 2-3 minutes on each side until a golden-brown crust forms.
  4. Add Butter and Herbs: Reduce the heat to medium. Add the butter, smashed garlic, and thyme or rosemary to the skillet. Baste the steaks with the melted butter for 1-2 minutes.
  5. Transfer to Oven: Transfer the skillet to the preheated oven and cook the steaks for about 5-7 minutes for medium-rare, or until they reach your desired level of doneness. Use a meat thermometer to check the temperature: 135°F (57°C) for medium-rare.
  6. Rest the Steaks: Transfer the steaks to a plate and cover loosely with foil. Let them rest for about 5 minutes.

2. Prepare the Red Wine Sauce:

  1. Sauté Onions and Garlic: In the same skillet (discard excess fat), add 1 tablespoon of olive oil and heat over medium heat. Add the chopped onion and cook until softened, about 3-4 minutes. Add the minced garlic and cook for another minute.
  2. Deglaze with Wine: Pour in the red wine and bring to a simmer, scraping up any browned bits from the bottom of the skillet. Let it simmer and reduce by half, about 10 minutes.
  3. Add Beef Broth and Vinegar: Add the beef broth and balsamic vinegar. Continue to simmer until the sauce is reduced by half again, about 10 minutes.
  4. Finish the Sauce: Remove from heat and whisk in the cold butter until the sauce is smooth and glossy. Season with salt and freshly ground black pepper to taste.

3. Serve:

  1. Plate the Steaks: Place the filet mignon steaks on plates and spoon the red wine sauce over the top.
  2. Garnish: Garnish with additional fresh herbs if desired.

Tips:

  • Wine: Use a quality red wine that you enjoy drinking. Cabernet Sauvignon or Merlot works well.
  • Temperature: Use a meat thermometer for perfect doneness. Medium-rare is 135°F, medium is 145°F.
  • Resting: Resting the steaks allows the juices to redistribute, resulting in a more flavorful and juicy steak.

Enjoy your elegant and delicious Filet Mignon with Red Wine Sauce

Filet Mignon
Seared-Filet-Mignon-with-Red-Wine-Mushroom-Sauce-1-1024x682
IMG_4558
Pan-Seared-Filet-Mignon-FEAT-IMAGE-1-720x540