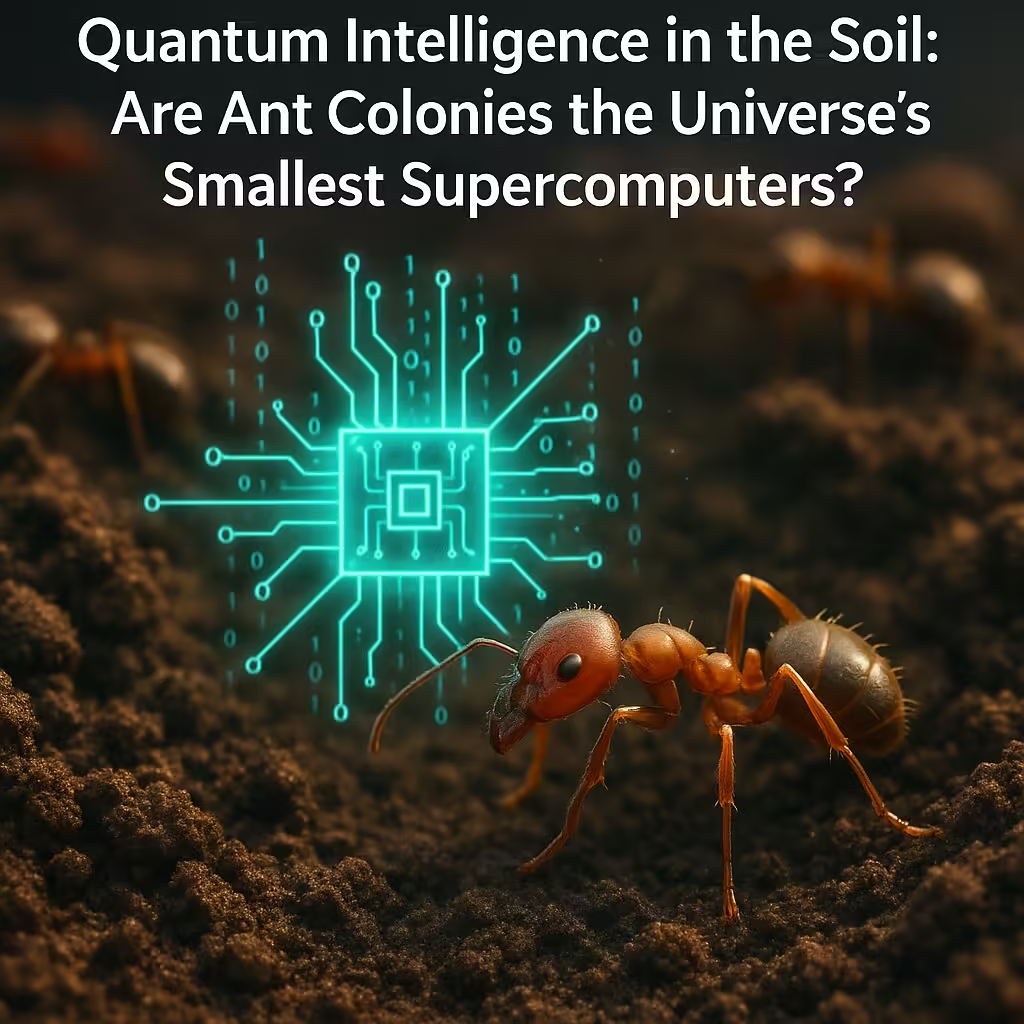
🐜 Quantum Intelligence in the Soil: Are Ant Colonies the Universe’s Smallest Supercomputers?
In the depths of forests, beneath sun-cracked soil, and hidden under mossy logs, there exists an intelligence so profound, yet so overlooked, it may rival some of our most advanced computing systems. Not within a single brain, nor in artificial circuits, but through the collective mind of ants—creatures that have walked the Earth for over 100 million years.
New studies in bio-inspired computation and swarm intelligence suggest that certain ant colonies may operate in a way that transcends traditional biological explanation. Some researchers now propose a radical theory: ant colonies might use their nests to create a distributed quantum computing system—a living, self-organized network that manipulates environmental factors to perform complex computation.
It sounds like science fiction. But like so many things in nature, what we don’t understand may simply be what we haven’t yet learned to interpret.
🧠 More Than the Sum of Their Parts
It has long been understood that ants exhibit collective intelligence. A single ant is fairly limited in what it can accomplish. But a colony of thousands—or even millions—can solve problems with efficiency that often stumps artificial intelligence.
From organizing traffic-free trails to dynamically reallocating foraging resources based on food supply shifts, ants act without a central leader. This decentralized processing is a marvel of biological engineering. But even more baffling is how their colonies seem to solve non-linear optimization problems—similar to how computers solve complex logistics, routing, or data prediction.
So how is this being done?
🏗️ Nests as Computing Platforms
Recent research is drawing attention not just to the ants themselves, but to their nests. These aren’t just piles of dirt or chewed leaves. Ant nests are architectural masterpieces, engineered to regulate airflow, humidity, electromagnetic fields, and even resonance.
In some tropical species, the chambers are built with high precision, using specific particles, fibers, and geometries. This appears to be more than structural convenience—it may serve a computational purpose.
Physicists collaborating with biologists have begun modeling these nest structures as information-processing substrates. They suggest that the way the nest is built allows for environmental modulation—controlling the flow of heat, static charge, and weak electromagnetic fluctuations.
And here’s where the theory gets even wilder: quantum theorists propose that these environmental factors could allow the ants to encode and process information at a quantum level.
⚛️ Quantum Behavior in a Dirt Hive?
At first glance, the idea that dirt and bugs could create a quantum computer seems absurd. Quantum computers require ultra-cold temperatures, cleanroom conditions, and incredibly delicate manipulation of qubits. But some researchers argue that biological quantum effects already exist in nature.
Quantum coherence has been observed in photosynthesis, where energy is transferred through plant cells with near-zero loss thanks to quantum tunneling. Birds may use quantum entanglement to navigate Earth’s magnetic field. Even human olfaction might rely on quantum vibration detection.
If evolution can co-opt quantum processes for smell, light, and navigation, why not distributed computation?
Ant colonies may not be building superconducting circuits, but they might be creating a low-frequency electromagnetic lattice inside their nests—a dynamic, multi-dimensional structure that supports quantum-like interactions across ants.
These fields could serve as a type of shared memory or logic gate system. By altering humidity, resin placement, body orientation, or pheromone conductivity, ants might “write” and “read” information collectively—far faster and more adaptively than we ever realized.
🛰️ Solving Complex Problems Without Thinking
One of the key mysteries is how ant colonies self-optimize without top-down control. When food is moved, foragers shift. When threats arise, guards reposition. When traffic jams occur, alternate routes emerge—often before any single ant could have perceived the full picture.
Traditional models explain this as emergent behavior: lots of simple rules create complex output. But some of these optimizations appear to happen with too much precision, too quickly.
If quantum computation is at play, it would allow the system to “test” multiple outcomes in parallel—just like a quantum computer simulates multiple states before collapsing into the correct answer. Ants may not “decide” the way we do, but the system as a whole could be processing data probabilistically, enabling better-than-chance decisions.
In effect, the colony becomes the mind—and the nest becomes the hardware.
🌐 Living Superorganisms
We often describe ant colonies as superorganisms—where individuals are like cells in a larger being. But what if they’re more like neurons in a biological computer? Each ant plays a small part in a quantum-adaptive network that spans the colony.
Their antennae might act like receptors. Their movement like data pulses. Their nest a cooling and logic chamber.
And their collective behavior? Something eerily close to organic computation.
Such a model could explain how ants adapt to conditions in real time, alter trail geometry in harmony with environmental interference, and manage inter-colony negotiations with surprising foresight.
🔍 The Future of Quantum Ecology
The implications are staggering. If ant colonies use principles akin to quantum computing, it changes not just how we view ants, but how we view intelligence itself.
Could other organisms—bees, termites, even slime molds—be engaging in environmentally embedded computation? Could fungal networks in forests (the mycorrhizal web) be processing forest health data in real time?
A new field, tentatively dubbed Quantum Ecology, may emerge from this line of inquiry. It blends ecology, information theory, quantum physics, and behavioral science into a single framework.
We’ve been looking for alien intelligence in the sky, while failing to see the possibility of non-human computation right under our feet.
🧬 Lessons for Human Technology
If ants can evolve collective quantum processing using dirt, pheromones, and teamwork, what might we learn for our own machines?
Already, engineers are studying ant-based algorithms for use in traffic flow, robot swarm coordination, and internet routing systems. But a deeper understanding could usher in biological quantum computing models that don’t require cryogenic cooling—just intelligent interaction with natural materials.
We might one day build computers that “grow,” adapt, and solve problems like living organisms—systems that evolve, not just compute.
🐜 Final Thoughts: Dirt, Ants, and a Hint of the Infinite
The notion that ants may be quantum processors is bold and not yet proven—but it invites us to reconsider the intelligence woven into nature. From the spiral of a nautilus to the resonance of a beehive, we live in a world layered with algorithms we’ve barely begun to decipher.
Perhaps intelligence isn’t about neurons or silicon—but about networks, interaction, and structure.
In that sense, a colony of ants isn’t just a superorganism.
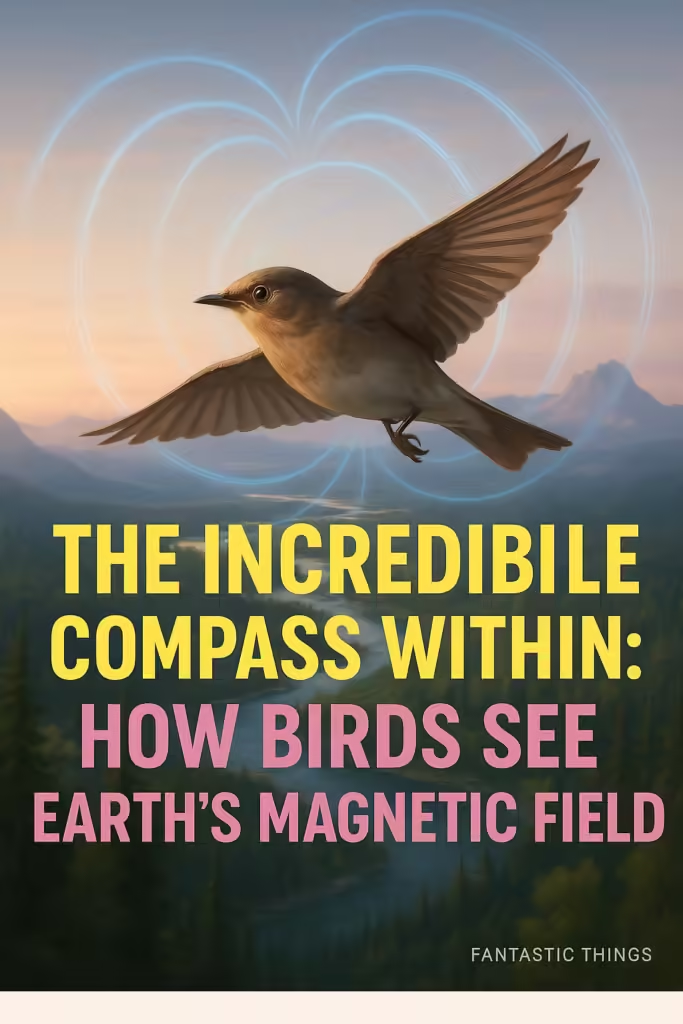
It might be the universe itself, thinking in miniature.Welcome to the groundbreaking frontier of quantum biology, where science begins to blur the lines between physics and life. At the heart of this mystery are cryptochromes—light-sensitive proteins in birds’ eyes—and an invisible dance of entangled electrons reacting to Earth’s magnetic field. This article explores how birds may literally “see” the planet’s magnetic patterns through quantum mechanics, offering one of the most astonishing insights into animal behavior in recent scientific history.
The Navigational Marvel of Birds
Bird migration is a natural spectacle. Despite their small size, birds like warblers and sparrows migrate thousands of miles twice a year with remarkable precision. Many travel at night, navigating through clouds, fog, and total darkness, often across open oceans and unfamiliar terrain. Traditional explanations such as celestial navigation, olfactory cues, and inherited memory helped explain part of the mystery, but they didn’t account for birds’ consistent ability to reorient when moved in complete darkness or cloudy conditions. Something else was guiding them—something invisible.
Scientists began to suspect that birds possessed an internal magnetic compass, but the mechanism remained elusive for years. That is, until researchers took a closer look—literally—inside the birds’ eyes.
Meet Cryptochromes: Nature’s Quantum Sensors
Cryptochromes are a class of proteins found in the retinas of birds (and many other organisms, including humans). These proteins are photoactive, meaning they respond to light. In birds, cryptochromes are especially concentrated in the eyes and play a vital role in regulating circadian rhythms. But their functions go much deeper.
When birds are exposed to sunlight—particularly blue light—cryptochromes undergo a chemical reaction that leads to the formation of radical pairs: two electrons that are excited and ejected into orbitals, where they spin. Here’s where things get weird. These two electrons are quantum entangled, a phenomenon in which particles become linked in such a way that the state of one instantly affects the state of the other, even over distance. This strange quantum property has fascinated physicists for decades, but in birds, it appears to have a very real biological function.
Seeing the Magnetic Field
As the entangled electrons spin, they are sensitive to the orientation of Earth’s magnetic field. Depending on the direction of the field, the spins shift between different states. These shifts in the spin states change the chemical outcome of the reactions within the cryptochrome molecules.
This reaction produces changes in the retinal signals being sent to the brain, effectively creating a visual representation of the magnetic field. Birds might not “see” magnetic lines as we see colors or shapes, but they likely perceive an overlay or pattern that aligns with magnetic directions—something akin to a heads-up display in their vision.
In short, birds are using quantum physics to see Earth’s magnetic field with their eyes.
The Quantum Compass
This quantum-based navigation system offers many advantages over traditional orientation methods. Unlike magnetic particles (such as magnetite, which some animals also use), the cryptochrome-based quantum compass isn’t thrown off by temperature changes or interference from surrounding rocks and metals. It’s a dynamic, light-sensitive system that constantly updates based on both visual input and Earth’s geomagnetic cues.
It also explains how birds can still orient themselves at dusk, dawn, or under cloudy skies when visual cues are minimal. As long as there’s some light to trigger the reaction in the cryptochromes, the quantum compass remains active.
Quantum Biology: A New Frontier
The very idea that a biological system can exploit quantum mechanics is revolutionary. Quantum entanglement is notoriously fragile—it typically collapses in warm, wet environments (like inside living organisms). Yet birds seem to have evolved a way to preserve quantum coherence long enough to make practical use of it for navigation.
This discovery has opened up the new field of quantum biology, where researchers explore how living organisms might use quantum phenomena to perform otherwise inexplicable feats. There is now speculation that similar mechanisms may help plants optimize photosynthesis or aid animals in olfactory detection.
Quantum biology is still in its infancy, but it’s a field filled with promise and wonder.
A Symphony of Evolution and Physics
How did birds evolve such a sophisticated mechanism? The answer may lie in millions of years of evolutionary fine-tuning. Birds that could orient themselves better survived migrations and passed on their genes. Over time, these visual magnetic sensors became more refined—until they could pick up even the subtlest shifts in Earth’s magnetic field.
What’s truly astonishing is the overlap between two worlds: the mathematical precision of quantum mechanics and the chaotic, adaptive flow of biological evolution. It suggests that life, in its relentless drive to survive and adapt, may be tapping into the very fabric of the universe in ways we are only beginning to comprehend.
Implications for Technology and Science
Studying how birds use quantum entanglement may do more than satisfy scientific curiosity—it could inspire new technologies. Quantum sensors, inspired by cryptochromes, could revolutionize navigation systems, especially in environments where GPS doesn’t work, like underwater or underground. It may also lead to advances in quantum computing, where maintaining coherence is a central challenge.
If tiny birds can master quantum entanglement to find their way across hemispheres, perhaps we can learn to harness the same principles in our own machines.
Final Thoughts: Nature’s Hidden Genius
In the quiet sky, a migrating robin or a soaring swallow might appear to be just another bird on the wing. But inside their eyes, something remarkable is happening—an elegant quantum dance of entangled electrons, reacting to the invisible lines that circle the globe. It is a reminder that nature, in its infinite complexity, often works in ways far beyond our expectations.
The discovery that birds may use quantum physics to navigate is not just a biological insight—it’s a philosophical one. It challenges our understanding of what’s possible in the natural world and highlights how much we still have to learn.
Birds don’t just fly across continents. They do it with a compass built from the strange rules of the quantum world—quietly, invisibly, and perfectly.