Ceviche Recipe: Fresh and Zesty Seafood Delight
Ceviche Recipe is a vibrant, refreshing dish that’s perfect for any occasion. This easy-to-follow recipe brings out the best in fresh seafood with the zesty flavor of lime, a medley of vegetables, and a touch of heat. Here’s how to make this flavorful dish at home.
Ingredients
For the Ceviche:
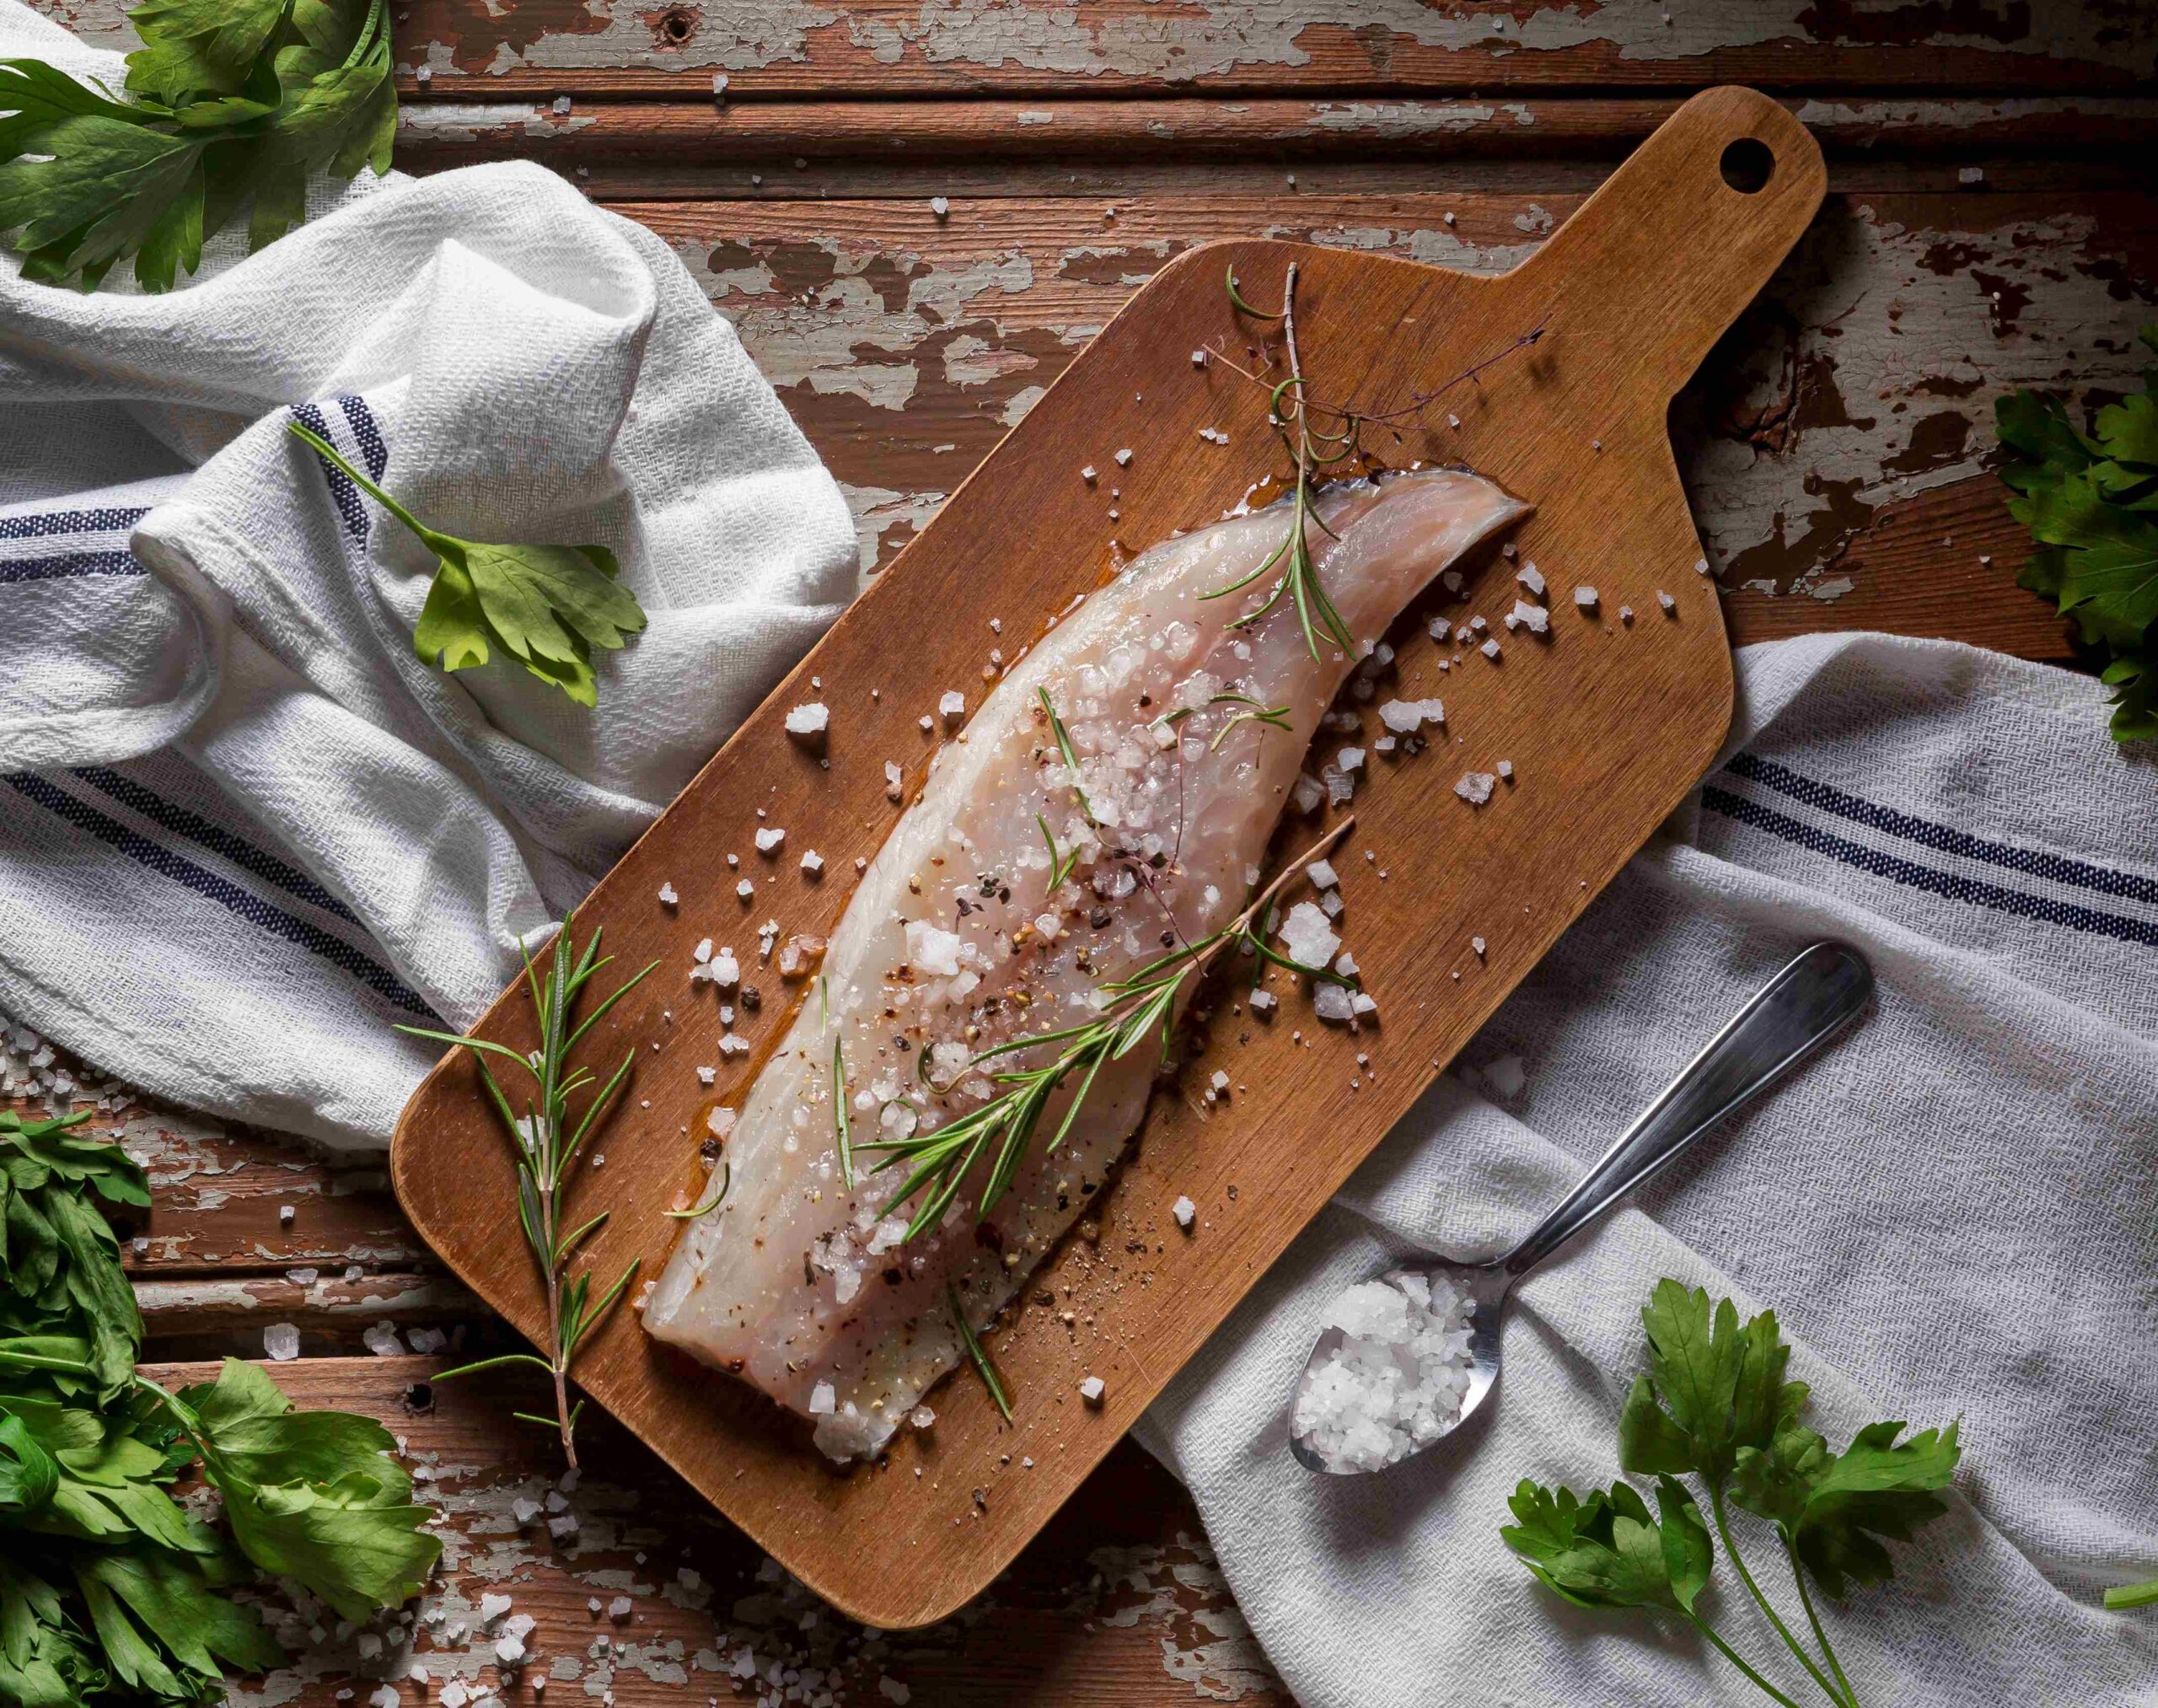
- 1 lb fresh white fish (such as snapper, sea bass, or tilapia), diced
- 1 cup fresh lime juice (from about 8-10 limes)
- 1/2 red onion, finely chopped
- 1 tomato, diced
- 1/2 cup fresh cilantro, chopped
- 1 jalapeño, finely diced (optional, adjust for spice level)
- Salt and freshly ground black pepper, to taste
- Tortilla chips or lettuce leaves for serving
Optional Additions:
- 1/2 cup diced cucumber
- 1/2 avocado, cubed
- 1/4 cup diced mango or pineapple for a tropical twist
Instructions
Preparing the Fish
- Marinate the Fish: In a medium bowl, combine the diced fish with the lime juice. Make sure the fish is completely submerged in the lime juice, as this will “cook” it by breaking down the proteins.
- Rest for Flavor: Cover the bowl and refrigerate for 30 minutes to an hour. The fish will turn opaque as it “cooks” in the lime juice.
Mixing in the Vegetables and Herbs
- Add Fresh Ingredients: Once the fish has marinated, drain some of the excess lime juice if desired (leaving a bit adds flavor). Add the chopped red onion, tomato, cilantro, and jalapeño to the fish.
- Season and Stir: Sprinkle with salt and black pepper to taste. Stir gently to combine all ingredients well.
Final Touches
- Optional Additions: If desired, add diced cucumber for crunch, avocado for creaminess, or a touch of tropical sweetness with mango or pineapple.
- Serve Immediately: Ceviche is best enjoyed fresh, so serve it immediately with tortilla chips or atop lettuce leaves for a light, refreshing meal.
Tips for Perfect Ceviche
Choosing Fresh Fish
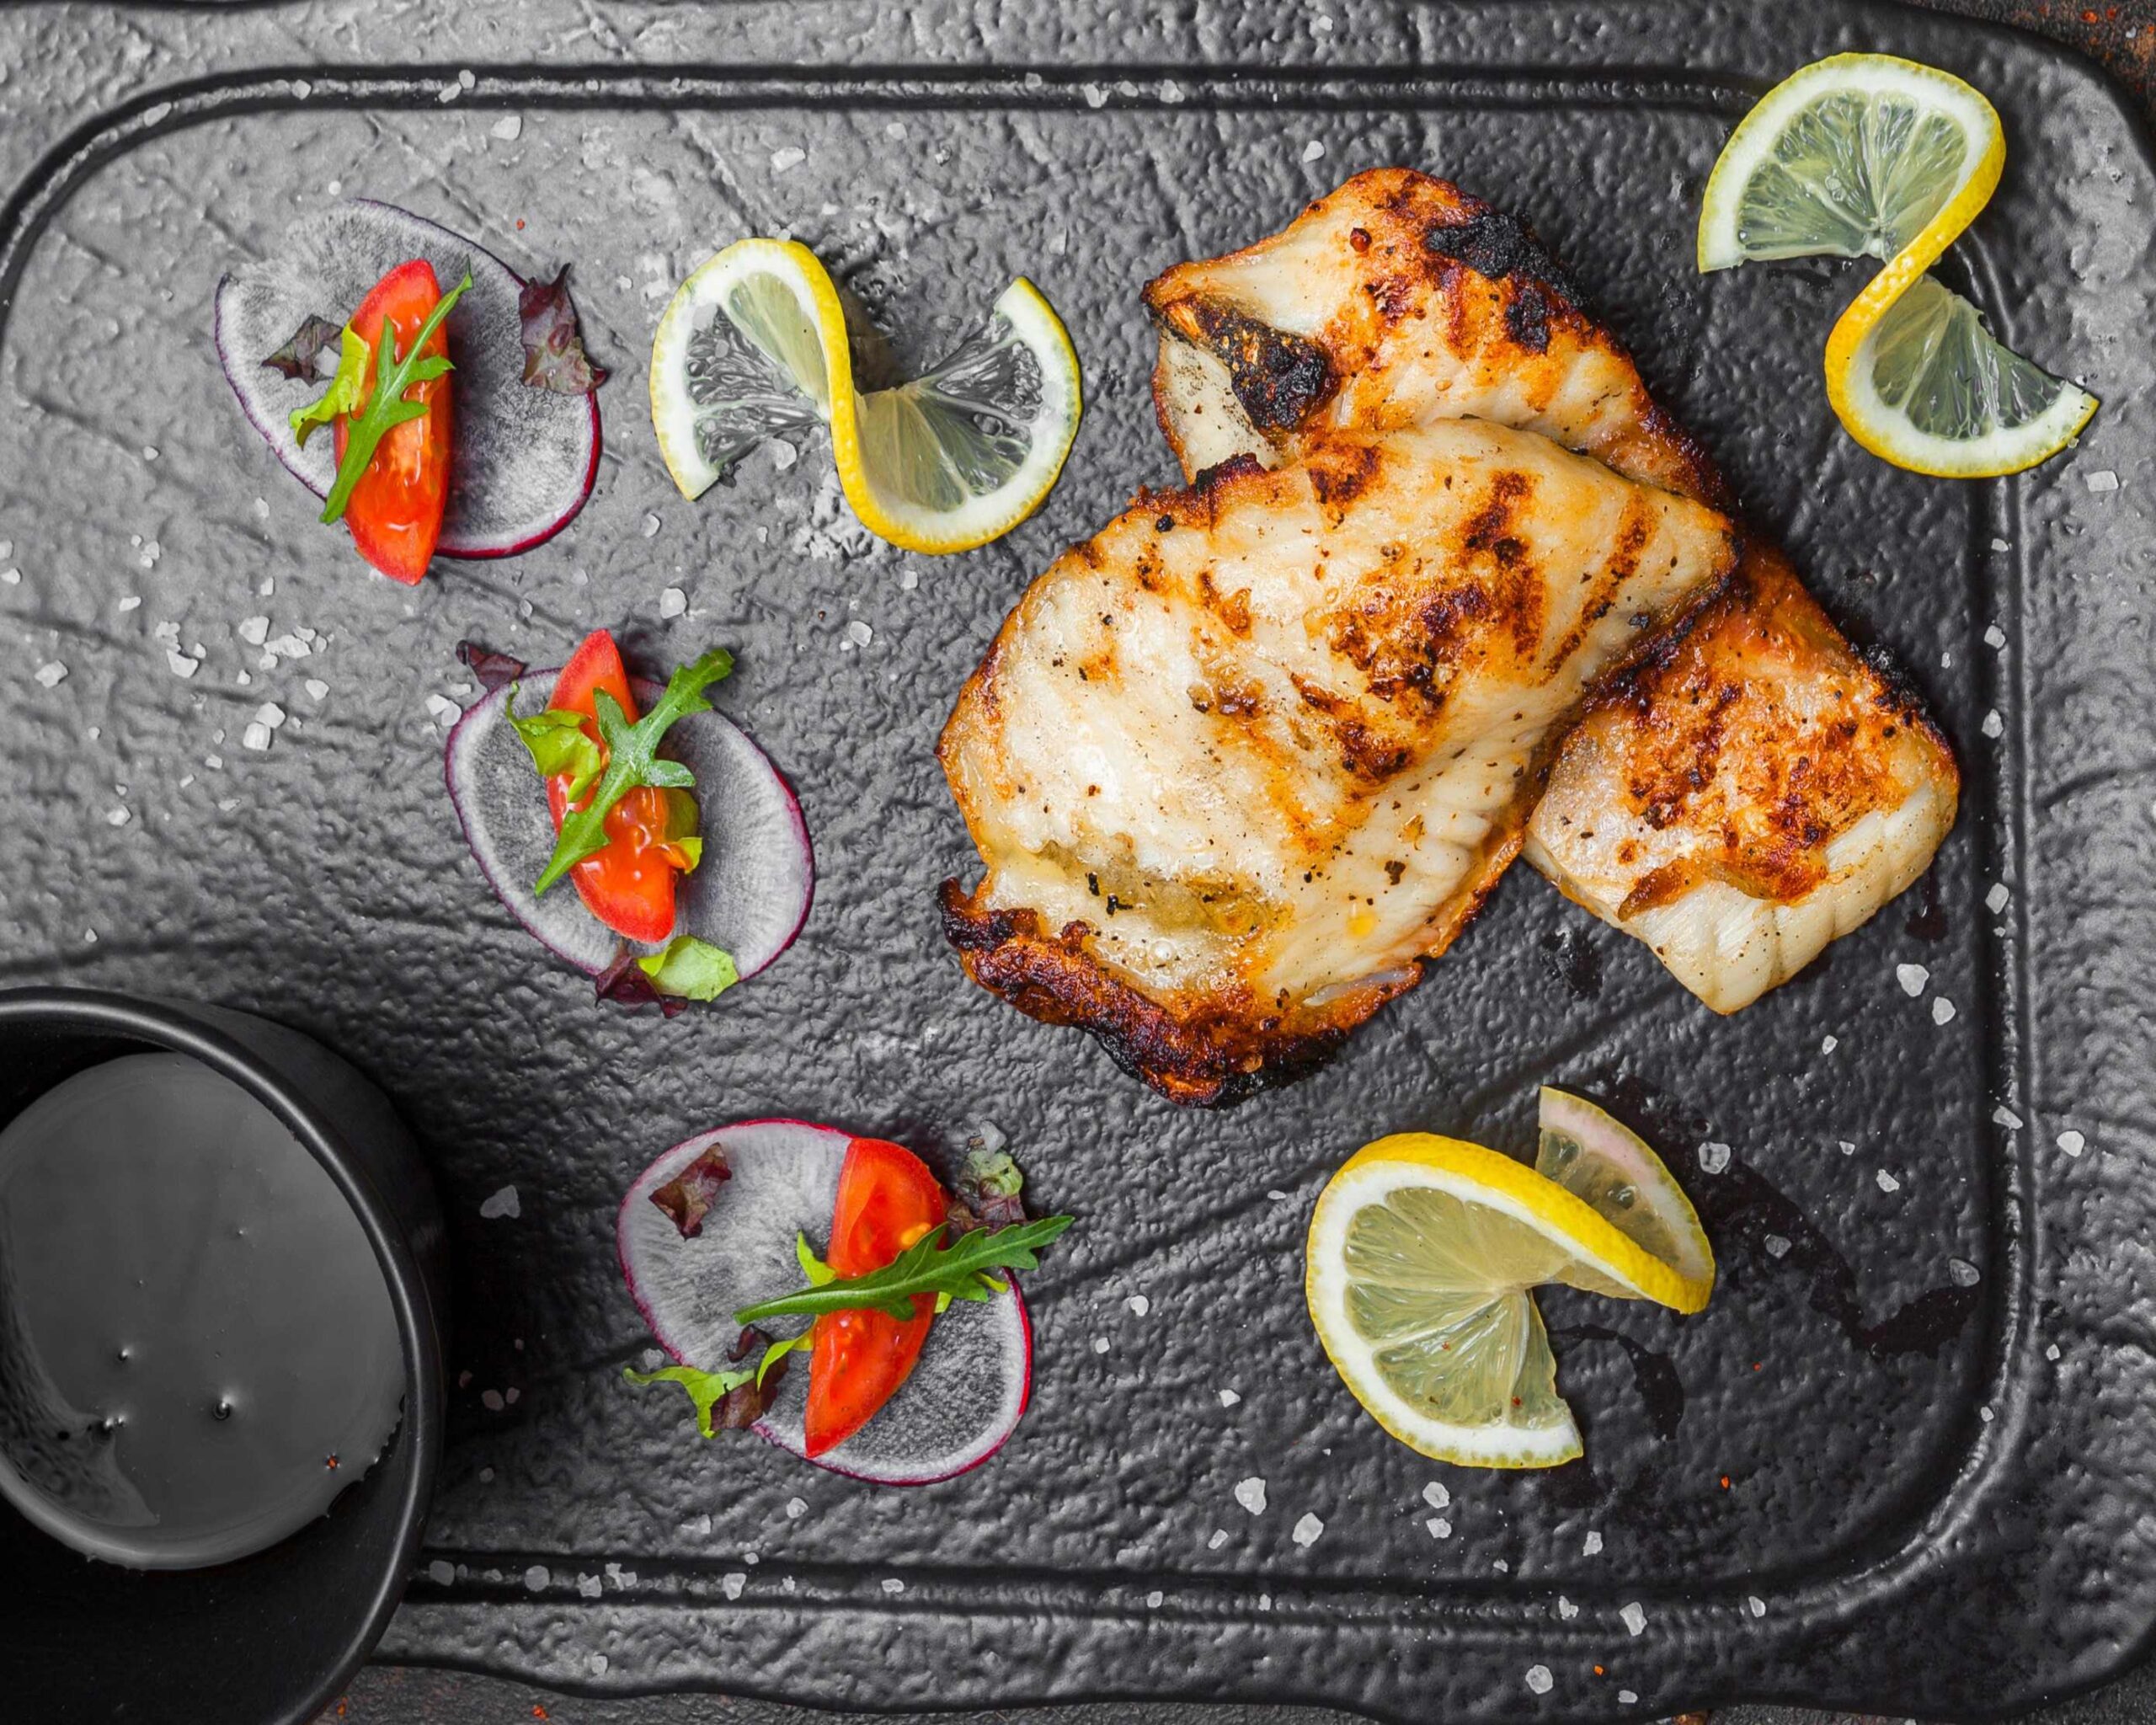
For the best ceviche recipe, freshness is key. Opt for a firm, white fish such as snapper, sea bass, or tilapia. It’s essential to source high-quality fish, as ceviche is not cooked with heat; rather, the acid in the lime juice “cooks” it by denaturing the proteins. Fish preparation techniques help ensure your dish is safe and delicious.
Adjusting the Acidity
The lime juice is crucial in the ceviche-making process. Adjust the amount based on your taste preference—some prefer a stronger citrus flavor, while others like a milder taste. Feel free to mix lime with lemon or orange juice for a unique twist.
Adding Heat
For those who enjoy spice, adding finely diced jalapeño or serrano pepper is a great way to bring a little heat. Adjust the amount or leave it out entirely based on your preference. Chili pepper varieties allow for experimentation with flavor and spice levels.
Ceviche Variations You’ll Love
Classic Peruvian Ceviche
Peruvian ceviche often includes a mixture of fish, sweet potato, and choclo (large Peruvian corn kernels) for a unique balance of flavors. It’s served with a more substantial marinade, or “leche de tigre,” a flavorful blend of citrus juices, fish stock, and seasonings.
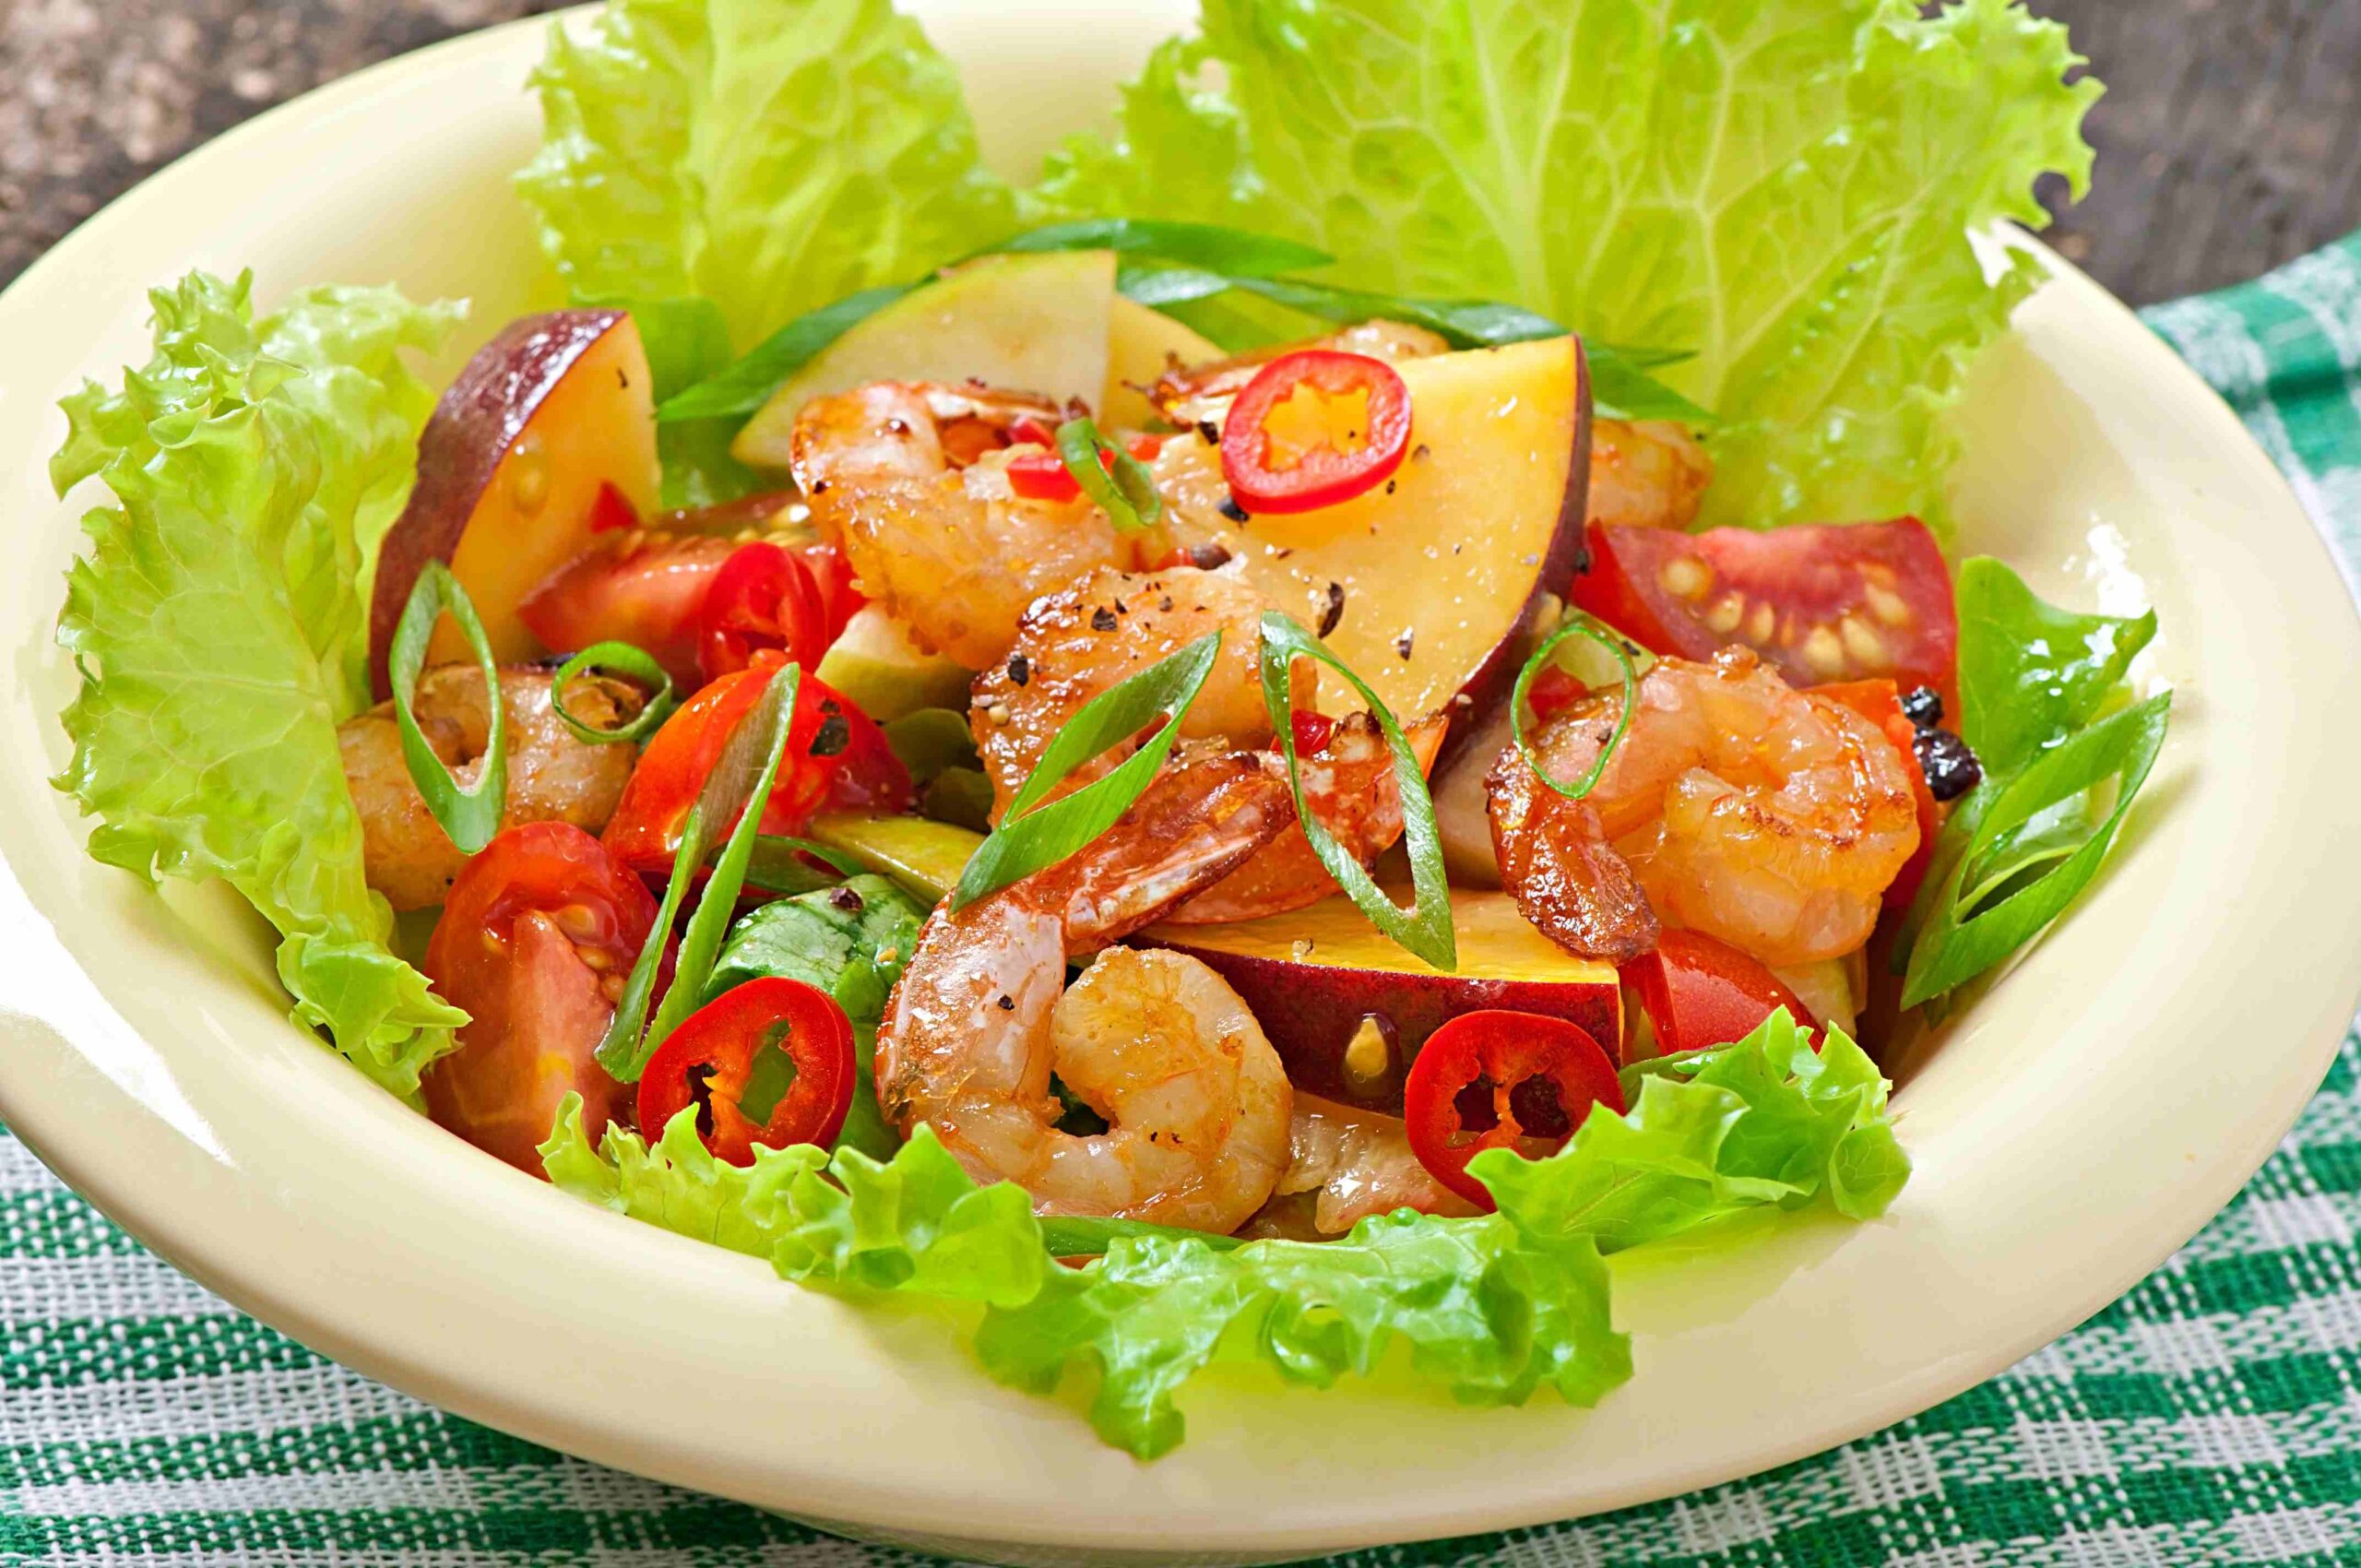
Shrimp Ceviche
Shrimp ceviche swaps the fish for shrimp, which can be marinated in lime juice or briefly blanched before marinating for added safety. This version pairs well with diced tomatoes, onions, and a splash of orange juice.
Tropical Ceviche
Add tropical elements like mango, pineapple, or coconut milk to your ceviche for a sweet and refreshing twist. Tropical ceviche pairs exceptionally well with lighter fish varieties and adds an unexpected flavor profile to the dish.
Mexican Ceviche
Mexican ceviche often includes tomatoes, onions, cilantro, and cucumber. It’s commonly served with tostadas, offering a slightly crunchy texture and heartier flavors, making it a great option for lunch or as an appetizer at a gathering.
Serving Suggestions
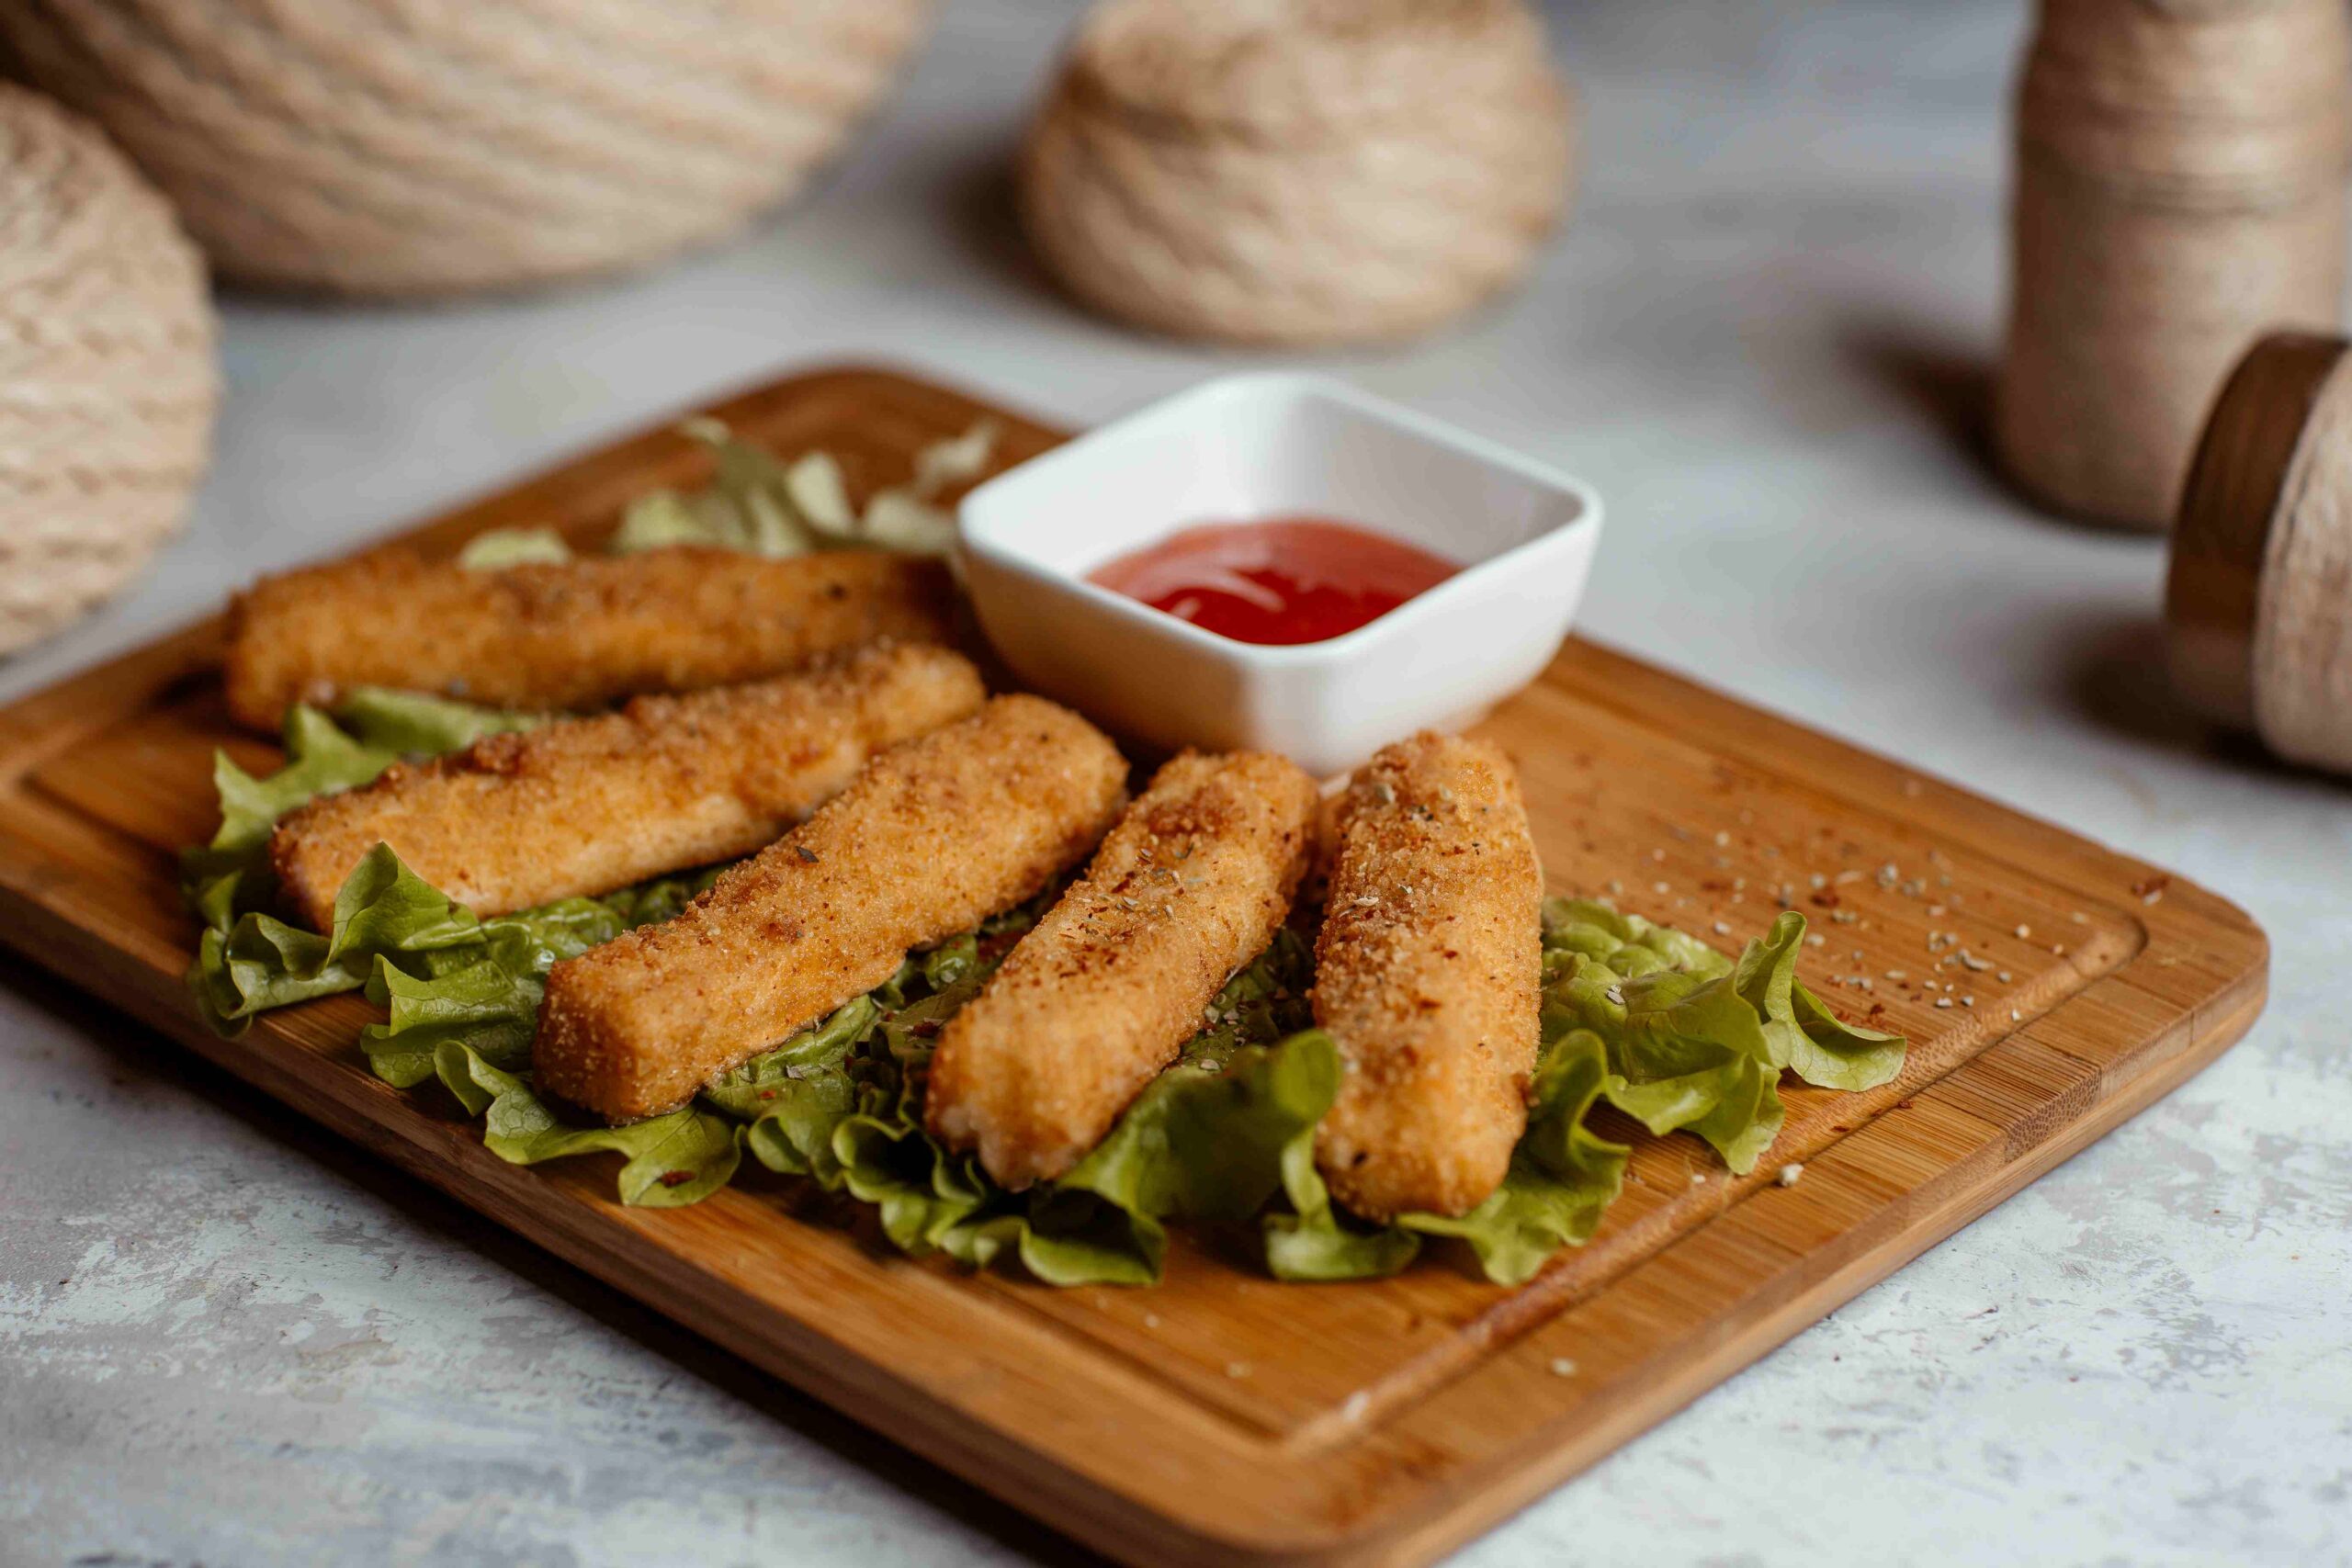
As an Appetizer
Serve ceviche as an appetizer with tortilla chips, plantain chips, or thinly sliced cucumbers. This is a great way to start a meal with a light, zesty dish that whets the appetite.
On a Salad
Ceviche can also be enjoyed over a bed of greens. Top with extra lime juice and a drizzle of olive oil for a fresh seafood salad that’s both nutritious and satisfying.
With Tostadas or Lettuce Cups
For a fun presentation, spoon ceviche onto crispy tostadas or lettuce cups. This makes for a great finger food at parties and gatherings, with each bite bursting with flavor.
The Flavor of Fresh Ceviche
With its bright acidity, fresh seafood, and crunchy vegetables, ceviche offers a unique, refreshing flavor experience. Whether you’re following the classic ceviche recipe or experimenting with tropical twists, each version brings something distinct to the table. It’s a versatile dish that can be adapted to your taste preferences, dietary needs, or ingredient availability.
Preparing ceviche at home is a simple, rewarding process that celebrates fresh ingredients. With this guide and recipe, you’ll be able to master a delightful dish that’s sure to impress. Enjoy your ceviche journey and explore the exciting flavors this seafood favorite has to offer!


")
")