Salsa Recipe: Fresh and Flavorful Mexican Dip

Salsa is a vibrant, tangy, and slightly spicy Mexican dip that’s perfect for pairing with tortilla chips, tacos, or any Mexican dish. It’s incredibly easy to make at home with just a few fresh ingredients. Here’s a simple and delicious Salsa recipe that you can whip up in no time!

Ingredients:

For the Salsa:

  • 4 ripe tomatoes, diced
  • 1/2 cup diced red onions
  • 1-2 jalapeños, finely chopped (adjust to your spice level)
  • 1/4 cup fresh cilantro, chopped
  • 2 cloves garlic, minced
  • 1 tablespoon fresh lime juice
  • Salt, to taste
  • Freshly ground black pepper, to taste
  • 1/2 teaspoon ground cumin (optional)

For Garnish:

  • Extra cilantro
  • Lime wedges

Instructions:

1. Prepare the Vegetables:

  • Chop Tomatoes and Onions: Dice the tomatoes and onions into small, bite-sized pieces.
  • Chop Jalapeños: For a spicier Salsa, leave the seeds in the jalapeños. For a milder flavor, remove the seeds and finely chop the peppers.

2. Mix the Ingredients:

  • Combine in a Bowl: In a large mixing bowl, combine the diced tomatoes, onions, jalapeños, cilantro, and minced garlic.
  • Add Lime Juice and Seasonings: Stir in the fresh lime juice, salt, pepper, and cumin (if using). Adjust seasoning to taste.

3. Let the Salsa Sit:

  • Chill for Flavor: For the best flavor, let the Salsa sit in the refrigerator for at least 30 minutes to allow the ingredients to meld together. The longer it sits, the more the flavors will develop.

4. Serve the Salsa:

  • Serve with Chips: Once the Salsa is ready, serve it with tortilla chips or as a topping for tacos, burritos, or grilled meats.
  • Garnish with Cilantro: Add extra cilantro and lime wedges as a garnish for a fresh, zesty finish.

Tips:

  • Tomatoes: Use ripe, juicy tomatoes for the best results. If tomatoes are out of season, you can use canned diced tomatoes as a substitute.
  • Spice Level: Adjust the amount of jalapeños based on your spice tolerance. You can also add hot sauce or a pinch of chili powder for an extra kick.
  • Variations: Add diced avocados, grilled corn, or black beans for a heartier version of Salsa.
  • Texture: If you prefer a smoother Salsa, you can pulse the mixture in a food processor until it reaches your desired consistency.

Enjoy Your Fresh Homemade Salsa!

This easy-to-make Salsa is the perfect addition to any Mexican meal, offering fresh, tangy, and slightly spicy flavors. Whether you serve it as a dip or a topping, it’s sure to be a crowd-pleaser!

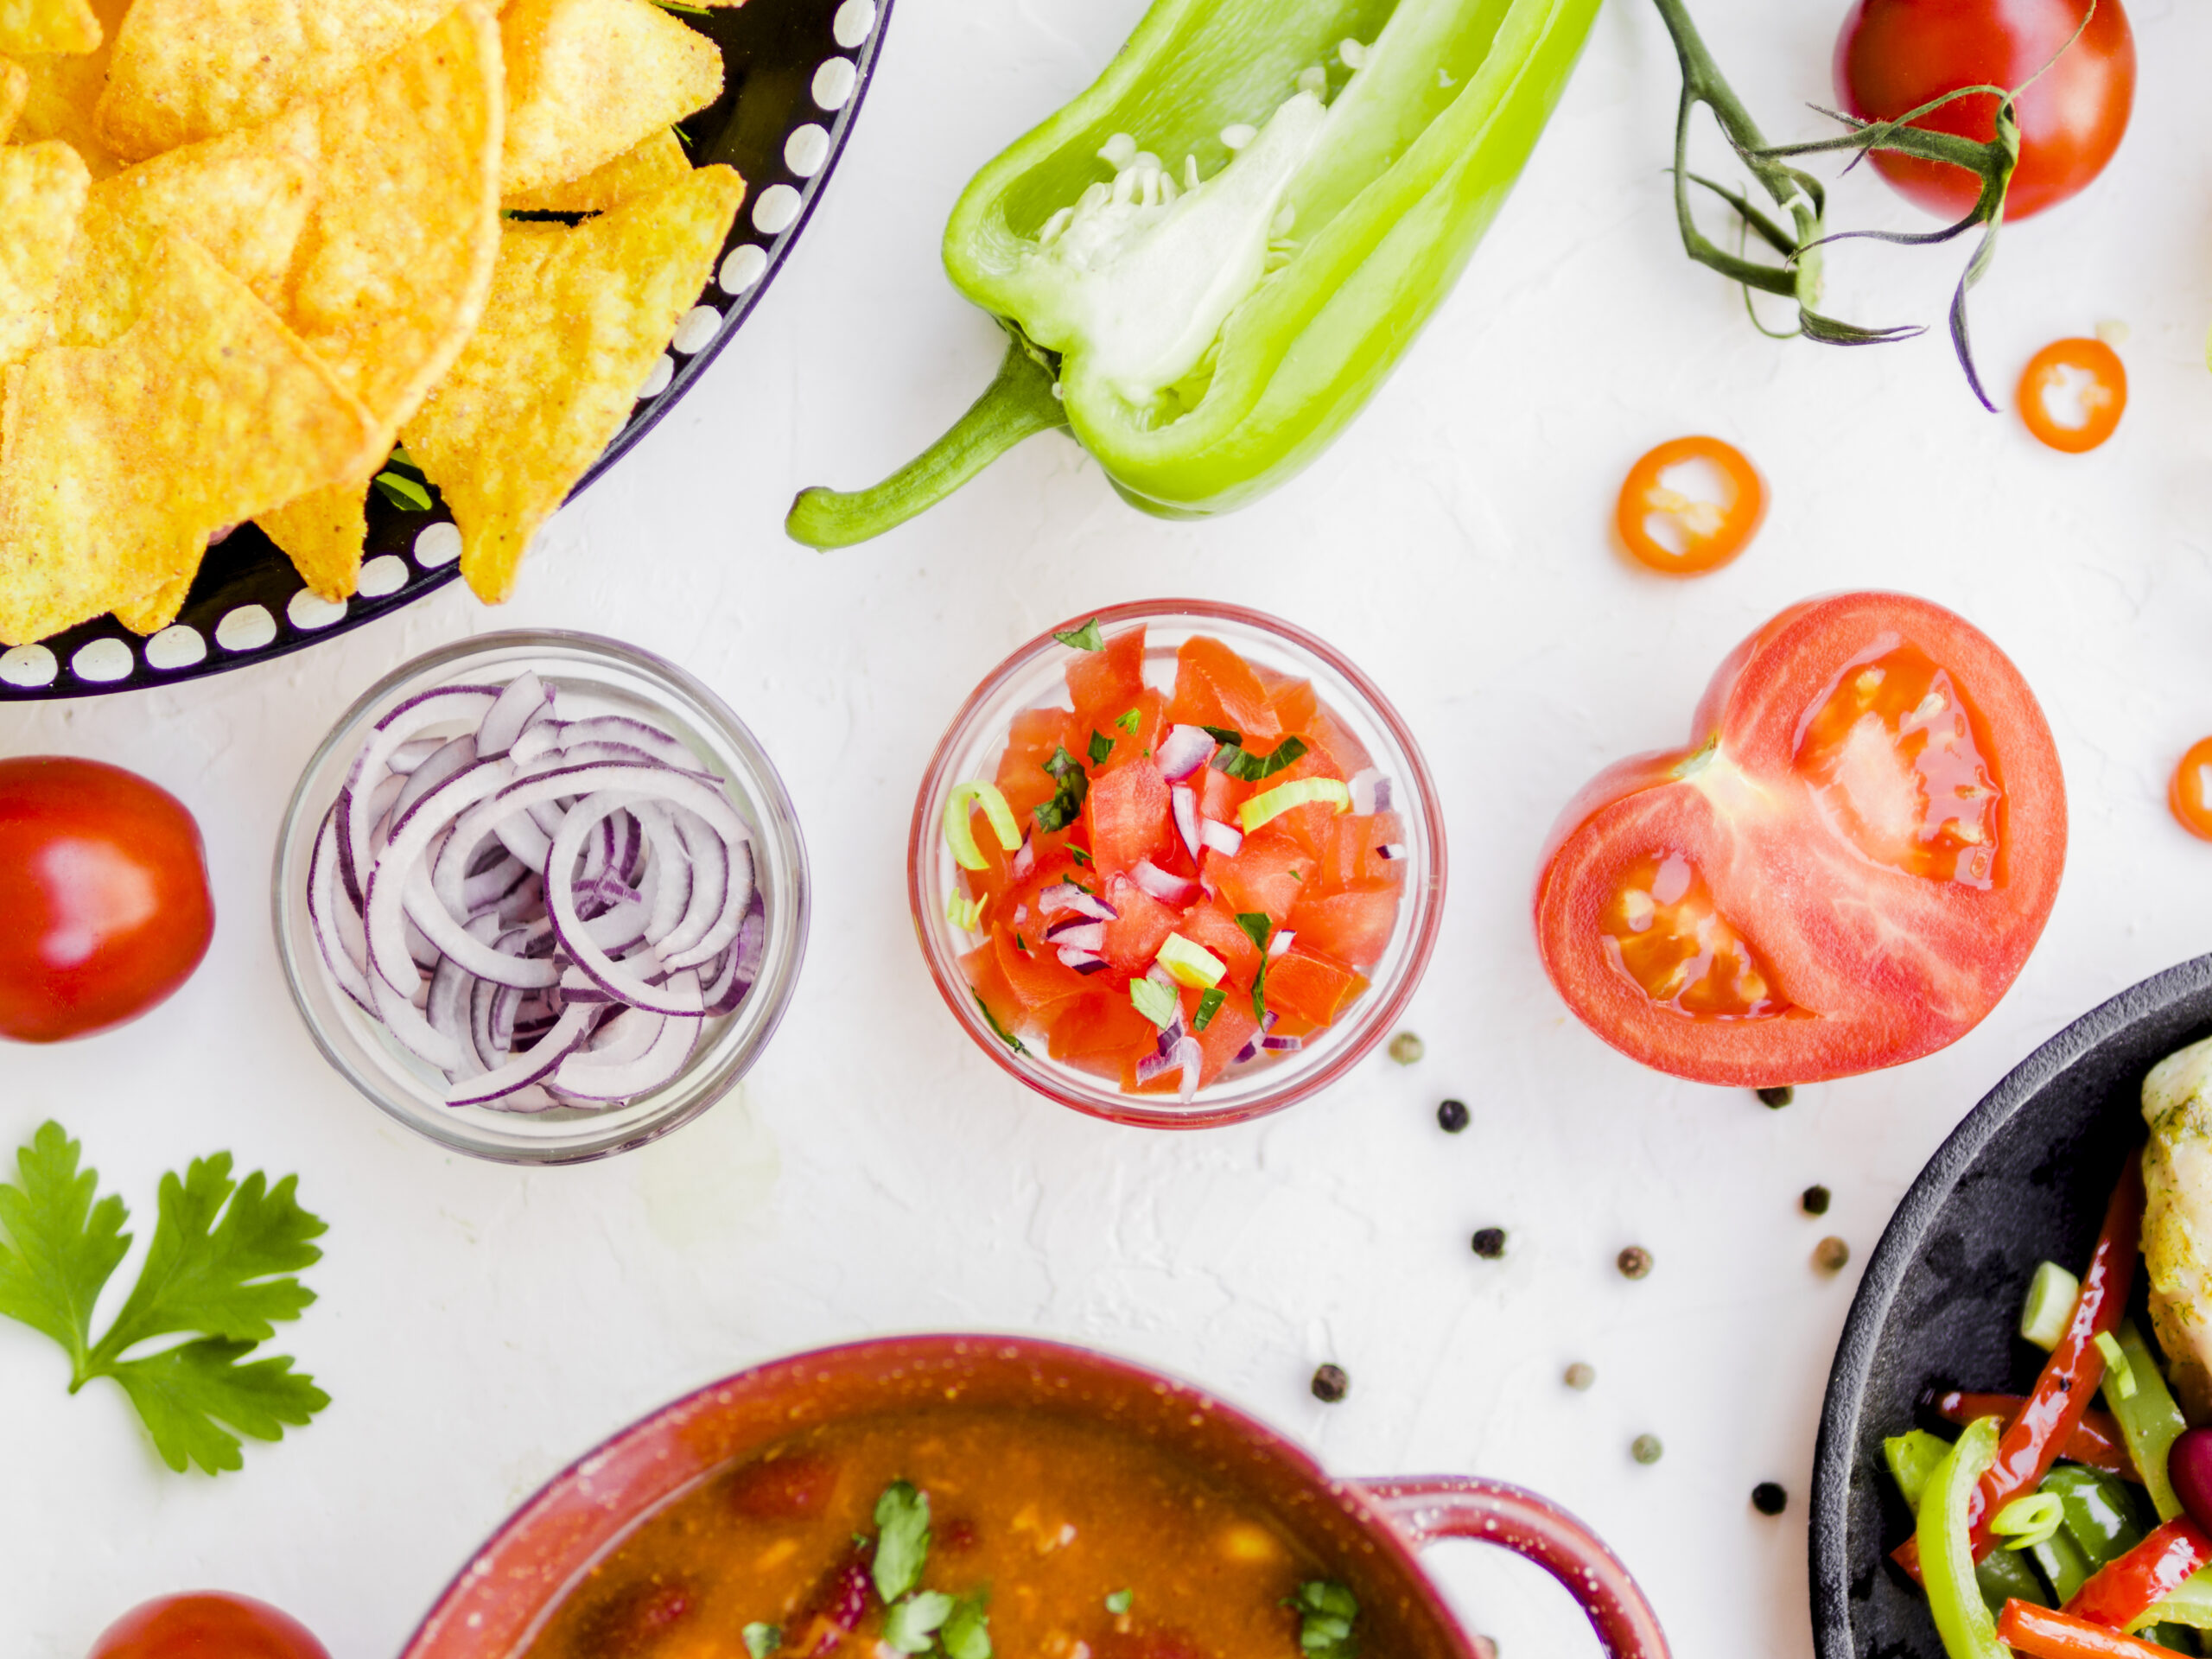
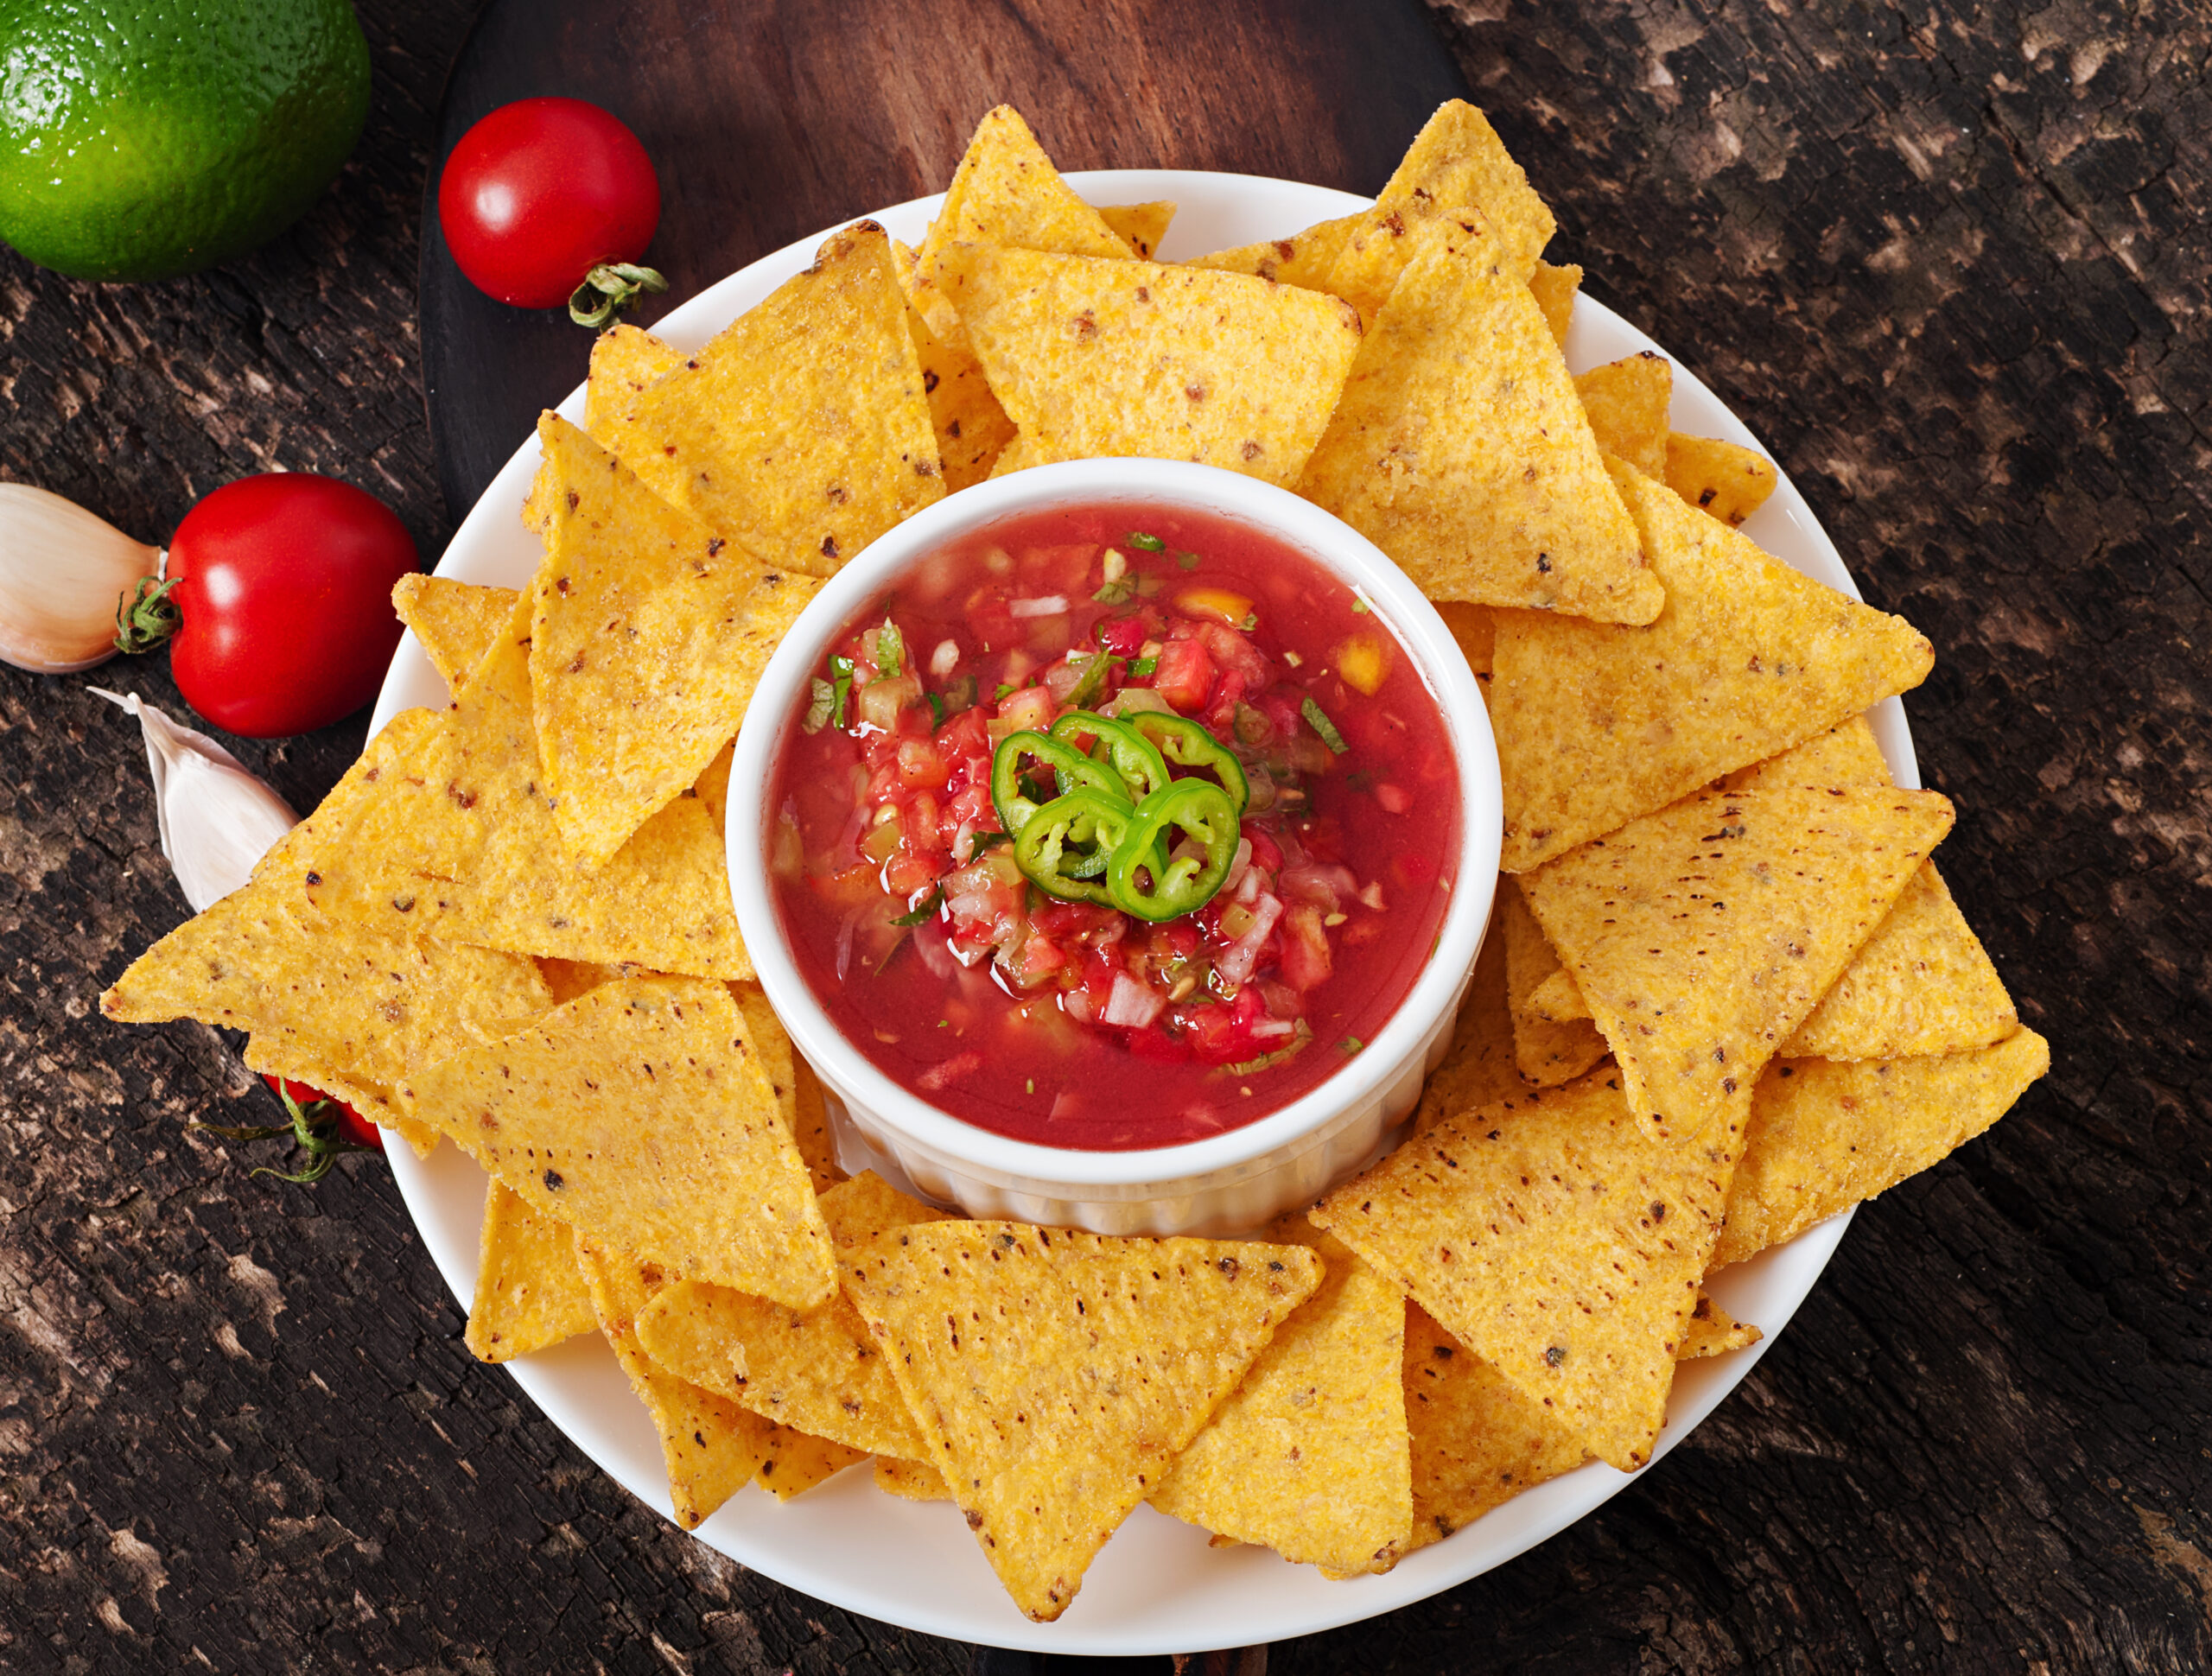
Mexican nacho chips and salsa dip in  bowl on  wooden background
Salsa recipe
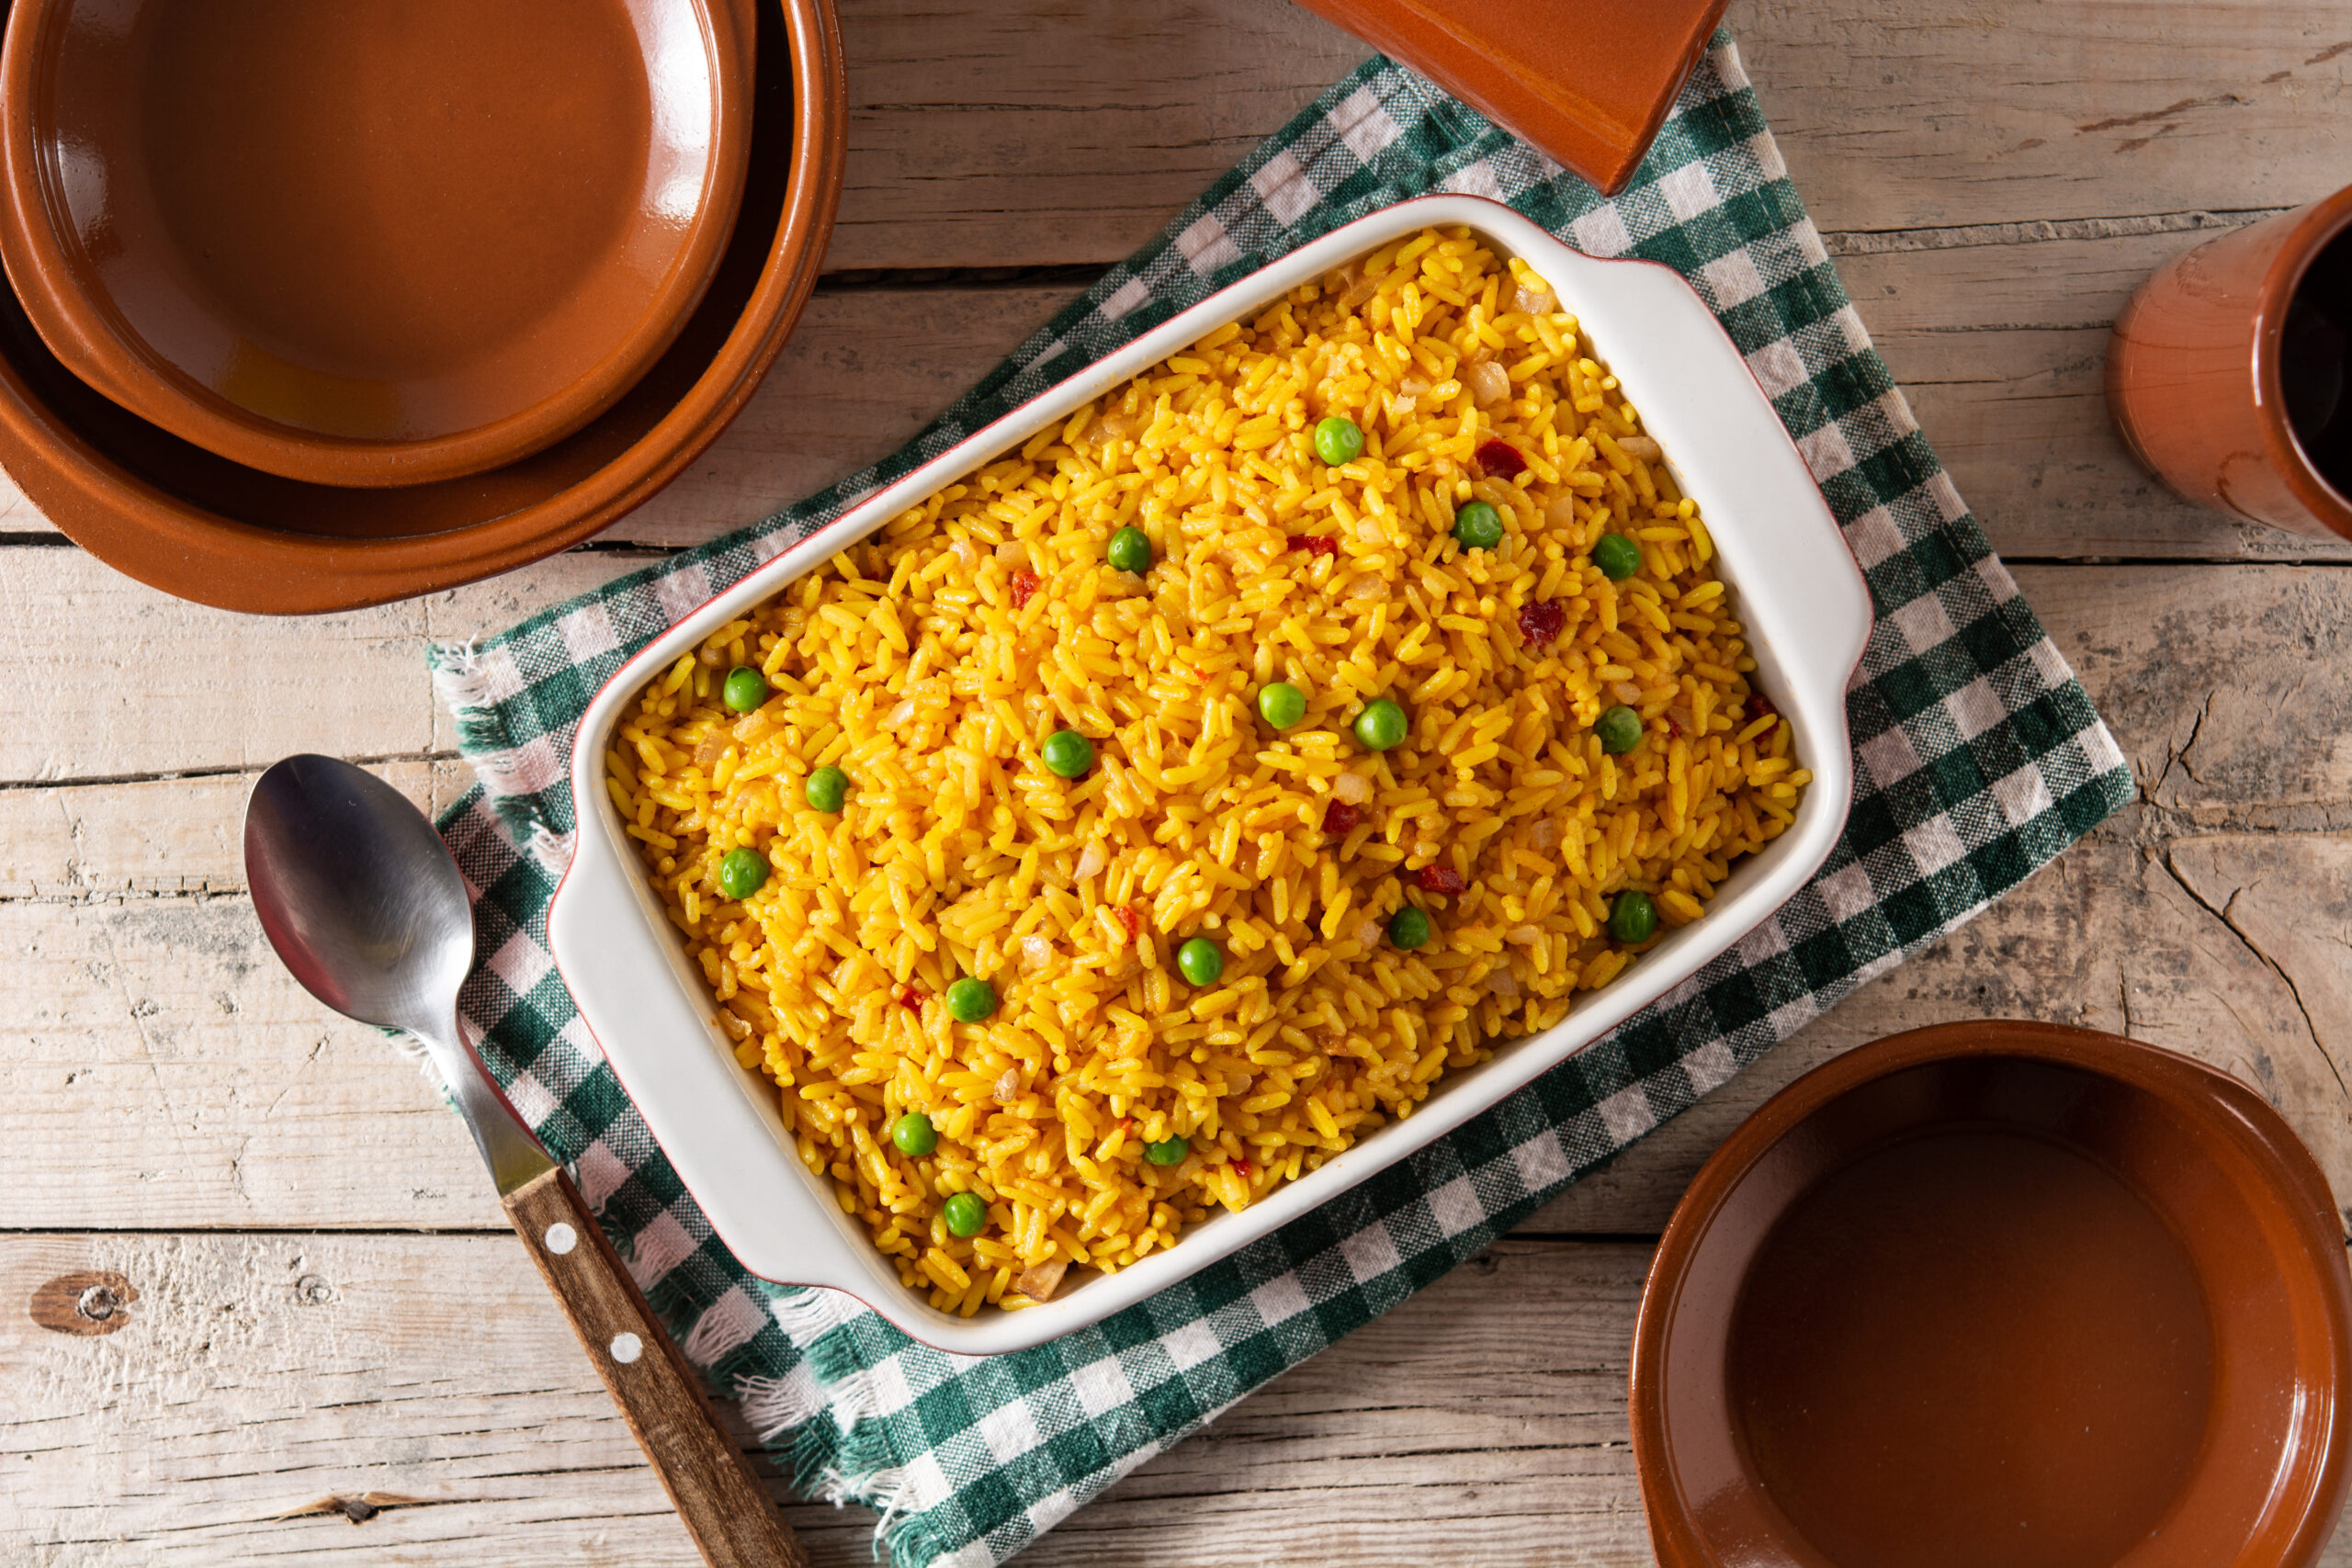
Traditional Mexican rice served with green peas on wooden table

Quesadilla Recipe: Easy, Cheesy, and Delicious

A Quesadilla is a simple, yet delicious Mexican dish made with tortillas and melted cheese, and it’s perfect for any meal or snack. You can easily customize a Quesadilla with various fillings like veggies, meat, or beans to suit your preferences. Here’s how you can make the perfect Quesadilla at home.

Ingredients:

For the Quesadilla:

  • 4 large flour tortillas
  • 2 cups shredded cheese (cheddar, Monterey Jack, or a blend)
  • 1 cup cooked chicken or beef (optional for non-vegetarian)
  • 1/2 cup black beans (drained and rinsed)
  • 1/2 cup sliced bell peppers
  • 1/2 cup diced onions
  • 1 tablespoon olive oil or butter
  • 1/4 cup chopped cilantro
  • Salt and pepper to taste

For Serving:

  • Sour cream
  • Guacamole
  • Salsa
  • Lime wedges

Instructions:

1. Prepare the Filling:

  • Cook the Veggies and Meat: In a skillet, heat olive oil or butter over medium heat. Add the onions and bell peppers, cooking until softened, about 5 minutes.
  • Add Beans and Meat: Stir in black beans and the cooked chicken or beef (if using). Season with salt and pepper to taste, and cook until everything is heated through. Set aside.

2. Assemble the Quesadilla:

  • Add Cheese and Fillings: Heat a clean skillet over medium heat. Place one tortilla in the skillet and sprinkle a generous layer of shredded cheese on half of the tortilla.
  • Add Fillings: On top of the cheese, spread a portion of the veggie and meat mixture. Add more cheese on top to help the tortilla stick when folded.
  • Fold the Tortilla: Fold the tortilla in half to enclose the fillings.

3. Cook the Quesadilla:

  • Cook Until Golden: Cook the Quesadilla for 2-3 minutes on each side, until the cheese is melted and the tortilla is golden and crispy.
  • Repeat: Remove the cooked Quesadilla from the skillet, and repeat the process with the remaining tortillas and fillings.

4. Serve the Quesadilla:

  • Cut and Serve: Cut each Quesadilla into wedges and serve with sour cream, guacamole, salsa, and lime wedges.

Tips:

  • Tortillas: Use large flour tortillas for the best result, but corn tortillas also work well if you prefer a gluten-free option.
  • Fillings: Be creative with your Quesadilla! Add ingredients like sautéed mushrooms, spinach, or avocado slices for extra flavor and texture.
  • Cheese: A good melting cheese like cheddar, Monterey Jack, or mozzarella is essential for a gooey, delicious Quesadilla.

Enjoy Your Tasty Quesadilla!

Whether you’re making a Quesadilla for lunch, dinner, or a snack, this recipe is sure to please. It’s quick, easy, and adaptable to any taste preferences. Serve it with your favorite dips and enjoy a cheesy, crispy delight!

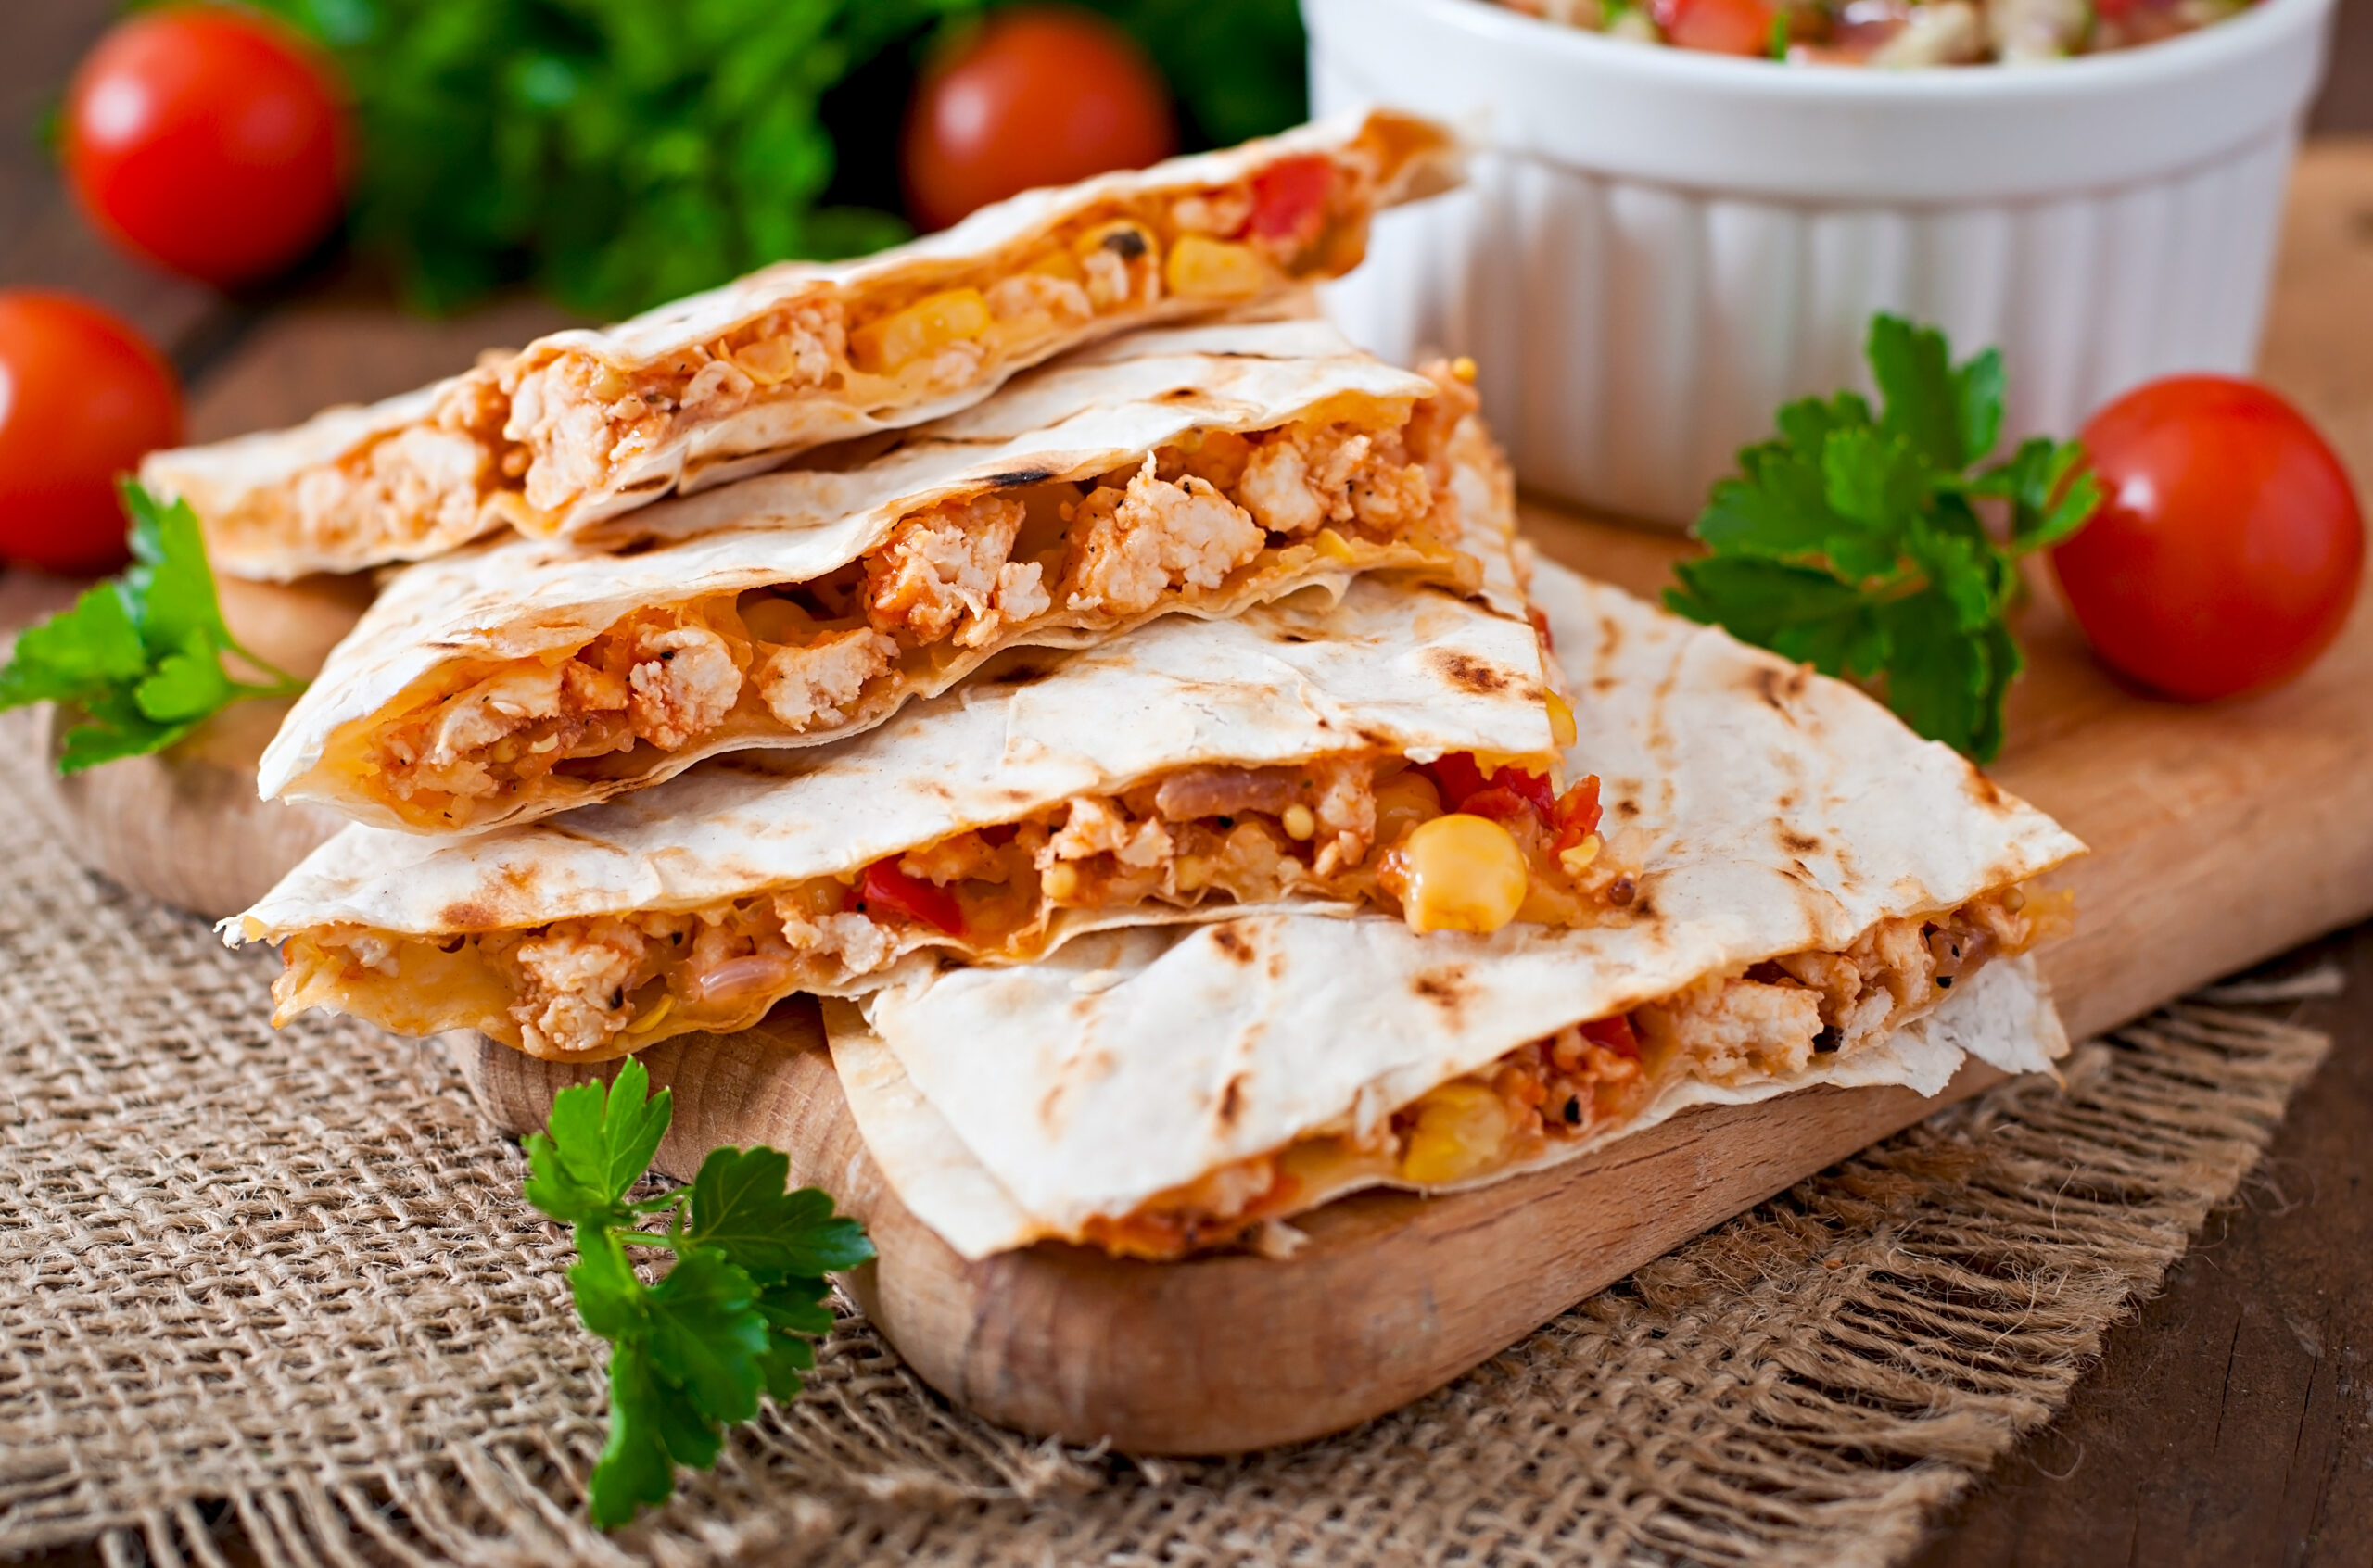
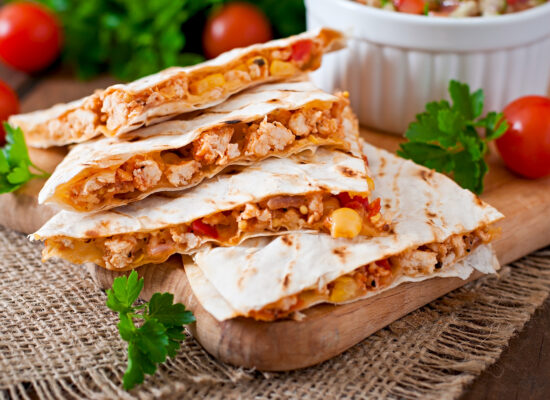
Mexican chicken quesadillas with cheese and peppers on wooden table.
Quesadilla

Nachos Recipe: Delicious and Easy-to-Make Snack

Nachos are a beloved snack that’s perfect for gatherings, parties, or a simple family movie night. They’re incredibly versatile and can be customized to your taste with a variety of toppings. Here’s how to prepare the ultimate Nachos recipe at home for a crowd or just for yourself!

Ingredients:

For the Nachos:

  • 1 large bag of tortilla chips
  • 2 cups shredded cheddar cheese (or a cheese blend)
  • 1 cup black beans (rinsed and drained)
  • 1 cup cooked ground beef or chicken (optional for non-vegetarian)
  • 1/2 cup jalapeños (sliced)
  • 1/2 cup diced tomatoes
  • 1/4 cup diced red onions
  • 1/4 cup chopped cilantro
  • 1/4 cup sliced black olives
  • 1 tablespoon taco seasoning
  • Sour cream (for serving)
  • Guacamole (for serving)
  • Salsa (for serving)

For the Cheese Sauce (Optional):

  • 2 tablespoons butter
  • 2 tablespoons all-purpose flour
  • 1 cup milk
  • 2 cups shredded cheese
  • Salt, to taste

Instructions:

1. Prepare the Nachos Base:

  • Layer the Chips: Start by preheating your oven to 375°F (190°C). On a large baking sheet, spread an even layer of tortilla chips.
  • Add Toppings: Sprinkle shredded cheddar cheese generously over the chips. Add black beans, cooked meat (if using), jalapeños, tomatoes, onions, cilantro, and black olives.

2. Make the Cheese Sauce (Optional):

  • Prepare the Sauce: In a saucepan, melt butter over medium heat. Stir in the flour to create a roux, cooking for about 1-2 minutes.
  • Add Milk: Gradually whisk in the milk and let it simmer until slightly thickened. Stir in the shredded cheese until fully melted and smooth.
  • Season and Set Aside: Add salt to taste, and keep the sauce warm to pour over the Nachos later.

3. Bake the Nachos:

  • Bake to Melt the Cheese: Place the baking sheet with the layered chips and toppings in the oven. Bake for about 10-15 minutes, or until the cheese is melted and bubbly.
  • Check for Crispiness: Keep an eye on the chips to ensure they don’t overcook. You want them crispy but not burnt.

4. Serve the Nachos:

  • Top with Fresh Ingredients: Once the Nachos are out of the oven, drizzle them with the warm cheese sauce (if prepared) and garnish with fresh toppings like cilantro and onions.
  • Add Sides: Serve with sour cream, guacamole, and salsa on the side for dipping or adding on top.

Tips:

  • Toppings: Get creative with your Nachos! Add ingredients like grilled corn, avocado slices, or pickled onions for more texture and flavor.
  • Meat Options: Swap the ground beef for chicken, pulled pork, or keep it vegetarian with more beans or grilled veggies.
  • Cheese: Use a mix of cheddar, Monterey Jack, or pepper jack for an extra cheesy flavor.
  • Spice Level: Adjust the number of jalapeños or add hot sauce for more heat.

Enjoy Your Ultimate Nachos!

This simple Mexican Nachos recipe is customizable, making it a hit for any occasion. Whether you’re preparing them for a party or a casual snack, this dish will surely satisfy. Serve it with your favorite drinks and let everyone dig in!

Nachos
Mexican nachos tortilla chips with black beans, guacamole, tomato and jalapeno on black background
Mexican nacho chips and salsa dip in  bowl on  wooden background

Mexican Rice Recipe: 5 Steps to Make Authentic Mexican Rice at Home

Mexican rice is a classic, flavorful side dish that perfectly complements any Mexican meal. This delicious and vibrant rice is made with simple ingredients, bringing the authentic taste of Mexico right to your kitchen. Whether you’re serving it with tacos, enchiladas, or grilled meats, this recipe will become a family favorite. Here’s how to make Mexican rice at home in just a few easy steps.

Ingredients:

For the Mexican Rice:

  • 2 cups long-grain white rice
  • 3 tablespoons vegetable oil
  • 1/2 medium onion, finely chopped
  • 3 cloves garlic, minced
  • 1/2 cup tomato sauce
  • 4 cups chicken broth (or vegetable broth for a vegetarian option)
  • 1 teaspoon salt (or to taste)
  • 1/2 teaspoon ground cumin
  • 1/4 teaspoon chili powder (optional, for added heat)
  • 1 cup frozen peas and carrots mix (optional)
  • Fresh cilantro for garnish (optional)

Instructions:

1. Prepare the Rice:

  • Rinse the Rice: Rinse the Mexican rice under cold water until the water runs clear. This removes excess starch and helps prevent the rice from becoming sticky.
  • Toast the Rice: Heat the vegetable oil in a large skillet over medium heat. Add the rinsed rice and sauté for about 5 minutes, stirring constantly, until the rice is golden brown.

2. Add Flavor:

  • Sauté Aromatics: Add the chopped onion and minced garlic to the skillet. Cook for an additional 2-3 minutes until the onion is soft and fragrant.
  • Mix in Tomato Sauce and Spices: Stir in the tomato sauce, chicken broth, salt, cumin, and chili powder. Mix well to combine all the ingredients.

3. Cook the Rice:

  • Simmer the Rice: Bring the mixture to a boil, then reduce the heat to low, cover, and let it simmer for about 20 minutes. Do not lift the lid during cooking to ensure perfectly fluffy Mexican rice.
  • Add Vegetables (Optional): If using, stir in the frozen peas and carrots mix during the last 5 minutes of cooking. This adds color and extra nutrients to the dish.

Tips:

  • Rice Selection: Use long-grain white rice for the best texture. Shorter grains tend to be stickier and are less suited for Mexican rice.
  • Broth for Flavor: Using chicken broth instead of water adds depth to the flavor of the Mexican rice. You can also use vegetable broth for a vegetarian version.
  • Spice Level: Adjust the amount of chili powder based on your spice preference. For a milder flavor, omit the chili powder altogether.
  • Serving Suggestions: Mexican rice pairs perfectly with dishes like tacos, fajitas, grilled chicken, and seafood. It’s a versatile side that enhances any meal.

Explore Key Aspects of Mexican Rice:

1. What is Mexican Rice?
Mexican rice, also known as Spanish rice, is a traditional side dish that’s a staple in Mexican cuisine. It’s made with rice, tomato sauce, broth, and various seasonings, giving it a vibrant red color and rich flavor.

2. The History of Mexican Rice:
The origins of Mexican rice trace back to Spanish influence on Mexican cuisine. Over time, it has evolved into a popular dish known for its simplicity and versatility, often enjoyed with a variety of main courses.

3. Variations of Mexican Rice:

  • Vegetarian Mexican Rice: Replace chicken broth with vegetable broth and add extra vegetables like bell peppers and corn.
  • Spicy Mexican Rice: Add chopped jalapeños or a dash of hot sauce for an extra kick.
  • Mexican Rice with Black Beans: Stir in black beans for added protein and a hearty touch.

4. Pairing Mexican Rice with Main Dishes:
Mexican rice is a versatile side dish that pairs well with grilled meats, seafood, and vegetarian options. It’s perfect for family dinners, parties, or even as a filling in burritos.

5. How to Store and Reheat Mexican Rice:
Store leftover Mexican rice in an airtight container in the refrigerator for up to 3 days. To reheat, add a splash of broth or water to prevent it from drying out and warm it in the microwave or on the stove.

Enjoy making and serving this delicious and authentic Mexican rice at home. It’s a simple yet satisfying side dish that will add a burst of flavor to any meal!

Mexican rice
Traditional Mexican rice served with green peas on wooden table

Margarita Recipe: 3 Steps to Make the Perfect Mexican Cocktail at Home

Margarita is one of the most popular Mexican cocktails worldwide, known for its perfect balance of tequila, lime, and sweetness. Whether you’re hosting a party or relaxing on a sunny afternoon, this refreshing drink is the perfect way to elevate any occasion. Here’s how you can make the perfect Margarita at home.

Ingredients:

For the Margarita:

  • 2 oz Tequila (silver or blanco)
  • 1 oz Fresh lime juice (about one lime)
  • 1 oz Triple Sec (or Cointreau)
  • 1/2 oz Simple syrup (optional, adjust to taste)
  • Ice cubes

For Garnishing:

  • Lime wedges
  • Salt for rimming the glass

Instructions:

1. Rim the Glass:

  • Prepare the Glass: Use a lime wedge to wet the rim of your glass, then dip it into a small plate of salt. This gives your Margarita that classic salted rim.

2. Mix the Margarita:

  • Combine Ingredients: In a cocktail shaker, add the tequila, lime juice, triple sec, simple syrup, and a handful of ice.
  • Shake Well: Shake vigorously for about 15 seconds to mix the ingredients and chill the drink thoroughly.

3. Serve the Margarita:

  • Strain and Pour: Strain the mixture into your salt-rimmed glass filled with fresh ice.
  • Garnish: Garnish with a lime wedge on the rim of the glass.

Tips:

  • Choosing Tequila: Opt for a quality silver or blanco tequila for the best Margarita. Avoid the gold or aged types, as they can overpower the citrus flavors.
  • Adjusting Sweetness: If you prefer a sweeter Margarita, add a bit more simple syrup or agave nectar. For a more tart version, reduce the amount of sweetener.
  • Serving Variations: Margaritas can be served straight up (without ice), on the rocks (with ice), or blended (frozen). Choose your style based on personal preference.
  • Flavored Margaritas: Add fresh fruit like strawberries, mango, or pineapple to the shaker for a fruity twist.

Margarita Insights: Everything You Need to Know:

1. What is a Margarita?
The Margarita is a traditional Mexican cocktail made with tequila, lime juice, and triple sec, often served with a salted rim. It’s a beloved drink due to its refreshing taste and versatile preparation options.

2. The History of Margarita:
The origin of the Margarita is shrouded in mystery, with multiple claims to its invention. Some say it was created in the 1930s in Tijuana, Mexico, while others believe it was a happy accident by a bartender in the 1940s.

3. Popular Margarita Variations:

  • Classic Margarita: The standard recipe as outlined above.
  • Frozen Margarita: Blend the ingredients with ice for a slushy texture, perfect for hot weather.
  • Spicy Margarita: Add a few slices of jalapeño to the shaker for a spicy kick.
  • Fruit Margaritas: Mix in fresh or frozen fruits like strawberry, mango, or peach for a delicious fruity version.

4. Pairing Margaritas with Food:
Margaritas pair wonderfully with Mexican dishes such as tacos, nachos, and quesadillas. The acidity of the lime juice helps cut through rich and spicy foods, making it an ideal companion for a variety of flavors.

5. Margarita Glassware:
The traditional glassware for serving a Margarita is a coupe or a classic Margarita glass with a wide rim, perfect for holding the salt. However, it can also be served in a standard rocks glass or even a martini glass.

Enjoy crafting your perfect Margarita at home and impressing your guests with this simple yet delightful cocktail!

top-view-arrangement-with-drinks (1)
Margarita
person-holding-glass-refreshing-cocktail-drink

Jalapeño Poppers Recipe – Spicy and Cheesy Snack

Jalapeño poppers are a crowd-pleasing appetizer that combines the heat of fresh jalapeños with creamy, cheesy filling, all wrapped in a crispy coating. Perfect for game day, parties, or any gathering, these poppers are sure to be a hit. Whether baked or fried, jalapeño poppers offer the perfect balance of spicy, savory, and crunchy flavors.

What Are Jalapeño Poppers?

Jalapeño poppers are a popular appetizer that features jalapeños stuffed with a cheese mixture, often including cream cheese, cheddar, and spices. The stuffed peppers are then breaded or wrapped in bacon and either baked or fried until golden and crispy. The result is a delicious, spicy bite that’s perfect for sharing.

How to Make Jalapeño Poppers at Home

Making jalapeño poppers at home is easy and allows you to customize the filling and spice level to your liking. Here’s how you can prepare this tasty snack in your kitchen.

Ingredients:

  • 12 large jalapeños, halved lengthwise and seeds removed
  • 8 ounces cream cheese, softened
  • 1 cup shredded cheddar cheese
  • 2 cloves garlic, minced
  • 1/2 teaspoon smoked paprika
  • 1/4 teaspoon onion powder
  • Salt and pepper, to taste
  • 12 strips of bacon, cut in half (optional for wrapping)
  • 1 cup panko breadcrumbs (optional for extra crunch)
  • 1/4 cup flour (optional, for dredging)
  • 2 eggs, beaten (optional, for dredging)

Instructions:

Prepare the Jalapeños:
Preheat your oven to 400°F (200°C). Slice the jalapeños in half lengthwise and remove the seeds and membranes. This step helps reduce some of the heat, but if you love it extra spicy, leave a few seeds in.

Make the Filling:
In a medium bowl, mix together the cream cheese, shredded cheddar cheese, minced garlic, smoked paprika, onion powder, salt, and pepper. Stir until well combined and creamy.

Stuff the Jalapeños:
Spoon the cheese mixture into each jalapeño half, filling them generously. For an extra indulgent touch, wrap each stuffed jalapeño half with a piece of bacon, securing it with a toothpick if necessary.

Optional Breading (for Extra Crunch):
If you prefer a crunchy exterior, dredge each stuffed jalapeño in flour, dip in beaten egg, and then coat with panko breadcrumbs. This step gives the jalapeño poppers a deliciously crispy finish.

Bake the Jalapeño Poppers:
Place the stuffed (and optionally wrapped or breaded) jalapeños on a baking sheet lined with parchment paper. Bake for 18-20 minutes, or until the bacon is crispy and the cheese is bubbly and slightly browned.

Serve and Enjoy:
Let the jalapeño poppers cool for a few minutes before serving. Enjoy them hot with a side of ranch or your favorite dipping sauce.


Variations of Jalapeño Poppers

Jalapeño poppers are highly customizable, allowing you to experiment with different fillings, coatings, and cooking methods. Here are some variations to try:

  • Cheddar and Bacon Jalapeño Poppers: Use a combination of cheddar cheese and bacon for a classic and indulgent flavor.
  • Stuffed Jalapeño Poppers with Sausage: Add cooked sausage to the cheese filling for a heartier snack.
  • Vegetarian Jalapeño Poppers: Skip the bacon and add chopped veggies like bell peppers or corn to the filling for a meat-free version.
  • Bacon-Wrapped Jalapeño Poppers: Skip the breadcrumbs and wrap each popper in bacon for a smoky, savory bite.
  • Air Fryer Jalapeño Poppers: For a healthier option, cook the poppers in an air fryer for a crispy texture with less oil.

Tips for the Perfect Jalapeño Poppers

  • Choose the Right Jalapeños: Look for large, firm jalapeños that are easy to stuff and will hold their shape during cooking.
  • Adjust the Heat Level: If you prefer milder poppers, remove all seeds and membranes. For more heat, leave some seeds in or add a dash of hot sauce to the filling.
  • Use Fresh Cheese: Freshly shredded cheese melts better than pre-shredded varieties, which often contain anti-caking agents that affect melting.
  • Bake or Fry: Baking is a healthier option and easier cleanup, but frying gives the poppers a delicious crunch that’s hard to beat.

Jalapeño poppers are the perfect appetizer or snack, offering just the right amount of spice, creaminess, and crunch. Whether you stick to the classic recipe or try one of the variations, these poppers are sure to be a hit at any gathering.

Jalapeño Poppers
jalapeño poppers

Guacamole Recipe – Fresh and Authentic Mexican Dip

Guacamole is a classic Mexican dip made from ripe avocados, fresh lime juice, onions, tomatoes, and cilantro. Known for its creamy texture and refreshing flavor, guacamole is a versatile dish that can be used as a dip, a topping, or a side dish. It’s a must-have for any Mexican meal and is perfect for parties, family gatherings, or simply enjoying at home.

What is Guacamole?

Guacamole is a traditional Mexican avocado-based dip that dates back to the Aztecs. Made with fresh ingredients, it’s simple, delicious, and packed with healthy fats, vitamins, and fiber. Whether served with tortilla chips, added to tacos, or spread on toast, guacamole is beloved worldwide for its vibrant flavor and creamy consistency.

How to Make the Best Guacamole at Home

Making guacamole at home is easy and only requires a few fresh ingredients. Here’s a simple and authentic recipe that brings the true taste of Mexico to your table.

Ingredients:

  • 3 ripe avocados, halved, pitted, and peeled
  • 1 small red onion, finely chopped
  • 2 Roma tomatoes, diced
  • 1-2 jalapeños, seeded and finely chopped (optional for extra heat)
  • 1/4 cup fresh cilantro, chopped
  • Juice of 2 limes
  • Salt, to taste
  • Freshly ground black pepper, to taste

Instructions:

Prepare the Avocados:
In a large bowl, mash the avocados with a fork until they reach your desired consistency—smooth or chunky, depending on your preference.

Add the Fresh Ingredients:
Stir in the chopped red onion, diced tomatoes, chopped jalapeños (if using), and fresh cilantro. These ingredients add texture, flavor, and a touch of heat to the guacamole.

Season the Guacamole:
Squeeze the juice of two limes into the bowl, then add salt and pepper to taste. The lime juice not only enhances the flavor but also helps prevent the avocados from browning.

Mix and Adjust Seasoning:
Mix everything well to combine. Taste and adjust the seasoning if necessary, adding more lime juice, salt, or pepper as desired.

Serve Immediately:
Serve your guacamole immediately with tortilla chips, fresh vegetables, or as a side dish to your favorite Mexican meals like tacos, fajitas, or burritos.


Variations of Guacamole

Guacamole is highly customizable, allowing you to create different versions that suit your taste. Here are some popular variations:

  • Spicy Guacamole: Add extra jalapeños, serrano peppers, or a dash of hot sauce for those who like a little kick.
  • Guacamole with Corn: Mix in charred corn kernels for added sweetness and texture.
  • Pineapple or Mango Guacamole: Add diced pineapple or mango for a sweet and tropical twist that pairs beautifully with the creamy avocado.
  • Bacon Guacamole: Crisp bacon bits mixed into guacamole add a smoky, salty flavor that’s hard to resist.
  • Greek Yogurt Guacamole: Stir in a spoonful of Greek yogurt for a creamier, tangy version with added protein.

Tips for the Perfect Guacamole

  • Choose Ripe Avocados: Ripe avocados are key to perfect guacamole. They should yield slightly when gently squeezed but not feel mushy.
  • Use Fresh Lime Juice: Freshly squeezed lime juice is essential for brightening up the flavors and keeping the guacamole green.
  • Keep it Chunky or Smooth: Mash your avocados to your preferred texture—whether you like your guacamole smooth or with chunks for a heartier bite.
  • Serve Fresh: Guacamole is best served fresh to enjoy its vibrant flavors. If you need to store it, press plastic wrap directly onto the surface to minimize browning.

Guacamole is more than just a dip; it’s a versatile and beloved staple that complements a wide array of dishes. Whether you’re keeping it classic or adding unique ingredients, guacamole is always a crowd-pleaser.

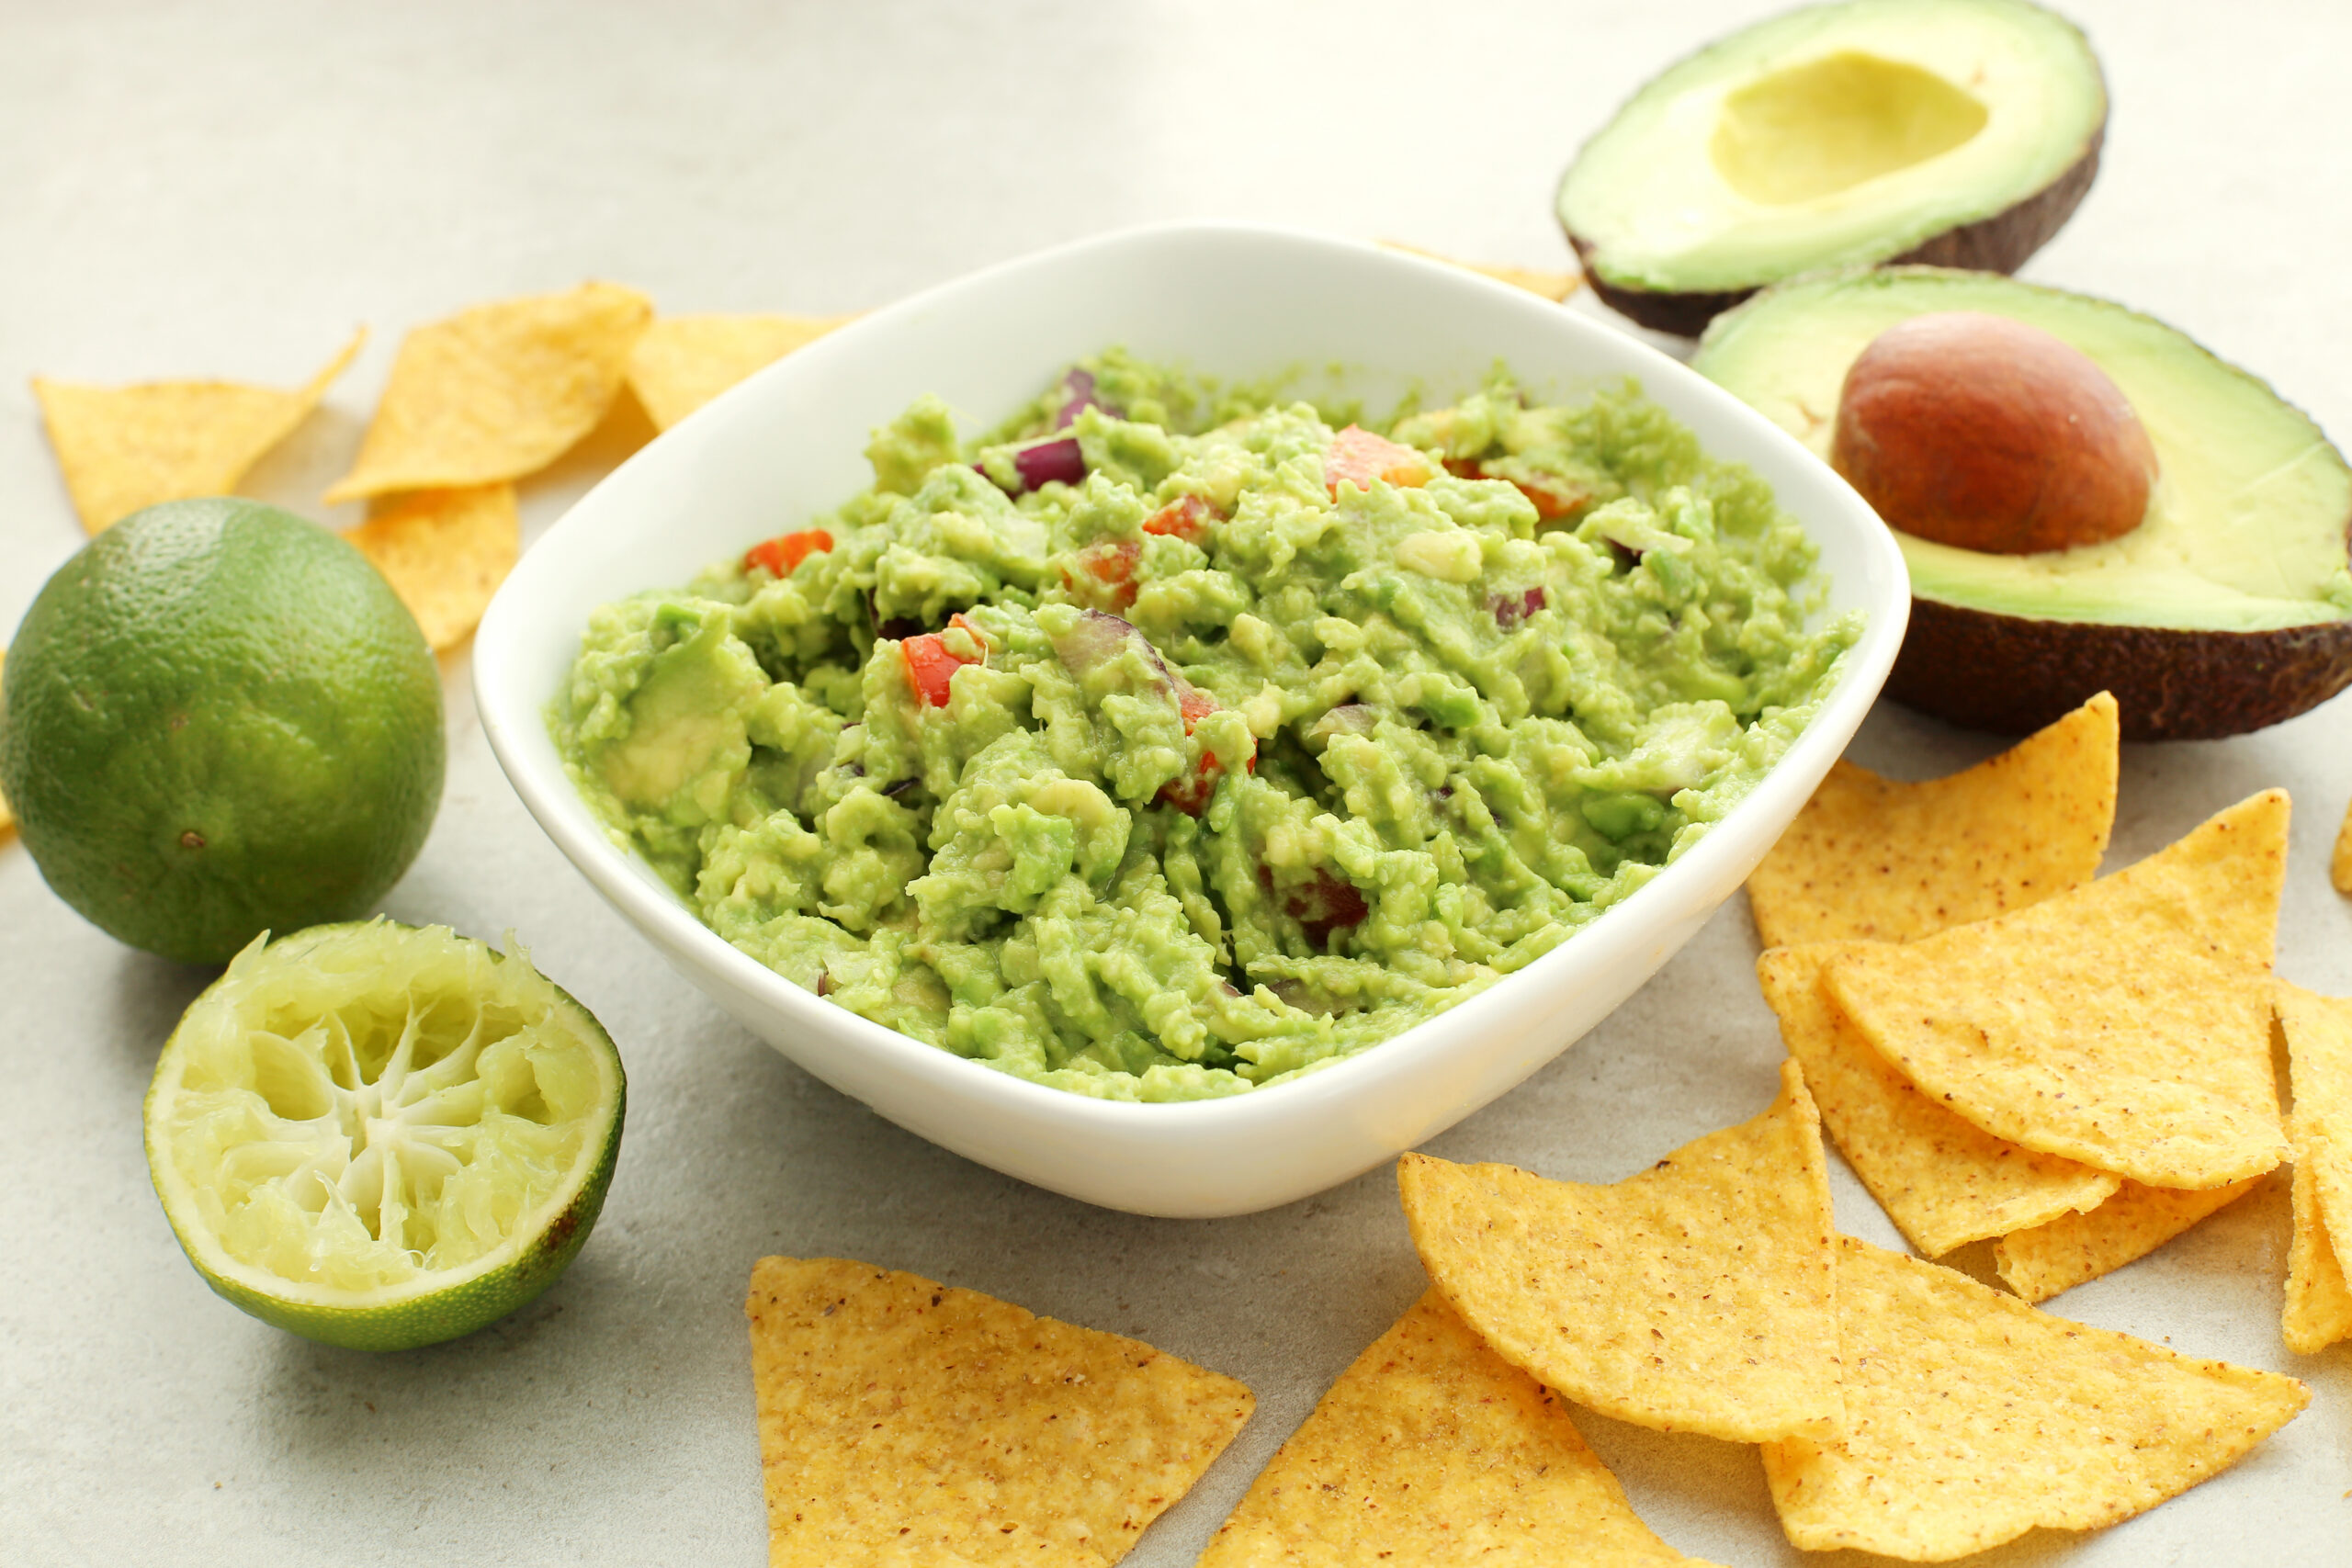
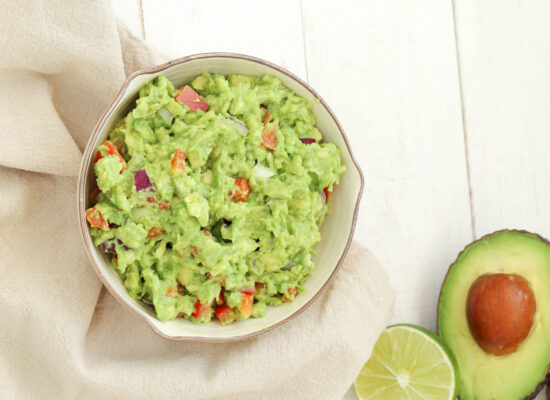
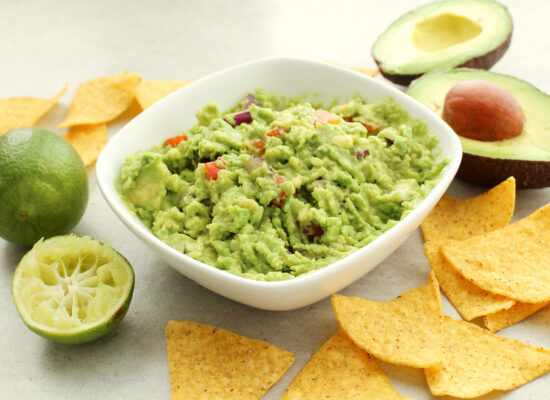
Delicious guacamole dip on the table
Guacamole

Fish Tacos Recipe – Authentic and Flavorful Mexican Delight

Fish tacos are a delicious Mexican dish that combines fresh, flaky fish with vibrant toppings wrapped in a soft tortilla. This classic coastal food has become a favorite worldwide, thanks to its blend of textures and flavors that can be enjoyed any time of the year. Whether you’re hosting a party or craving a light, satisfying meal, fish tacos are sure to impress.

What Are Fish Tacos?

Fish tacos are a traditional Mexican dish that originated in Baja California. They typically feature grilled or fried fish served in a soft corn or flour tortilla, topped with shredded cabbage, fresh salsa, creamy sauces, and a squeeze of lime. The combination of warm fish, cool toppings, and tangy citrus creates a mouthwatering bite every time.

How to Make Fish Tacos at Home

Creating authentic fish tacos at home is easier than you might think. With fresh ingredients and simple techniques, you can bring the taste of Mexico’s coastal cuisine to your kitchen.

Ingredients:

For the Fish:

  • 1 pound white fish fillets (such as cod, tilapia, or mahi-mahi)
  • 1 tablespoon olive oil
  • 1 teaspoon chili powder
  • 1 teaspoon cumin
  • 1/2 teaspoon smoked paprika
  • 1/2 teaspoon garlic powder
  • Salt and pepper, to taste
  • Juice of 1 lime

For the Tacos:

  • 8 small corn or flour tortillas
  • 2 cups shredded cabbage (red or green)
  • 1/4 cup chopped cilantro
  • 1/2 cup fresh salsa or pico de gallo
  • 1/2 cup sour cream or Mexican crema
  • 1 tablespoon mayonnaise
  • 1 teaspoon hot sauce (optional)
  • Lime wedges, for serving

Instructions:

Season the Fish:
Start by seasoning your fish fillets. In a small bowl, mix the chili powder, cumin, smoked paprika, garlic powder, salt, and pepper. Rub the fish fillets with olive oil, lime juice, and the spice mixture, ensuring they are evenly coated.

Cook the Fish:
Heat a skillet or grill pan over medium-high heat. Add a bit of oil to the pan to prevent sticking. Cook the fish for about 3-4 minutes on each side, or until it’s cooked through and flakes easily with a fork. Remove from heat and set aside.

Prepare the Sauce:
While the fish cooks, prepare a simple sauce by mixing sour cream, mayonnaise, and hot sauce in a small bowl. Adjust the heat level according to your taste. This creamy sauce adds a cool, tangy element to the fish tacos.

Warm the Tortillas:
Warm the tortillas in a dry skillet over medium heat or directly on the grill for a few seconds on each side until pliable. Keep them warm in a clean kitchen towel.

Assemble the Tacos:
To assemble your fish tacos, place a portion of the cooked fish in the center of each tortilla. Top with shredded cabbage, fresh salsa, a drizzle of the prepared sauce, and a sprinkle of chopped cilantro. Finish with a squeeze of fresh lime juice.

Serve and Enjoy:
Serve your fish tacos immediately with extra lime wedges on the side. Pair them with a cold drink for the ultimate fresh and vibrant meal.


Variations of Fish Tacos

Fish tacos are highly versatile, allowing for various modifications to suit different tastes and dietary preferences. Here are some popular variations:

  • Grilled Fish Tacos: For a lighter option, grill the fish instead of frying for a smoky, charred flavor.
  • Beer-Battered Fish Tacos: Dip the fish in a light beer batter and fry until crispy for a crunchy, indulgent version.
  • Spicy Fish Tacos: Add jalapeños or spicy salsa for a kick of heat that complements the fresh flavors of the fish.
  • Mango Salsa Fish Tacos: Top your tacos with a sweet and tangy mango salsa for a tropical twist.
  • Blackened Fish Tacos: Season the fish with blackening spices and sear for a deeply flavorful and slightly spicy version.

Tips for Perfect Fish Tacos

  • Choose the Right Fish: Opt for mild, flaky white fish like cod, tilapia, or mahi-mahi for the best results.
  • Season Generously: Don’t be afraid to season the fish well; the spices enhance the overall flavor of the tacos.
  • Keep It Fresh: Fresh toppings like shredded cabbage, salsa, and lime juice add essential brightness and crunch to balance the rich fish.
  • Make It Your Own: Feel free to experiment with different sauces, toppings, and seasonings to create your perfect fish tacos.

Fish tacos are not only delicious but also easy to customize and enjoy in endless ways. Whether you prefer them grilled, spicy, or topped with unique salsas, this dish is a versatile.

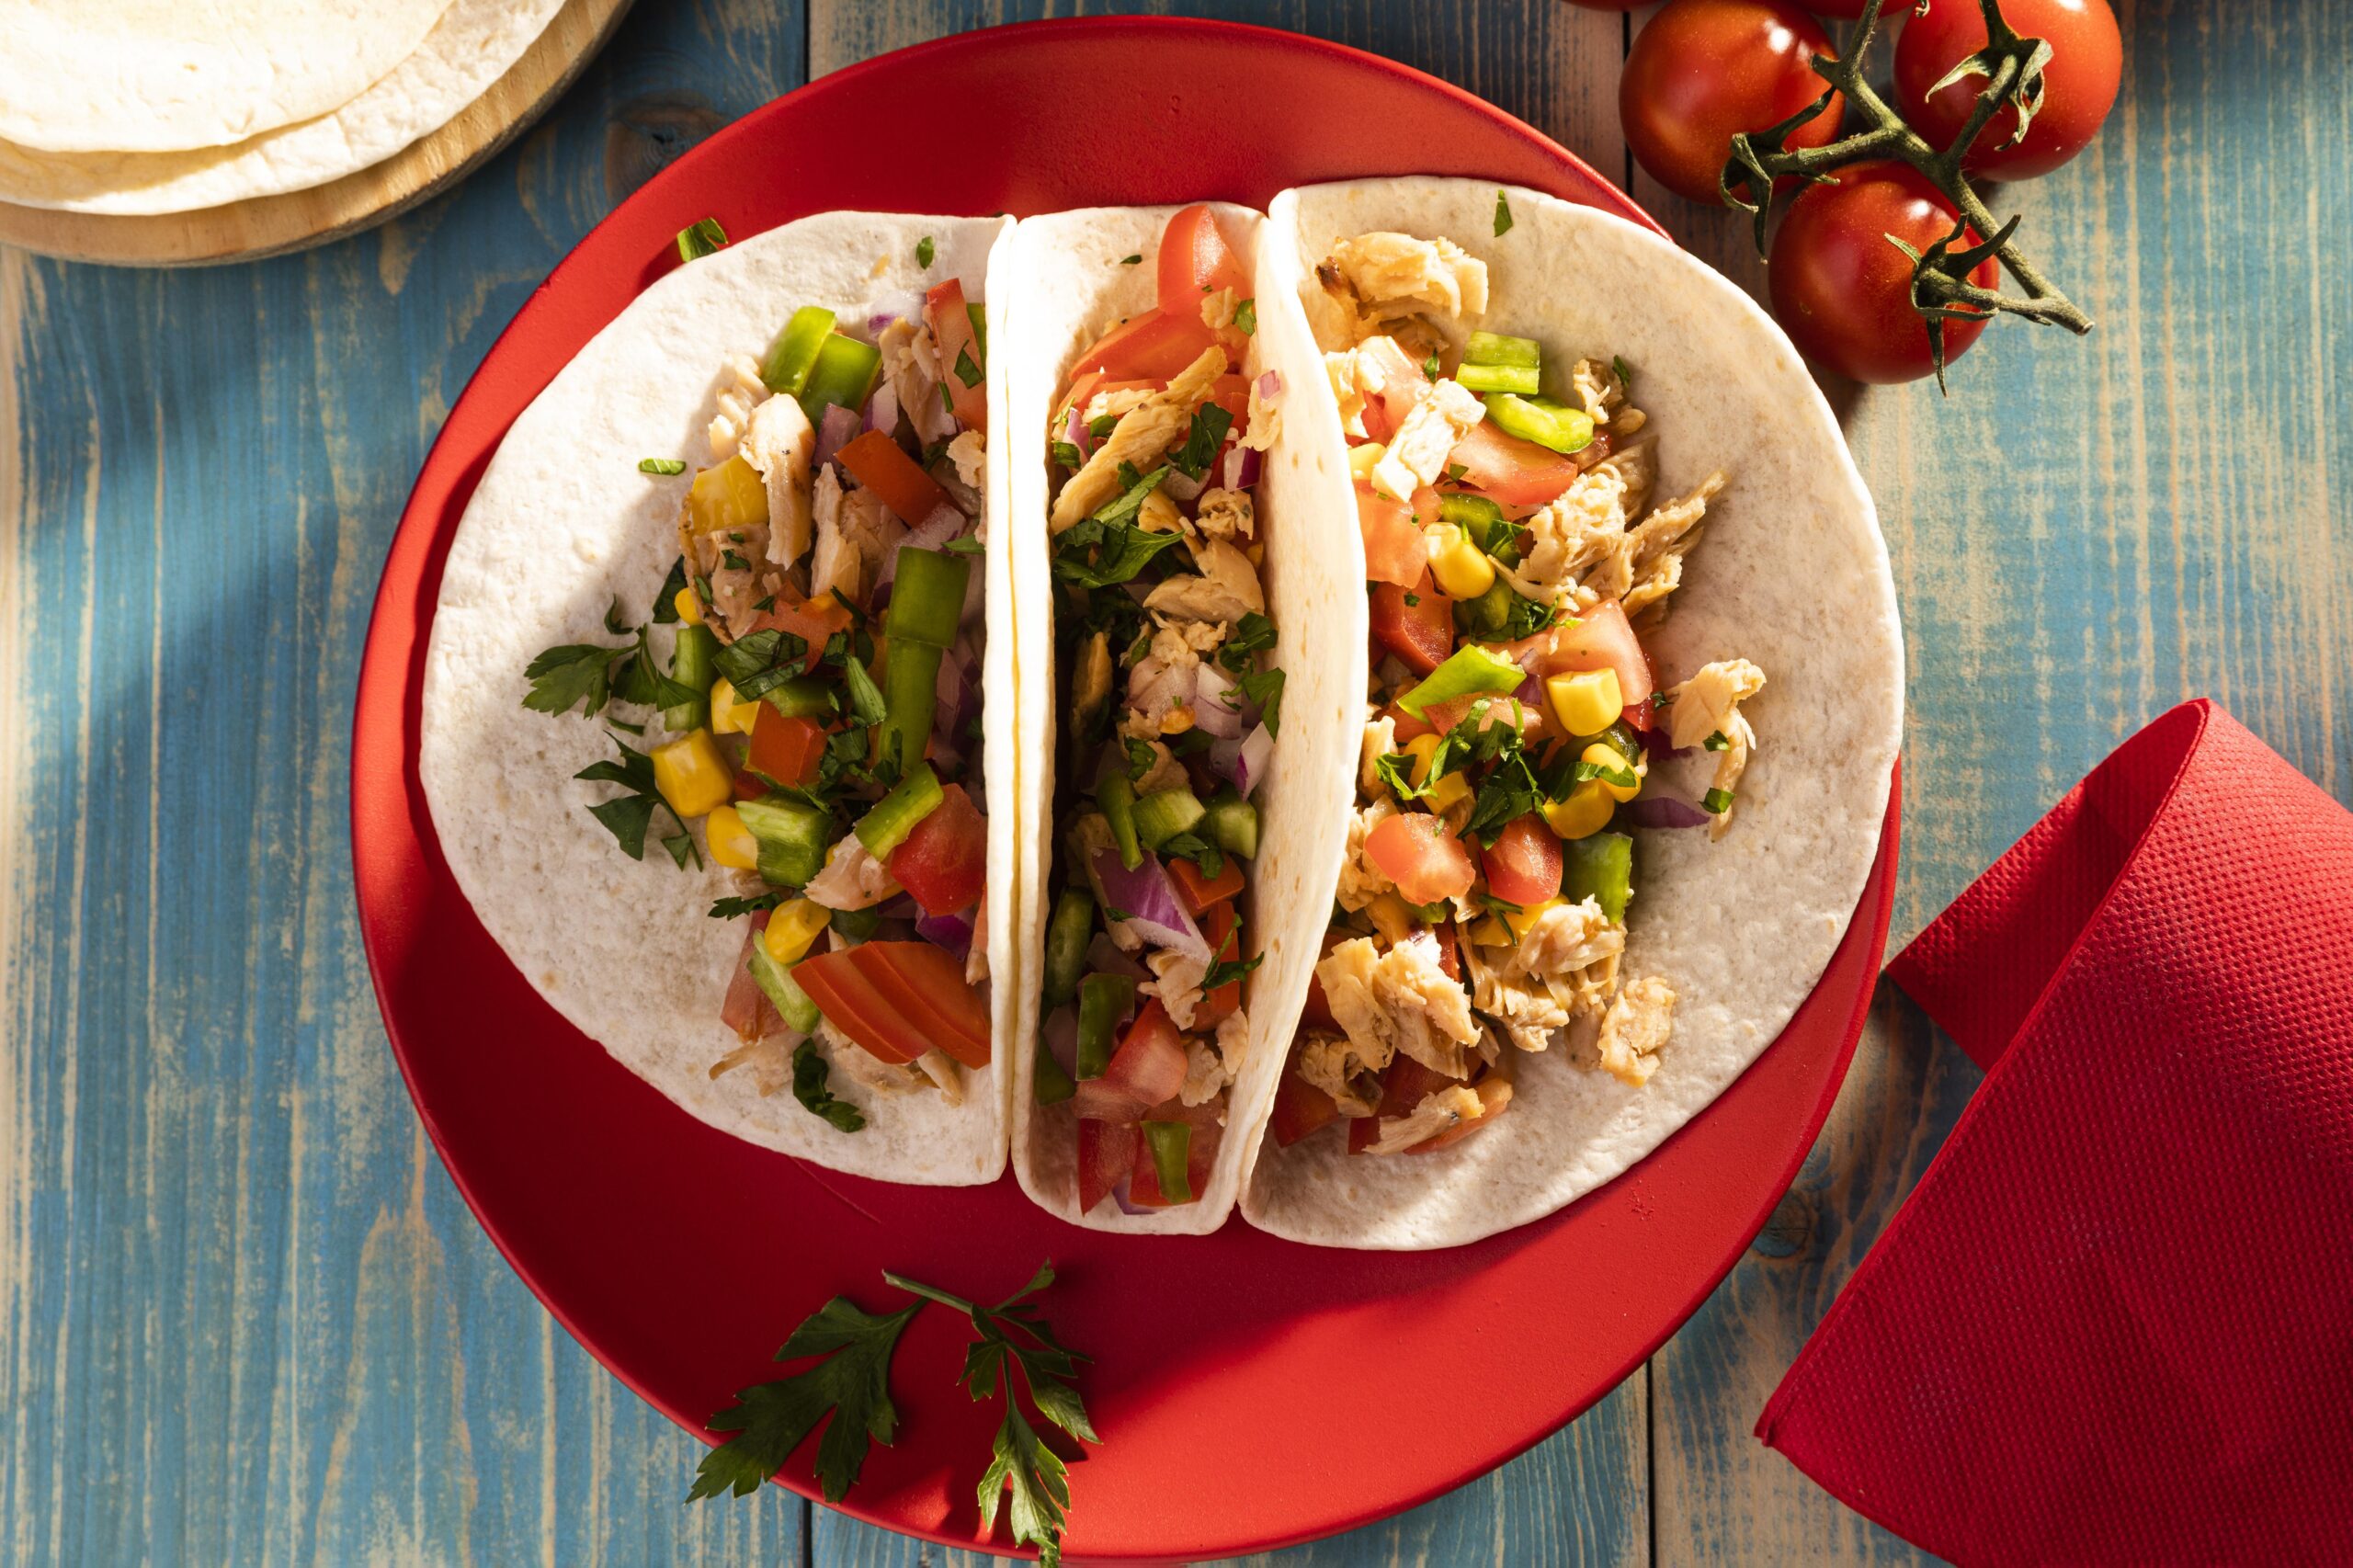
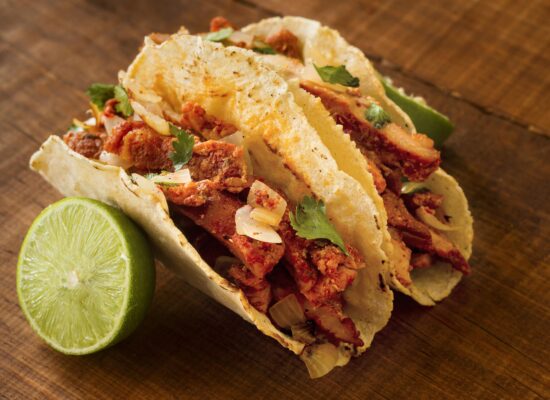
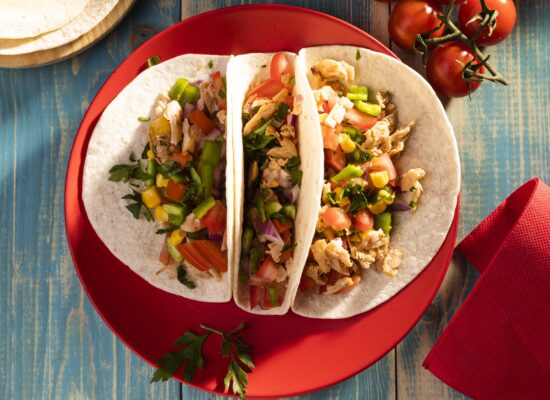
mexican-food-concept-high-angle
Fish Tacos

Corn on the Cob Recipe

Corn on the Cob -5 Steps for Authentic Mexican Elote Delight

Corn on the cob (also known as Elote in Mexico) is a delicious and popular Mexican street food that’s enjoyed by many. It’s typically grilled and slathered with a flavorful combination of toppings such as mayonnaise, cotija cheese, lime juice, and chili powder. This simple yet flavorful dish is perfect for BBQs, family gatherings, or a quick snack.

What is Corn on the Cob (Elote)?

Corn on the cob is a traditional Mexican snack often sold by street vendors. The grilled corn is seasoned and covered with layers of toppings, creating a perfect balance of flavors—sweet, smoky, salty, and tangy. It’s an ideal food to enjoy during the summer months or whenever you’re craving something satisfying and flavorful.

How to Prepare Corn on the Cob (Elote) at Home

Making corn on the cob at home is incredibly easy with this recipe, and you only need a few ingredients to achieve authentic Mexican street food flavors.

Ingredients:

  • 4 ears of corn, husked
  • 2 tablespoons mayonnaise
  • 1/4 cup cotija cheese, crumbled (or feta as a substitute)
  • 1 lime, cut into wedges
  • 1 teaspoon chili powder
  • 2 tablespoons butter (optional for extra richness)
  • Fresh cilantro, chopped (optional for garnish)

Instructions:

Grill the Corn:
Start by grilling your corn on the cob. Preheat your grill to medium-high heat. Once hot, place the corn directly on the grill grates. Turn the corn every 2-3 minutes until it is charred and cooked evenly on all sides, approximately 10-12 minutes.

Prepare the Toppings:
While the corn is grilling, prepare the toppings. In a small bowl, mix the mayonnaise and butter until well combined. This will be spread over the corn once it’s grilled.

Assemble the Corn:
Once the corn on the cob is grilled to your liking, remove it from the grill. Using a brush or a spoon, spread the mayonnaise and butter mixture generously over each ear of corn.

Add the Finishing Touches:
Sprinkle the cotija cheese evenly over the coated corn. Then, dust each ear with chili powder, squeeze fresh lime juice on top, and garnish with chopped cilantro if desired.

Serve and Enjoy:
Your homemade corn on the cob (Elote) is now ready to serve! Enjoy this delicious snack while it’s hot.


Variations of Corn on the Cob (Elote)

The beauty of corn on the cob is its versatility. Here are a few creative variations you can try:

  • Spicy Elote: Add extra chili powder or drizzle with hot sauce for an extra kick.
  • Cheesy Elote: Mix in different cheeses like Parmesan or cheddar for a creamier texture.
  • Elote with Tajín: Use Tajín seasoning for a tangy, slightly spicy twist that pairs perfectly with lime.
  • Elote Salad: Cut the kernels off the cob and toss with the toppings for an easy-to-eat salad version.
  • Street-Style Elote Cups: Serve the corn off the cob in cups, topped with all the classic ingredients, making it easier to eat on the go.

Tips for the Perfect Corn on the Cob (Elote)

  • Grill Time: For the best flavor, don’t skip grilling. The charred bits add a smoky depth that’s quintessential to Elote.
  • Cheese Substitute: If cotija cheese isn’t available, feta is a great substitute due to its similar crumbly texture and salty flavor.
  • Spice Level: Adjust the chili powder to your heat preference, or experiment with adding cayenne pepper for extra spice.

Enjoy experimenting with different toppings and make your own perfect version of Corn on the Cob (Elote). This delicious, customizable dish is sure to be a hit!

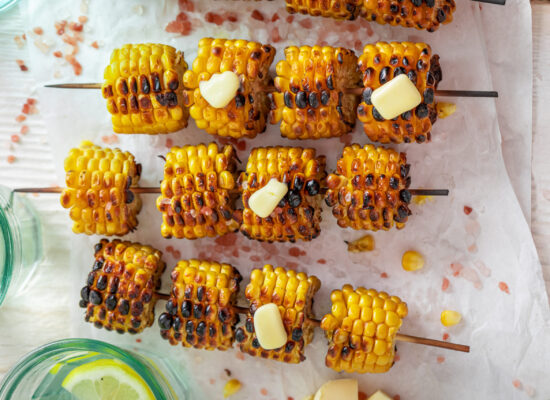
corn on the cob
Hot grilled corn cob with himalayan salt and butter. Roasted corn on stick on fire.

Chilli con Carne Recipe

20 delicious ways to enjoy Chili con Carne

Classic Chili con Carne: A hearty and flavorful Mexican-inspired dish with ground beef, beans, and a blend of spices.

Spicy Chili con Carne: Turn up the heat with extra jalapeños and hot sauce for those who love a spicy kick.

Smoky Chipotle Chili con Carne: Infuse your chili with smoky chipotle peppers for a rich, deep flavor.

Vegetarian Chili con Carne: A meat-free version with hearty vegetables and beans that pack just as much flavor.

Slow-Cooked Chili con Carne: Let the flavors meld together by slow-cooking your chili for several hours.

Chili con Carne with Dark Chocolate: Add a hint of dark chocolate for a rich and complex flavor twist.

White Bean Chili con Carne: Swap out traditional beans for white beans to change up the texture.

Chili con Carne Nachos: Use your chili as a topping for crispy nachos, loaded with cheese and sour cream.

Chili con Carne Stuffed Peppers: Fill bell peppers with chili con carne and bake until tender.

Three-Bean Chili con Carne: Add black beans, kidney beans, and pinto beans for a protein-packed meal.

Chili con Carne Tacos: Spoon your chili into soft tacos for a quick and tasty meal.

Chili con Carne with Rice: Serve your chili over fluffy rice for a comforting and filling dish.

Chili con Carne with Cornbread: Pair your chili with a side of sweet cornbread for a classic combination.

Chili con Carne Burritos: Roll your chili into burritos for a portable and satisfying meal.

Chili con Carne Baked Potatoes: Top baked potatoes with a generous serving of chili con carne and cheese.

Chili con Carne Quesadillas: Use your chili as a filling for quesadillas, melted with cheese.

Chili con Carne Pasta Bake: Mix your chili with pasta, top with cheese, and bake until bubbly.

Chili con Carne Sloppy Joes: Serve your chili on a bun for a fun twist on sloppy joes.

Chili con Carne Pie: Use your chili as a filling for a comforting and delicious pie.

Chili con Carne Soup: Thin your chili with some broth for a hearty and warming soup.

Recipe Example: Classic Chili con Carne for Four People

Ingredients:

  • 1 tablespoon olive oil
  • 1 large onion, diced
  • 2 cloves garlic, minced
  • 1 red bell pepper, chopped
  • 1 green bell pepper, chopped
  • 1 pound ground beef
  • 2 tablespoons chili powder
  • 1 teaspoon cumin
  • 1 teaspoon paprika
  • 1/2 teaspoon cayenne pepper (optional, for extra heat)
  • 1 can (14 ounces) diced tomatoes
  • 1 can (15 ounces) kidney beans, drained and rinsed
  • 1 cup beef broth
  • Salt and pepper, to taste
  • Fresh cilantro, chopped (for garnish)

Instructions:

Prepare the Ingredients:

Heat the olive oil in a large pot over medium heat. Add the diced onion and minced garlic, cooking until the onion is soft and translucent, about 5 minutes.

Cook the Vegetables and Beef:

Add the chopped red and green bell peppers to the pot and cook for an additional 3 minutes until slightly softened. Add the ground beef, breaking it up with a spoon, and cook until browned.

Season the Chilli con Carne:

Stir in the chilli powder, cumin, paprika, and cayenne pepper (if using). Cook the spices for about 1 minute until fragrant.

Add the Tomatoes and Beans:

Pour in the diced tomatoes and kidney beans. Stir well to combine with the beef and vegetables.

Simmer the Chilli:

Add the beef broth, stir, and bring the mixture to a boil. Reduce the heat to low, cover, and let the chilli simmer for about 30 minutes to allow the flavors to meld.

Adjust Seasonings and Serve:

Taste the chilli and adjust seasoning with salt and pepper as needed. Serve hot, garnished with chopped fresh cilantro.

Enjoy your delicious Classic Chilli con Carne!

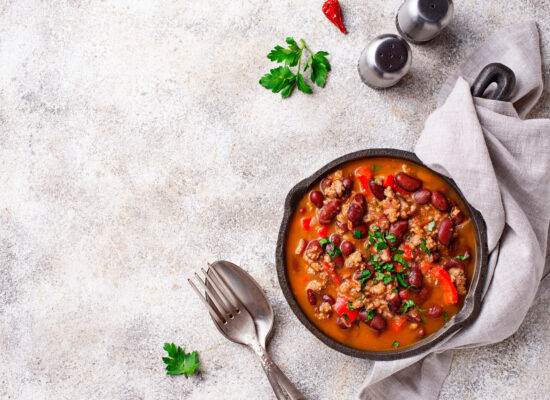
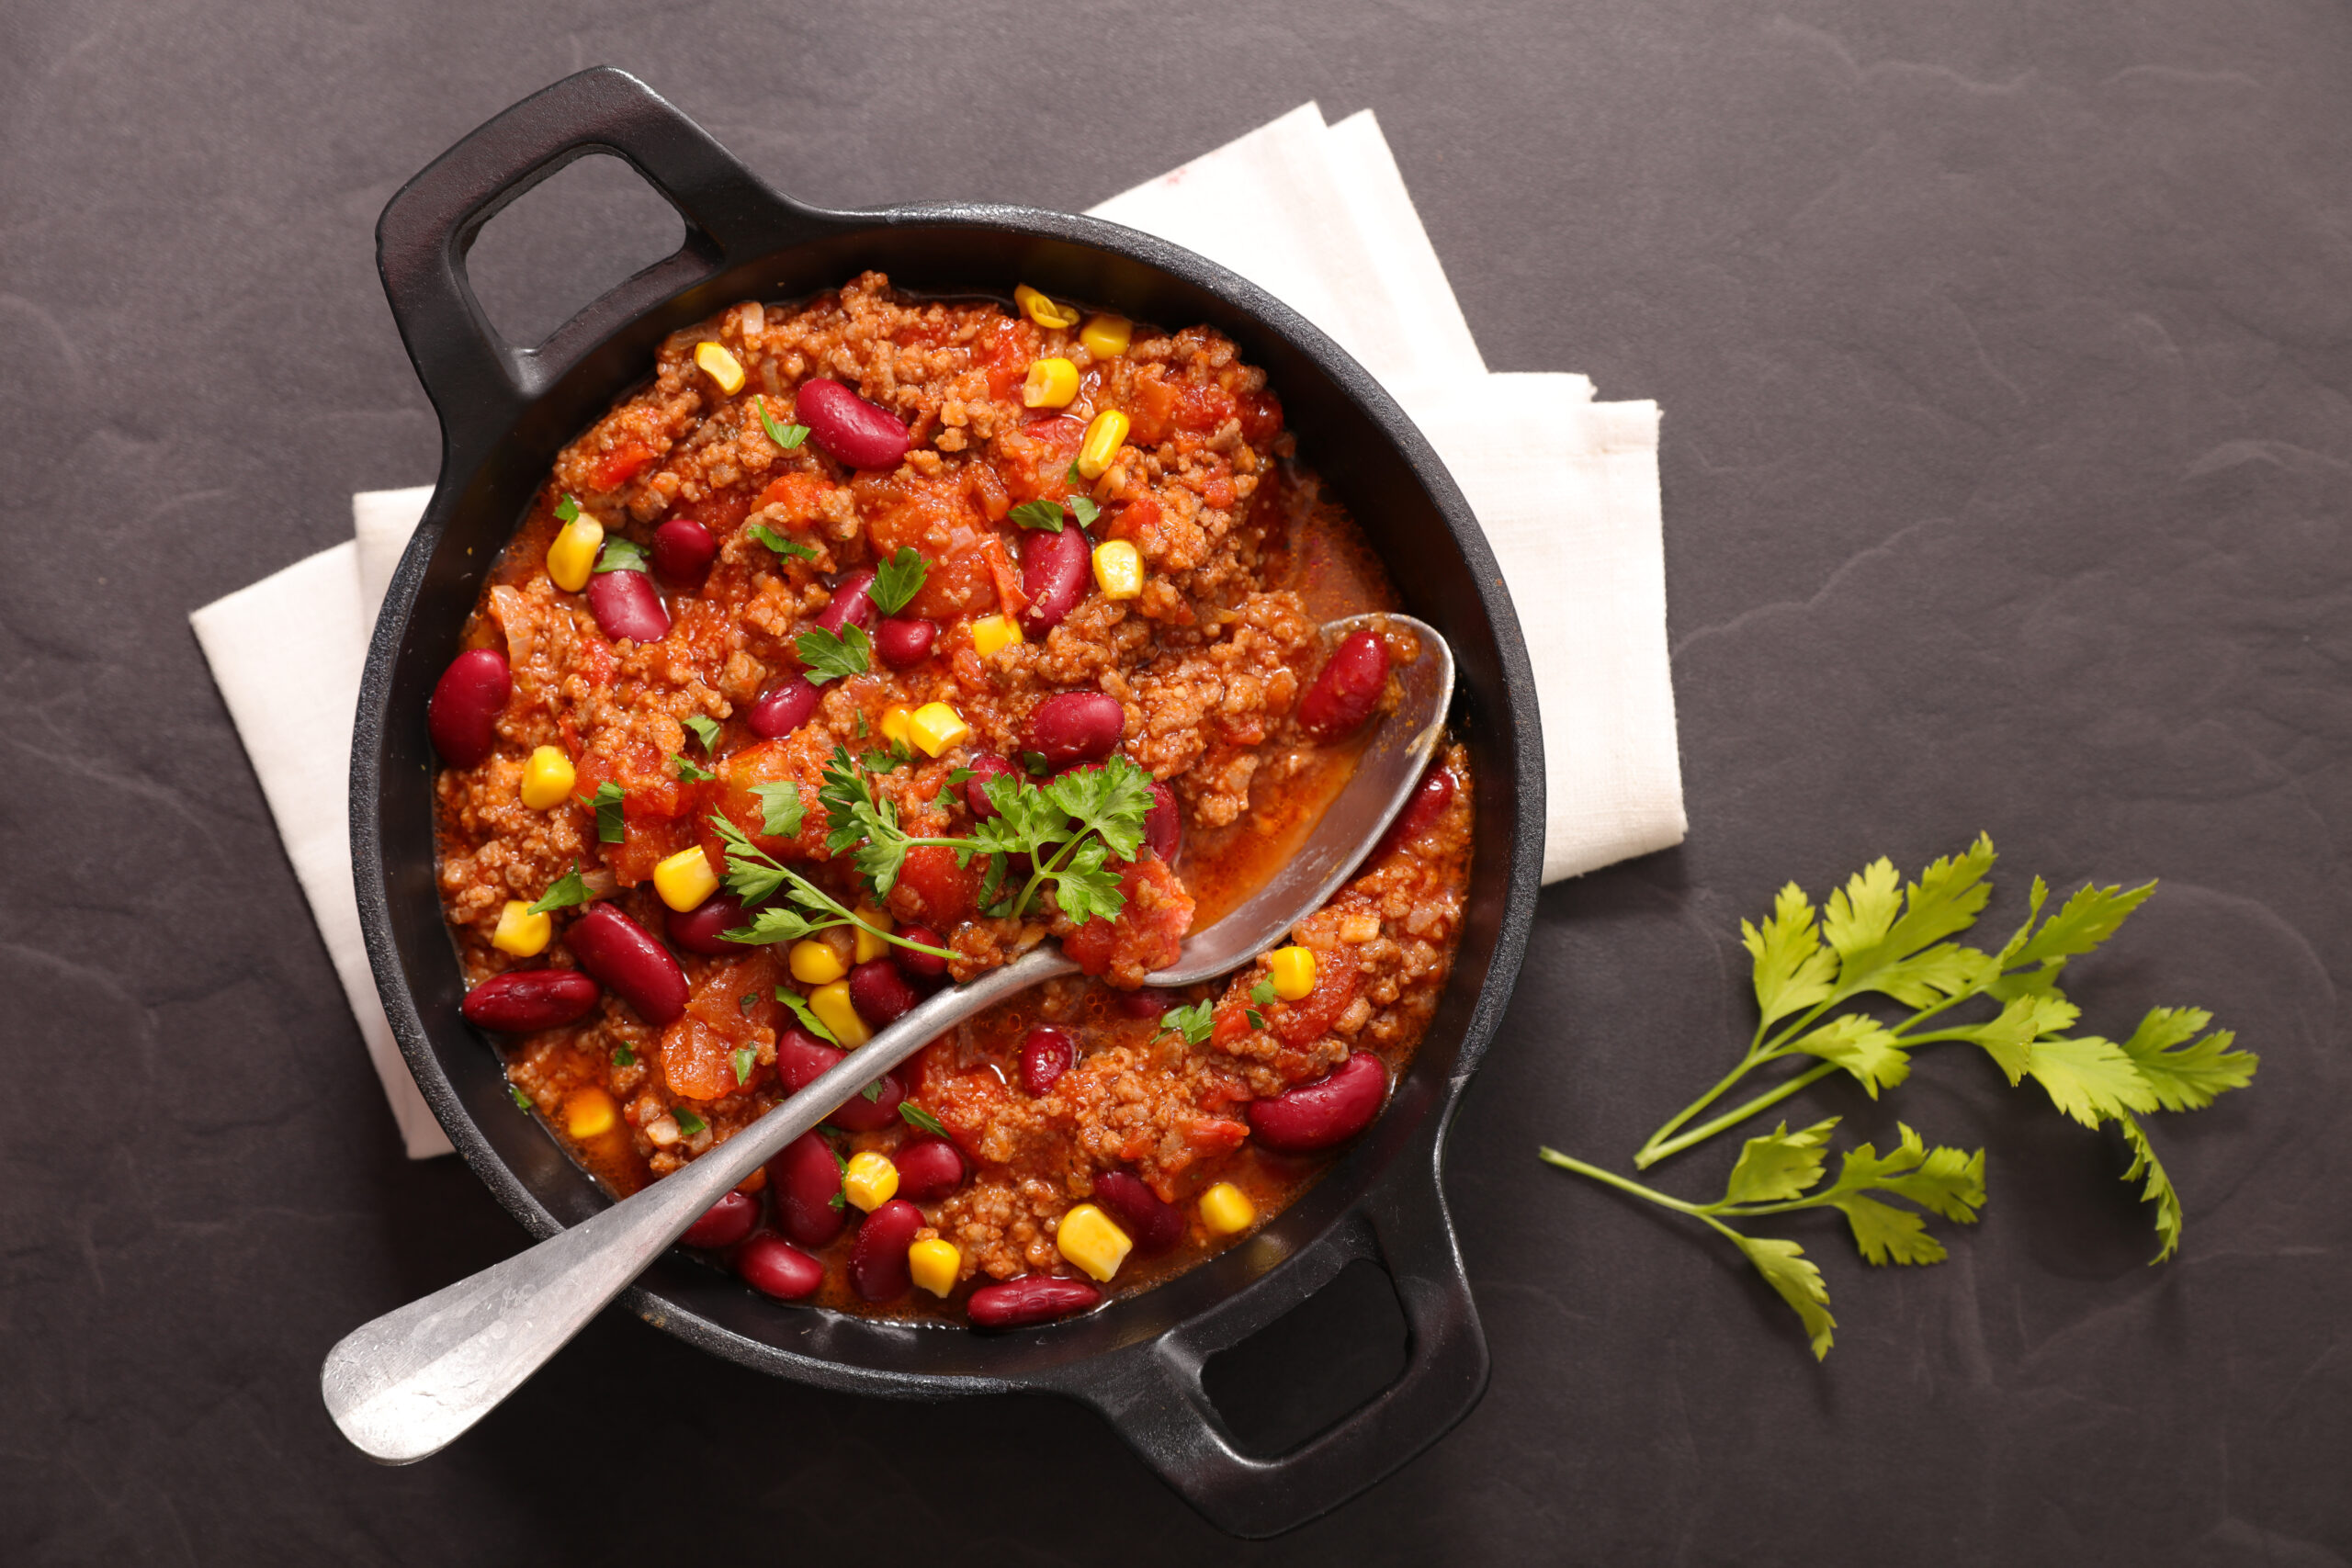
Traditional Mexican dish chili con carne in pan
chili con carne
Chilli con Carne